

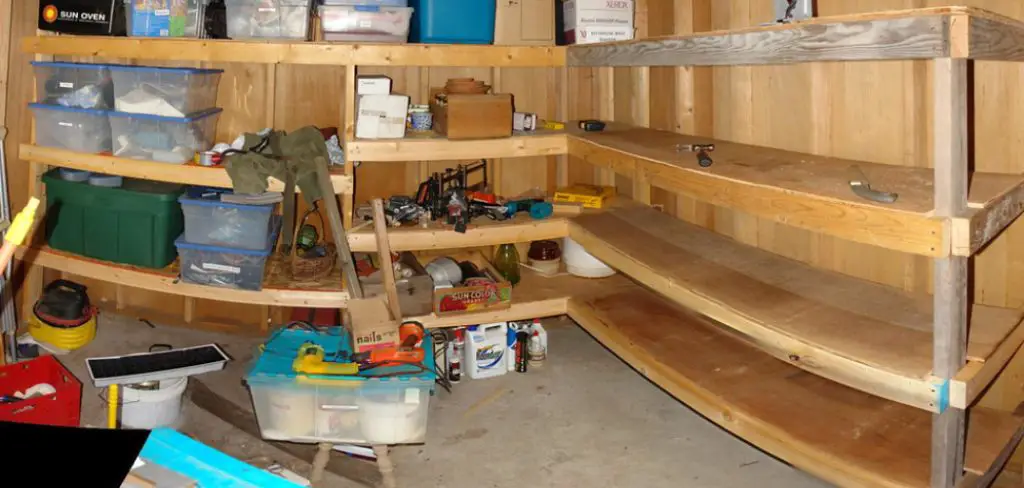
they remain sturdy and safeBuilding shelves for your shed is a practical way to organize your tools and supplies while optimizing the available space. With a well-designed shelving system, you can store items efficiently, making them easy to find and access whenever needed.
This guide on how to make shed shelves will walk you through the process of creating sturdy and functional shelves, whether you’re a seasoned DIY enthusiast or a beginner looking to enhance your shed’s storage capacity. By following these simple steps, you’ll have the perfect shelving solution tailored to your needs.
Why Build Shed Shelves?
Shed shelves add valuable storage space and prevent clutter from accumulating on the floor. By utilizing vertical space, you can make the most out of your shed’s square footage and keep your tools and supplies organized and easily accessible. Additionally, building your own shelves allows for customization to fit the specific needs of your shed.
It’s a cost-effective solution compared to buying pre-made shelves, and it also gives you the freedom to choose the materials and design that best suits your shed. So why not take some time to create functional and organized storage space in your shed?
Materials You’ll Need
- Measuring Tape
- Level
- Drill
- Screws or Nails
- Saw (Circular Saw or Hand Saw)
- Plywood Boards (1/2 Inch Thick)
- 2×4 Lumber Boards
8 Step-by-step Guides on How to Make Shed Shelves
Step 1: Measure and Plan
Before you begin construction, it’s crucial to accurately measure the dimensions of your shed and plan where the shelves will be placed. Start by using the measuring tape to determine the height, width, and depth available for your shelves. Consider how many shelves you need, the spacing between them, and what items you’ll be storing to ensure they fit comfortably.
Sketch a simple layout, accounting for any windows, doors, or permanent fixtures that might affect shelf placement. This planning phase will help you decide on the length of the plywood and 2×4 lumber boards you’ll need, allowing for an organized and efficient building process.
Step 2: Cut the Plywood Boards
Once you have your measurements and plan ready, the next step is to cut the plywood boards to form the shelves. Using the saw, carefully cut the plywood to the desired length and width according to the dimensions you planned. It’s important to ensure each cut is straight and precise, so consider using a straightedge as a guide for your saw. If using a circular saw, take proper safety precautions such as wearing safety goggles and a dust mask.
Double-check each piece after cutting to make sure it fits within your intended layout. Having accurately cut pieces will help in the assembly of the shelves and contribute to the stability and neatness of your shelving system.
Step 3: Cut the 2×4 Lumber Boards
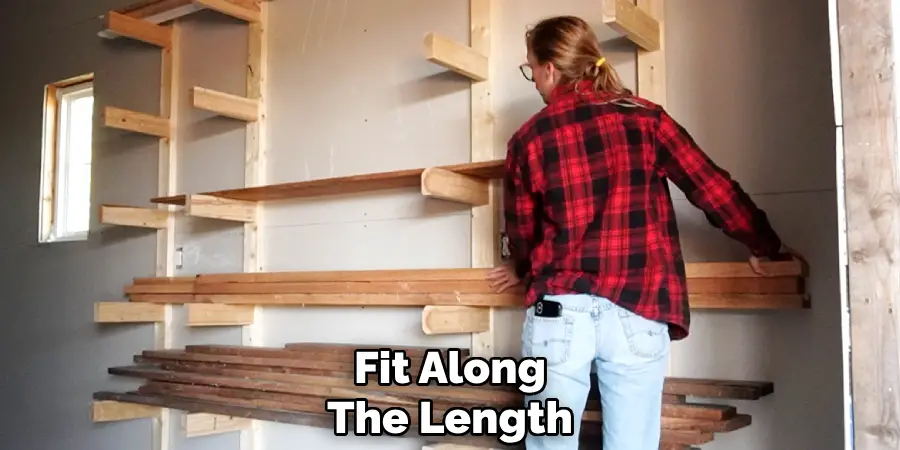
To create the supporting frame for your shelves, you’ll need to cut 2×4 lumber boards to fit along the edges of each plywood board. These will serve as the side and back supports for your shelves, so it’s important to measure and cut them precisely.
Using the saw, cut two pieces of 2×4 boards for each shelf – one to fit along the length and one along the width. This will provide enough support for even heavy items without bowing or breaking under pressure.
Step 4: Drill Holes in the Plywood
Before attaching the 2×4 boards to the plywood, it’s time to drill holes for the screws or nails. This will prevent the wood from splitting when attaching the 2×4 boards and ensure a secure fit.
Measure the distance between each screw or nail hole (typically around two inches apart) and mark the spots on both the plywood and 2×4 boards. Use a drill bit that is slightly smaller in diameter than your screws or nails to create pilot holes in all marked spots.
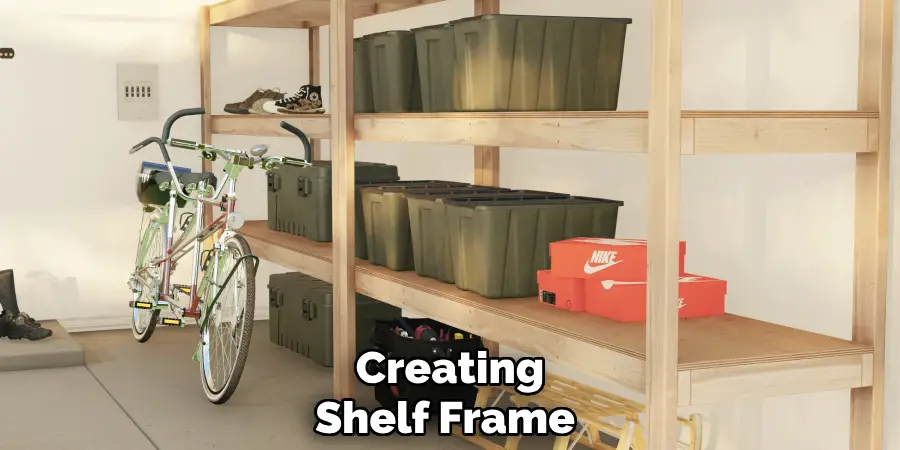
Step 5: Attach the Plywood Boards to the Frame
Next, it’s time to assemble your shelves by attaching the plywood boards to the 2×4 frame. Start by placing one of the longer cut 2×4 boards along the back of the plywood board, making sure it’s flush with the edge. Use screws or nails to secure them in place, using the pilot holes created in the previous step as a guide.
Repeat this process for each shelf, attaching one 2×4 board along the back and two shorter boards on either side, creating a sturdy frame for each shelf.
Step 6: Install Brackets (Optional)
If you prefer additional support or want to add a finishing touch to your shelves, you can install brackets underneath each shelf. These will provide extra support and help prevent sagging over time. Simply screw or nail brackets into place on both sides of each shelf at equal distances.
The number of brackets needed will depend on the length of your shelves, but a good rule of thumb is to have at least one bracket for every two feet.
Step 7: Install Shelves in the Shed
Once all the shelves are assembled and brackets (if used) are attached, it’s time to install them in your shed. With a helper, carefully lift each shelf into place and secure them to the walls of your shed using screws or nails. Use a level to ensure they’re straight before attaching them securely.
It’s important to leave enough space between each shelf for easy access and storage of larger items.
Step 8: Organize Your Items
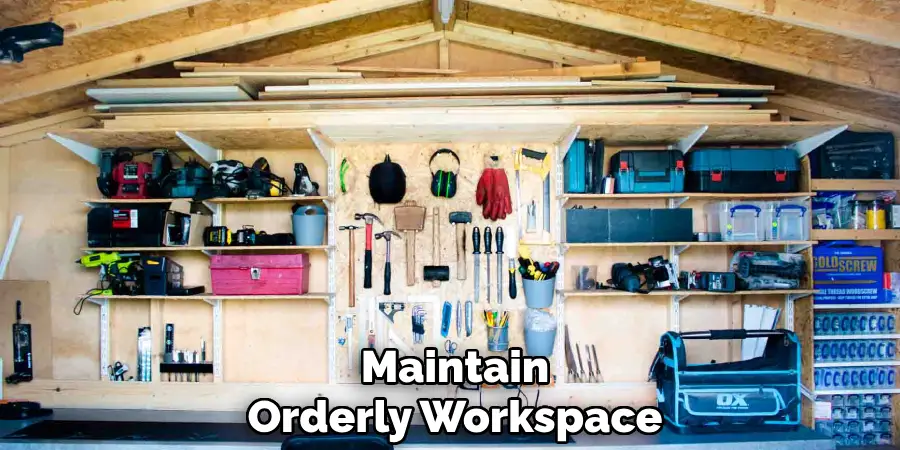
With your new shelves installed, it’s time to organize your items efficiently. Start by categorizing your tools and supplies based on use or frequency. Place frequently used items at eye level for easy access, while less frequently used items can be stored higher or lower. Consider using clear bins or labels to keep similar items together and provide visual cues, making it easy to locate what you need quickly.
Utilizing bins also helps prevent small items from rolling off the shelves. By organizing your items thoughtfully, you’ll maximize the utility of your shed shelves and maintain an orderly workspace, making it simpler to find and store everything as needed.
Following these steps on how to make shed shelves will help you create functional and organized storage space in your shed, saving you time and effort in the long run. Plus, with the satisfaction of building something yourself, you’ll have a sense of pride every time you step into your organized shed.
Tips
- Consider painting or staining the shelves to match your shed’s interior for a cohesive look.
- Use adjustable shelf brackets to allow for flexible storage and accommodate larger items.
- If storing heavy or bulky items, consider adding extra support by installing additional brackets in between the studs of the shed walls.
- Regularly clean and maintain your shelves to ensure they continue to provide sturdy and efficient storage for years to come.
Frequently Asked Questions
Q: Do I Need Any Special Tools to Build Shed Shelves?
A: The basic tools required for this project are a measuring tape, saw (circular or hand), drill, and screws or nails. However, having a straightedge and level can also help with precision cutting and installation.
Q: How Many Shelves Should I Make?
A: The number of shelves you make will depend on the available space in your shed and what items you plan to store. Consider how often you use each item and how much vertical space they require to determine the number of shelves needed.
Q: Can I Customize the Size and Design of My Shed Shelves?
A: Absolutely! These steps provide a basic guide but feel free to adjust the measurements and design to fit your specific needs and preferences. Just remember to double-check all measurements before cutting any wood pieces.
Q: What Type of Wood Should I Use for Building Shed Shelves?
A: The most commonly used wood for this project is plywood and 2×4 lumber boards. However, you can also use other types of wood such as pine or cedar, if desired. Make sure to choose high-quality wood that is sturdy and durable to withstand the weight of your items.
Q: Can I Install Lighting on My Shed Shelves?
A: Yes, you can install lighting on your shed shelves by attaching LED strip lights or battery-operated tap lights underneath each shelf. This will provide additional visibility and make it easier to find items, especially in darker sheds. Just make sure to secure the lights appropriately for safety.
Conclusion
Building shelves in your shed is a simple and cost-effective solution for creating more storage space. By following these step-by-step guides on how to make shed shelves, you’ll have functional and organized storage that meets your specific needs.
Whether it’s for gardening tools, sports equipment, or holiday decorations, utilizing the walls of your shed with custom-made shelves will help keep everything easily accessible and clutter-free. So grab your materials and start building today! Finally, remember to regularly check and maintain your shelves to ensure they remain sturdy and safe for future use. Happy building! for future use. Happy building!
About
Angela is the chief editor of Indoorense. She began her career as an interior designer before applying her strategic and creative passion to lifestyle and home.
She has close to 15 years of experience in creative writing and online content strategy for housekeeping and cleaning,home decorations as well as other efforts.
She loves her job and has the privilege of working with an extraordinary team. She lives with her husband, two sons, and daughter in Petersburg. When she’s not busy working she spent time with her family.