
Transforming an old dining table into a modern masterpiece can breathe new life into your home decor. With a few creative approaches, you can update the look of your table to suit contemporary styles without the need for an expensive replacement. Whether you’re looking to add a fresh coat of paint, change the hardware, or use innovative finishes, there are plenty of ways to give your dining table a stylish upgrade.

This guide on how to make old dining table look modern will walk you through some simple yet effective techniques to help you achieve a modern aesthetic that complements your living space.
Why Update Your Old Dining Table?
Before we dive into the details of how to modernize your dining table, it’s essential to understand why it’s worth the effort. Here are a few reasons why updating your old dining table is a great idea:
Cost-effective:
Buying a new dining table can be expensive, and not everyone has the budget for it. Revamping your current one is a more cost-effective way to achieve a modern look. Plus, you can customize it to your specific taste and style.
Sustainable:
In today’s world, sustainability is becoming increasingly important. By repurposing and updating your old dining table, you can reduce waste and be more environmentally friendly.
Personalization:
Your dining table should reflect your personality and style. Updating it allows for personalization, making it a unique piece that adds character to your home.

Time-saving:
Compared to shopping for a new dining table, updating your old one can save you time. Instead of spending hours searching for the perfect piece, you can simply transform your existing one in a few simple steps.
Now that we’ve established why it’s beneficial to update your old dining table let’s dive into the different methods you can use to achieve a modern look.
Needed Materials
- Sandpaper
- Primer
- Paint (in Your Desired Color)
- Clear Coat Finish
- New Hardware (Such as Knobs and Handles)
- Painter’s Tape
- Drop Cloth or Old Sheet
- Screwdriver or Drill (for Removing Old Hardware)
- Paintbrushes
- Optional: Stencils or Decals for Added Design Elements.
8 Step-by-step Guides on How to Make Old Dining Table Look Modern
Step 1: Prepare the Dining Table
Before you begin the transformation process, it’s crucial to properly prepare your dining table to ensure the best results. Start by clearing the table of any items such as tablecloths, centerpieces, or dishes. Next, if your table has existing hardware, use a screwdriver or drill to carefully remove any knobs, handles, or other attachments. This step will make it easier to sand and paint the surface later.
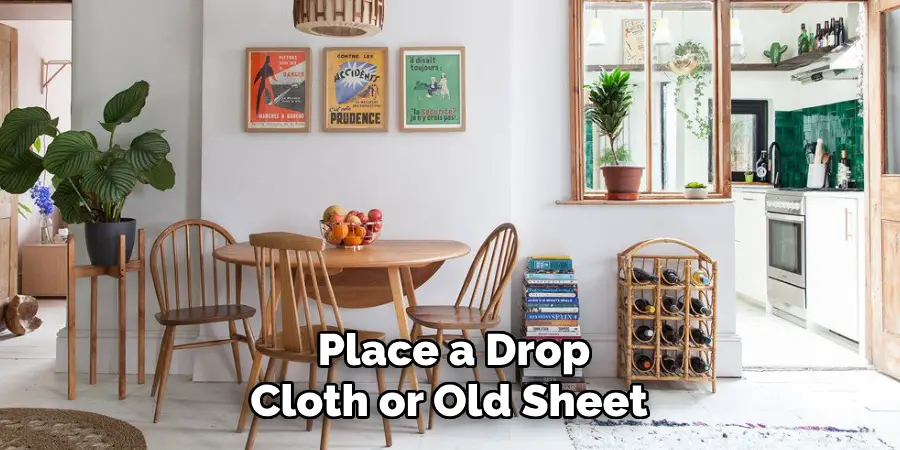
Once your table is cleared and the hardware is removed, place a drop cloth or old sheet under the table to protect your floor from dust and paint spills. Finally, thoroughly clean the table with a mild detergent and water solution to remove any dust, grease, or grime. Allow the table to dry completely before moving on to the next steps. Preparing the table ensures that the paint and finishes adhere smoothly, giving your table a sleek, modern look.
Step 2: Sand the Table
Using a medium-grit sandpaper, sand the entire table surface to remove any existing finish, scratches, or imperfections. This step is crucial because it helps the new paint and finishes adhere better to the surface. It also creates a smooth and even base for your desired color.
After sanding, use a damp cloth to wipe off any dust residue from the table. Let the table dry completely before moving on to the next step.
Step 3: Apply Primer
Primer is essential when painting furniture as it helps to seal any wood imperfections and prevents stains from showing through the topcoat. Choose a primer that’s suitable for your table’s surface material, whether it’s wood, metal, or laminate.
Using a paintbrush or a roller, apply an even coat of primer to the entire table, following the manufacturer’s instructions. Let the primer dry completely before moving on to the next step.
Step 4: Paint Your Desired Color
Now comes the fun part – adding color! Choose a high-quality paint in your desired color and finish (matte, satin, or gloss). Using a paintbrush or roller, carefully apply the first coat of paint in long strokes following the wood grain. Allow this coat to dry completely before applying another layer for better coverage. Depending on your preferred level of opacity, you may need to add a third coat. Allow the table to dry completely before moving on to the next step.
The great thing about painting your dining table is that you can choose any color that suits your style, whether it’s a bold statement or a neutral hue.
Step 5: Add Design Elements with Stencils or Decals (Optional)
For an added touch of design, you can use stencils or decals to create unique patterns or designs on your dining table. These elements are especially useful if you want to incorporate different colors and textures onto your surface without painting the entire table. Carefully place the stencil or decal on the desired area and use a brush or sponge to apply paint in a dabbing motion for clean lines. Once finished, let it dry completely before continuing.

It’s important to note that this step is optional and can be skipped if you prefer a solid-colored table.
Step 6: Protect with Clear Coat Finish
Once your desired color and design are complete, protect your table with a clear coat finish. This step will seal the paint and provide an extra layer of protection against scratches, stains, and daily wear and tear.
Using a paintbrush or roller, apply an even coat of clear coat finish to the entire table surface. Allow it to dry completely before moving on to the next step.
Step 7: Install New Hardware
If you removed any hardware in Step 1, now is the time to install new ones. Choose knobs and handles that fit your style and complement the new look of your dining table. Use a screwdriver or drill to carefully attach them to their designated spots.
Hardware is an excellent way to add a touch of modernity and personalization to your dining table. Consider choosing unique designs or materials that make a statement.
Step 8: Let Your Table Dry and Cure
Congratulations, you’ve successfully transformed your old dining table into a modern piece! Now, all that’s left is to let it dry completely and cure it before using it again. Allow the table to sit for at least two days before placing any items on it or using it for meals. This time ensures that the paint and finishes have fully dried and cured, making them more durable for everyday use.
Following these eight simple steps on how to make old dining table look modern, you can easily update your old dining table and give it a modern look that will impress your guests. With the right materials, tools, and a little bit of patience, you can achieve a beautiful new piece of furniture without breaking the bank. So why wait? Start transforming your dining table today!
Additional Tips
Test Paint Colors:
Before settling on a final paint color, consider testing a small area or a separate piece of wood with your chosen paint. This trial will help you visualize how the color looks in your space and under different lighting conditions.
Protect Your Surroundings:
Remember to protect your surroundings, including nearby walls and furniture, when sanding and painting. Use painter’s tape or old sheets to cover any areas that may accidentally get painted.
Don’t Rush the Drying Process:
Allow each coat of paint, primer, and clear coat finish to dry completely before adding another layer or proceeding with the next step. Rushing this process can result in an uneven finish or paint that easily chips off.
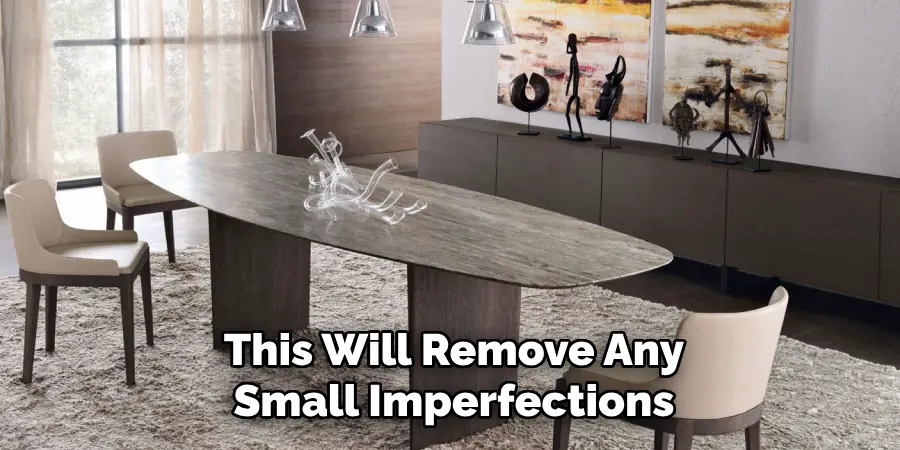
Consider Sanding Between Coats:
For a smoother and more professional-looking finish, consider lightly sanding the surface between coats using fine-grit sandpaper. This will remove any small imperfections and create a smooth base for the next layer of paint.
Add Personal Touches:
Don’t be afraid to add your personal touch to the table. You can use different painting techniques, add patterns or designs with stencils, or even incorporate a decoupage for a unique look.
Maintain Your Table:
To keep your newly transformed dining table looking its best, make sure to clean it regularly with gentle cleaners and avoid harsh chemicals that may damage the finish. Also, consider adding placemats or coasters when using the table to prevent any scratches or stains. Overall, regular maintenance will help prolong the life of your modern dining table.
Conclusion
Updating an old dining table doesn’t have to be complicated or expensive. With these 8 simple steps on how to make old dining table look modern, you can easily transform your table into a modern piece that will elevate the look of your dining room.
Remember to properly prepare the table, sand and prime it, choose a high-quality paint in your desired color, protect it with a clear coat finish, and install new hardware for added style. With a little bit of effort and creativity, you can have a beautiful and unique dining table that reflects your personal style. So don’t be afraid to get creative and make your old dining table shine!
About
Angela is the chief editor of Indoorense. She began her career as an interior designer before applying her strategic and creative passion to lifestyle and home.
She has close to 15 years of experience in creative writing and online content strategy for housekeeping and cleaning,home decorations as well as other efforts.
She loves her job and has the privilege of working with an extraordinary team. She lives with her husband, two sons, and daughter in Petersburg. When she’s not busy working she spent time with her family.