

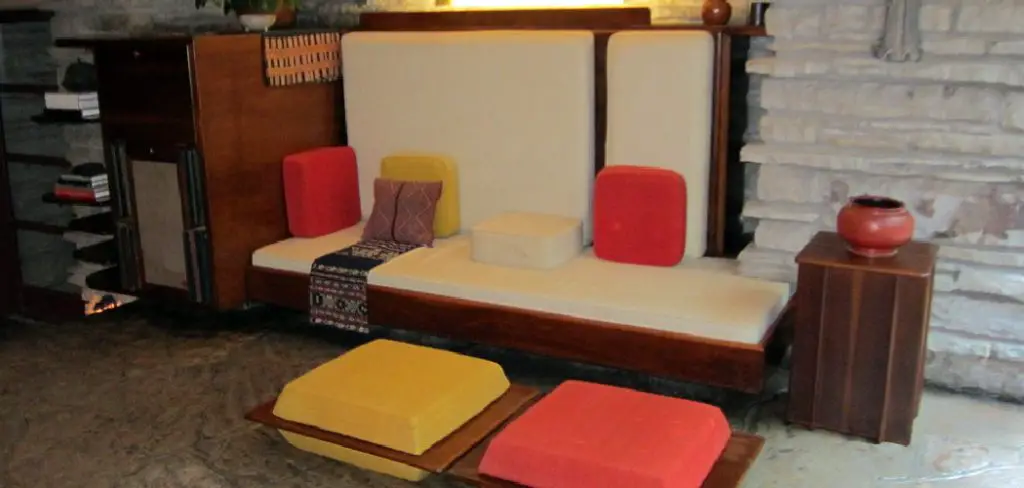
Floor cushions are versatile, comfortable, and stylish additions to any home. They can be used for extra seating, lounging, or creating a cozy reading nook. Making your own floor cushions allows you to customize the size, fabric, and style to match your décor, plus it’s a fun and creative DIY project. In this guide, we will walk you through the steps of how to make floor cushions, from choosing the right materials to assembling and sewing the cushions.
Whether you’re looking to add a splash of color to your living room or need practical seating for a small space, crafting your own cushions is a rewarding way to enhance your home environment. As you embark on this project, you’ll improve your sewing skills and create a personalized piece that reflects your individual taste.
Materials and Tools You’ll Need
Before you begin making your floor cushions, gather the necessary materials and tools to ensure the project runs smoothly.
Fabric: Select a durable, heavyweight fabric such as cotton canvas, upholstery fabric, or outdoor fabric, which is more resistant to wear and tear. For an eco-friendly approach, consider using old blankets or sheets or repurposing fabric you already have on hand.
Stuffing: For the cushion’s filling, options include polyester fiberfill, foam, or even old pillows. Eco-friendly alternatives like shredded memory foam, natural wool, or recycled fabric scraps can also be effective and sustainable choices.
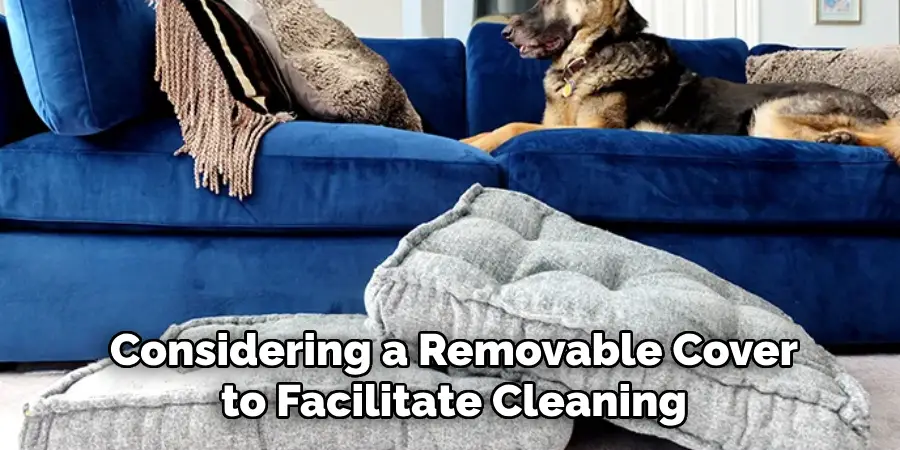
Zipper or Velcro (Optional): If you opt for removable covers, include a zipper or Velcro to simplify the cleaning process.
Thread and Needle (or Sewing Machine): Use heavy-duty thread to create strong seams, especially if the cushion is used frequently. A sewing machine can expedite this process, though a needle and thread suffice if you prefer sewing by hand.
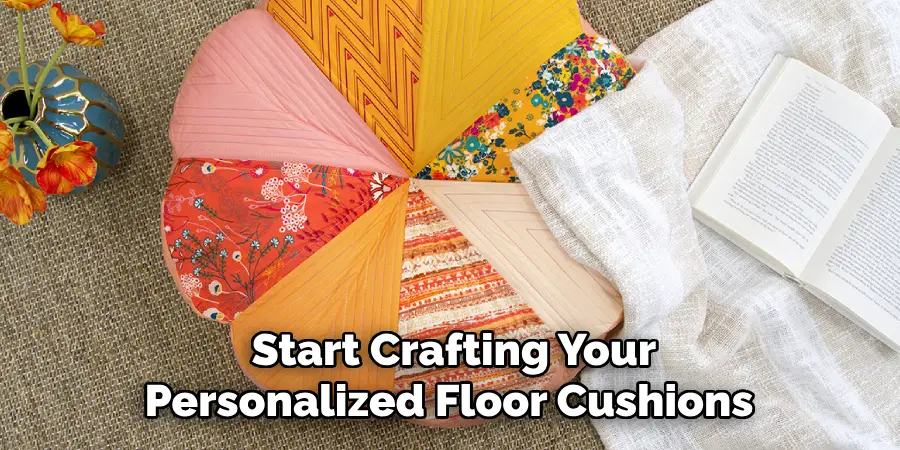
Other Tools: Ensure you have a measuring tape or ruler for precise measurements. Scissors or a rotary cutter will be needed to cut your fabric, while pins are essential for holding the fabric in place during sewing. By preparing these materials and tools, you’ll be set to start crafting your personalized floor cushions with ease.
How to Make Floor Cushions: Measuring and Cutting the Fabric
Step 1: Decide on the Size of the Cushion
Before you start cutting, determine the size and shape you want your floor cushion to be. Standard floor cushions are typically around 20-30 inches square, but you can design larger or smaller ones to suit your space and needs. Besides the length and width, consider the thickness of your cushion for added comfort. A cushion thickness between 4-6 inches is generally ideal, providing ample support and comfort for lounging or sitting.
Step 2: Measure and Mark the Fabric
Start by measuring and marking the fabric to cut two identical squares or rectangles based on your chosen cushion size. Add an extra inch on all sides as seam allowances for sturdy seams. For instance, if you’ve decided on a 24-inch square cushion, cut two fabric pieces, each measuring 25 inches by 25 inches. Use tailor’s chalk or washable fabric markers for marking, ensuring straight, clear lines for guidance.
Step 3: Cut the Side Panels
Next, cut strips of fabric for the cushion’s sides. These strips will form the side panels of your floor cushion. The width of each strip plus seam allowances should equal the desired thickness of your cushion; for instance, for a cushion that’s 4 inches thick, cut strips 5 inches wide. To determine the length of these strips, calculate the perimeter of the cushion (e.g., for a 24-inch square, the perimeter is 96 inches) and cut enough strips to total this length.
Step 4: Cut the Fabric for the Zipper Panel (Optional)
Incorporate a zipper if you’re considering a removable cover to facilitate cleaning. Cut a fabric strip the same length as one side of your cushion, typically one strip for a square cushion. Make this strip slightly narrower, around 2 inches wide, so that it fits seamlessly along the edge of the side panel. This adjustment allows the zipper to blend neatly into the cushion’s design while providing easy access for cover removal and cleaning.
How to Make Floor Cushions: Sewing the Cushion Cover
Step 1: Sew the Side Panels Together
Begin by pinning the side fabric strips together to create a continuous loop that will fit around the edge of the cushion. Carefully align the ends of each strip, ensuring they form a smooth circle or rectangle, depending on your cushion’s shape. Once pinned, sew the ends together using a half-inch seam allowance for durability. To guarantee that the cushion has a polished, smooth finish, press the seams flat with a warm iron, giving the edges a neat appearance.
Step 2: Attach the Zipper (If Using One)
If you’ve chosen to include a zipper for a removable cover, start by pinning the zipper panel to one of the side panels. Position the zipper centrally along the fabric strip to ensure it is accessible and fits seamlessly into the cushion’s design. Carefully sew the zipper into place using a zipper foot on your sewing machine. After securing the zipper, sew the ends of the zipper panel onto the rest of the side panels, completing the loop with the zipper incorporated.
Step 3: Pin and Sew the Side Panel to the Top Piece
With the side panel loop prepared, it’s time to attach it to the top square piece of fabric. Position the top piece face down, aligning it with the side panel’s right side. Use pins to secure the edges, ensuring they are evenly lined up. Proceed to sew around the entire perimeter of the top square, maintaining a consistent ½-inch seam allowance. This step forms the top of your cushion cover, ready to be filled with the chosen stuffing.
Step 4: Attach the Bottom Piece
Next, pin the bottom square piece of fabric to the open side of the side panel loop. Again, confirm that all edges meet precisely for a seamless fit. As you sew around the edges, leave a small gap if you are not using a zipper so you can turn the cover inside out and fill it with stuffing. This gap should be just large enough to comfortably insert the filling material without stretching the fabric.
Step 5: Turn the Cushion Cover Right Side Out
After the top and bottom pieces are securely attached, you’ll need to turn the cover right side out. Carefully pull the fabric through the opening or zipper, pushing the fabric corners with your fingers to achieve sharp, well-defined corners. This final step prepares the cushion for stuffing, completing the cover construction with a neatly finished look and feel, ready for your personal touches.
Stuffing the Cushion
Step 1: Stuffing with Fiberfill
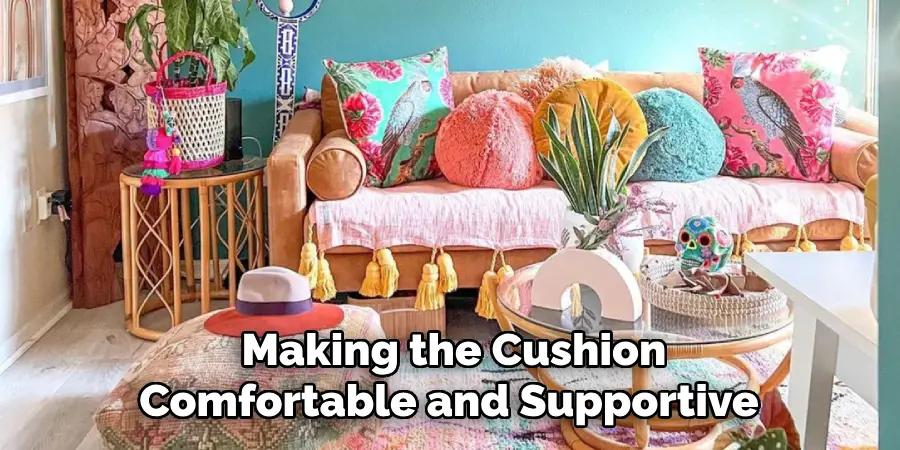
If you’re opting for polyester fiberfill as your stuffing choice, carefully pull apart the filling to increase its fluffiness. This step is crucial as it prevents lumps and allows for a smooth, uniform filling. Insert the fiberfill into the cushion cover gradually, pushing the material into the corners first. This ensures that the cushion has defined edges and a neatly filled appearance. Continue to add the filling, assessing the firmness as you go, until the cushion is fully stuffed. The goal is to achieve an even distribution of fiberfill, making the cushion comfortable and supportive across its entire surface.
Step 2: Using Foam Inserts
For those choosing to use a foam insert, precision is key. Before insertion, ensure that the foam is cut exactly to the cushion’s dimensions for a tailored fit. With properly sized foam, gently insert it into the cover through the zipper or opening. Adjust the foam to sit evenly inside, smoothing any bunching or gaps. Foam inserts provide a more structured and sleek appearance, which is ideal for cushions meant to offer firmer support or a more polished aesthetic. This structured look ensures the cushion maintains its shape over time.
Step 3: Adding Extra Layers (Optional)
To elevate the cushion’s comfort and plushness, consider adding an additional layer around the foam insert. Wrapping the foam in polyester batting or fabric scraps offers more padding and a plush finish. This extra cushioning adds to the luxurious feel and enhances the cushion’s overall comfort. Ensure the additional layer is evenly wrapped around the foam to avoid uneven surfaces or discomfort.
Step 4: Close the Cushion
Once the cushion is filled with your chosen stuffing, it’s time to close it securely. If your cushion design includes a zipper, simply close the zipper. However, if you opted for a design without a zipper, you’ll need to hand-sew the opening closed. Use a slip stitch to create an invisible seam that blends seamlessly into the cushion’s fabric. This closing method secures the stuffing and contributes to a polished, professional finish, making your floor cushion ready for immediate use.
Conclusion
Creating your own floor cushions is a rewarding and practical DIY project that combines creativity with functionality. This process, from cutting fabric panels to stuffing comfortably with fiberfill or foam inserts, offers you immense creative freedom. By following our guide on how to make floor cushions, you can customize the size, fabric, and style to suit your personal tastes and home décor.
This project is about crafting a piece of furniture and expressing individuality through endless possibilities of textures, colors, and decorative elements. Experiment with various materials and patterns to design unique cushions that reflect your aesthetic preferences. Whether you opt for a minimalist look or an array of vivid colors and prints, each floor cushion can become a personalized piece defining your space’s character, proving that a simple DIY project can significantly impact home comfort and style.
About
Angela is the chief editor of Indoorense. She began her career as an interior designer before applying her strategic and creative passion to lifestyle and home.
She has close to 15 years of experience in creative writing and online content strategy for housekeeping and cleaning,home decorations as well as other efforts.
She loves her job and has the privilege of working with an extraordinary team. She lives with her husband, two sons, and daughter in Petersburg. When she’s not busy working she spent time with her family.