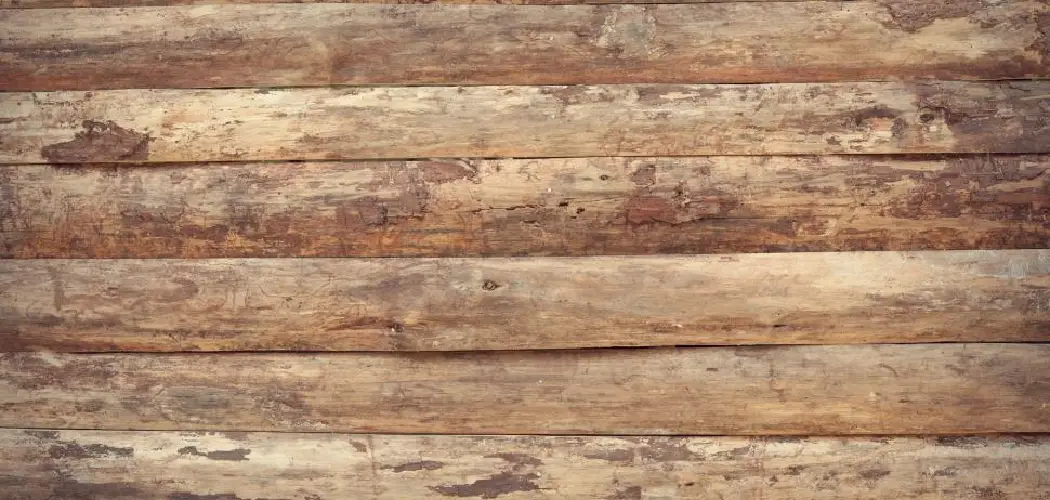
Creating a wood accent wall can completely transform the look of any room, offering a warm and inviting aesthetic without the need for a major renovation. Best of all, it can be achieved on a budget with some ingenuity and a bit of elbow grease.
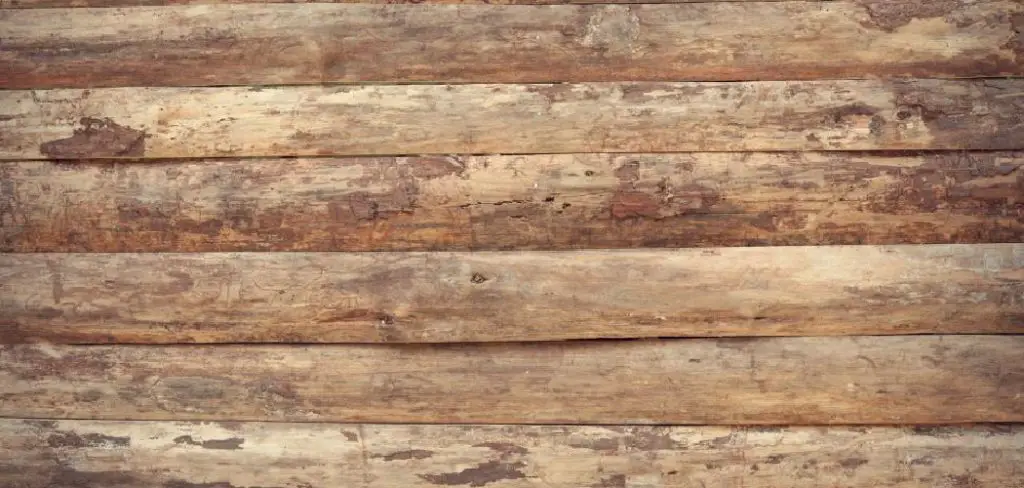
Whether you’re using reclaimed wood, plywood, or budget-friendly alternatives, this DIY project provides an opportunity to add a personal touch to your living space.
In this guide on how to make a wood accent wall cheap, we will walk you through the steps to make your own stylish wood accent wall without breaking the bank, ensuring professional results even for beginners.
Why Choose a Wood Accent Wall?
Before we dive into the steps, let’s first discuss why you should consider adding a wood accent wall to your home. First and foremost, it adds texture and warmth to any room, creating an inviting atmosphere. It also serves as a focal point, drawing attention and adding visual interest.
Additionally, a wood accent wall can be customizable to fit any style or theme. You can choose from different types of wood, stains, and patterns to create a unique look that suits your personal taste.
Materials Needed
To get started on your budget-friendly wood accent wall project, you’ll need the following materials:
Wood:
Your choice of wood will depend on your personal preference and budget. Reclaimed wood can add character and charm, but it can also be more expensive. Alternatively, you can use plywood or even budget-friendly alternatives like thin wooden sheets or pallet wood.
Measuring and Cutting Tools:
To ensure precise measurements and clean cuts, you’ll need measuring tools like a tape measure and a square. For cutting the wood, you can use a circular saw or hand saw.

Adhesive:
Depending on the type of wood you choose, you may need an adhesive to stick it to the wall. This can include wood glue or construction adhesive.
Nails and Hammer:
If using thinner wooden sheets or plywood, you’ll also need nails and a hammer to secure them to the wall.
Sandpaper:
Sandpaper will be essential to smooth out any rough edges or imperfections in the wood.
8 Step-by-step Guidelines on How to Make a Wood Accent Wall Cheap
Step 1: Measure and Plan
Before you begin cutting or attaching any wood, it’s essential to measure your wall accurately and plan the design. Start by measuring the height and width of the wall where the accent will be placed. This will help you determine the total area you need to cover and how much wood material you’ll require. Consider the design you want to achieve—whether it’s a simple horizontal pattern, a vertical layout, or something more intricate like a chevron or herringbone pattern.
Sketch your ideas on paper or use design software to visualize how the finished wall will look. Planning at this stage ensures that you efficiently use materials and avoid mistakes during the installation process. This step will save time and resources, setting a solid foundation for the next steps in building your wood accent wall.
Step 2: Prepare the Wood
Once you’ve completed your measurements and design planning, it’s time to prepare the wood for installation. Begin by selecting the pieces of wood that you will use based on your earlier measurements and patterns. If you’re using reclaimed wood, inspect each piece for nails, screws, or other hardware that must be removed to ensure a safe and smooth finish. For any type of wood you choose, it’s essential to sand down the surfaces. This not only smooths out imperfections but also helps to enhance the look and feel of the wood, making it more visually appealing. Use sandpaper with a medium grit to start, and finish with a finer grit for a polished appearance.
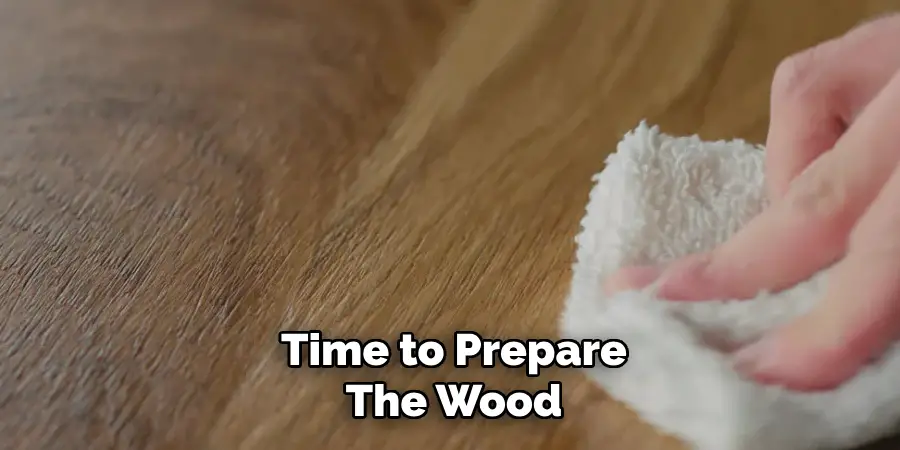
Next, consider applying a stain or finish to your wood pieces, depending on the desired aesthetic. A stain can highlight the natural grain of the wood, while a clear sealant can protect against wear and tear. Allow any stains or finishes to dry completely before proceeding to the next step. Properly preparing your wood ensures that your accent wall looks professional and lasts for years to come.
Step 3: Cut the Wood
Using your measurements and design plan, begin cutting the wood pieces to fit your wall. If using reclaimed wood or pallets, this step may require additional tools such as a sawzall or jigsaw. For plywood or thin wooden sheets, use a circular saw for straight cuts or a hand saw for more intricate patterns.
Remember to measure twice and cut once to avoid any mistakes that could lead to wasted materials. It’s also helpful to label each piece with its placement on the wall to make installation easier later on.
Step 4: Prepare the Wall
Before attaching any wood pieces, you’ll need to prepare the wall by making sure it’s clean and smooth. Any bumps, holes, or imperfections can affect the appearance of your wood accent wall and may even cause issues with installation. Use a sanding block to smooth out any rough spots and fill in any holes with a spackling compound. Allow the compound to dry before sanding it down for a seamless finish.
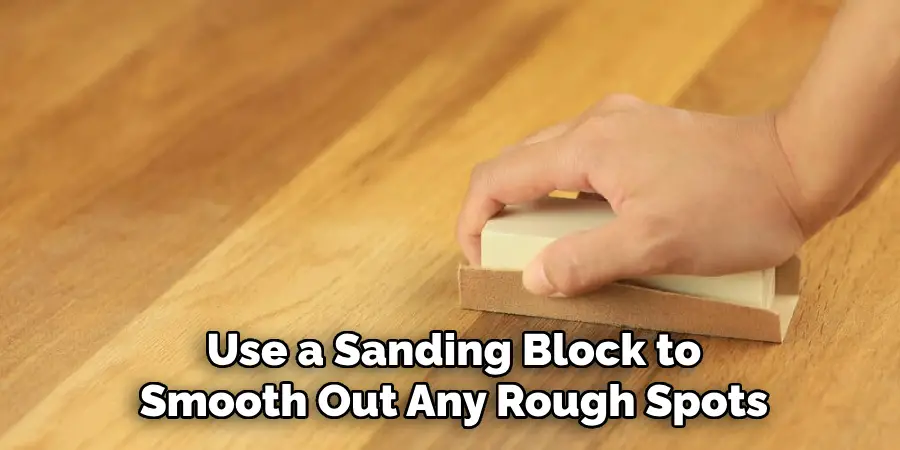
It’s also a good idea to use a level and mark grid lines on the wall to ensure your wood pieces are straight during installation.
Step 5: Install the Wood
Now that everything is prepared, it’s time to start installing the wood onto the wall. Begin at one corner and work your way across, following your design plan. For reclaimed wood or pallets, you can use construction adhesive to stick them directly onto the wall. For plywood or thin wooden sheets, you’ll need to secure them with nails or screws. Remember to use your level to ensure each piece is straight before moving on to the next.
You may need to make cuts or adjustments as you go, depending on the size and shape of your wall. This step may take some time and patience, but the end result will be worth it.
Step 6: Fill in Gaps
After installing all the wood pieces, it’s common to encounter small gaps or seams between boards, especially if reclaimed wood might have an irregular shape. To fill in these gaps and achieve a more seamless appearance, you can use wood filler or caulk. Choose a filler that closely matches the color of your wood or consider a stainable option so you can apply a consistent finish.
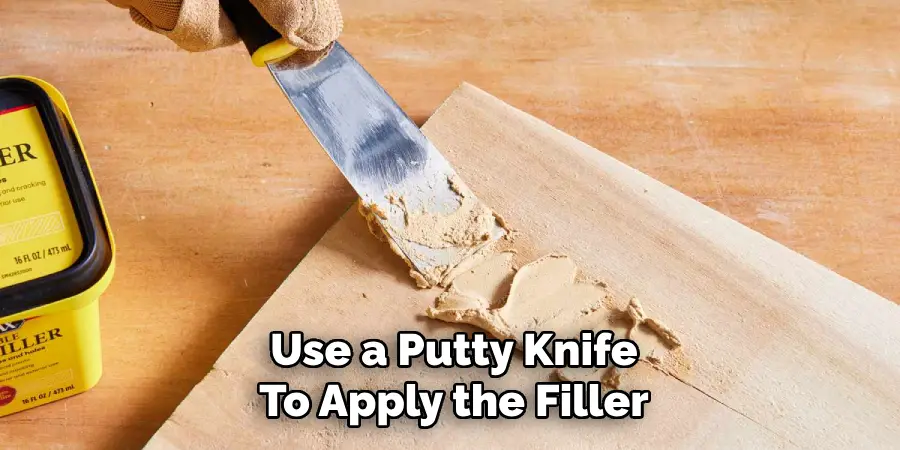
Use a putty knife to apply the filler into the gaps, ensuring it is pressed in well. Wipe away any excess with a damp cloth and allow the filler to dry according to the product instructions. Once dried, lightly sand the filled areas to ensure they’re smooth and even with the surrounding wood. This step not only improves the visual appeal of your accent wall by creating a clean, professional look but also aids in preventing dust or debris from accumulating in the gaps over time.
Step 7: Finishing Touches
With the wood accent wall installed and gaps filled, it’s time to add any finishing touches. This can include additional sanding to smooth out any rough spots or staining the wood for a more cohesive look. You can also consider adding trim pieces around the edges of the wall for a polished appearance.
Remember to let any finishes dry completely before moving on to hanging decorations or furniture that will be placed against your new accent wall.
Step 8: Enjoy Your New Wood Accent Wall
Congratulations! You’ve successfully completed all the steps and now have a beautiful, customized wood accent wall in your home. Take a step back and admire your hard work and attention to detail, and enjoy the unique touch it adds to your space. Your new accent wall will not only enhance the visual appeal of your home but also serve as a conversation starter for guests. Whether you choose to use reclaimed wood for a rustic feel or opt for a more modern design, a wood accent wall is sure to add character and warmth to any room. So sit back, relax, and enjoy the cozy atmosphere created by your stunning wood accent wall. Happy decorating!
Following these steps on how to make a wood accent wall cheap, you can easily create a beautiful and personalized wood accent wall in your home. However, don’t be afraid to get creative and try different techniques or materials to make your accent wall truly unique. With a solid foundation in place, the possibilities are endless for future renovations or updates to your wood accent wall.
So have fun and let your imagination run wild! Additionally, don’t forget to properly maintain your wood accent wall by periodically cleaning and inspecting for an extended lifespan. With a little bit of effort and planning, you can have a gorgeous wood accent wall that will continue to bring joy and style to your home for years to come.

Frequently Asked Questions
Q: Is It Expensi Ve to Create a Wood Accent Wall?
A: It can be affordable, especially if you use reclaimed or inexpensive materials. With some DIY skills, creating a wood accent wall can be a budget-friendly home improvement project.
Q: How Long Does It Take to Create a Wood Accent Wall?
A: The time it takes to create a wood accent wall depends on the size of your wall, the materials used, and your level of experience. On average, it can take anywhere from a few hours to a full day.
Q: Can I Create a Wooden Accent Wall in Any Room?
A: Absolutely! A wood accent wall can be added to any room including bedrooms, living rooms, entryways, and even bathrooms. Just make sure the wall is clean and prepared properly before installation.
Q: Is It Easy to Install a Wood Accent Wall?
A: With the right tools and techniques, installing a wood accent wall can be relatively easy. However, it’s important to carefully measure and plan beforehand for the best results.
Conclusion
Creating a wood accent wall in your home is an excellent way to infuse character and warmth into any space. By following a few straightforward steps on how to make a wood accent wall cheap and investing some time and effort, you can achieve a stunning feature that can transform the ambiance of your room.
Not only does a wood accent wall provide a unique focal point, but it also offers flexibility in terms of design and materials. Whether you choose rustic reclaimed wood or sleek, modern finishes, the possibilities are endless. Moreover, by utilizing budget-friendly materials and a DIY approach, this project can be accessible to almost any homeowner.
Remember to maintain your accent wall properly to preserve its beauty and functionality over time. Let this be a stepping stone to exploring more creative home improvement projects that can add value and personal flair to your living spaces.
About
Angela is the chief editor of Indoorense. She began her career as an interior designer before applying her strategic and creative passion to lifestyle and home.
She has close to 15 years of experience in creative writing and online content strategy for housekeeping and cleaning,home decorations as well as other efforts.
She loves her job and has the privilege of working with an extraordinary team. She lives with her husband, two sons, and daughter in Petersburg. When she’s not busy working she spent time with her family.

