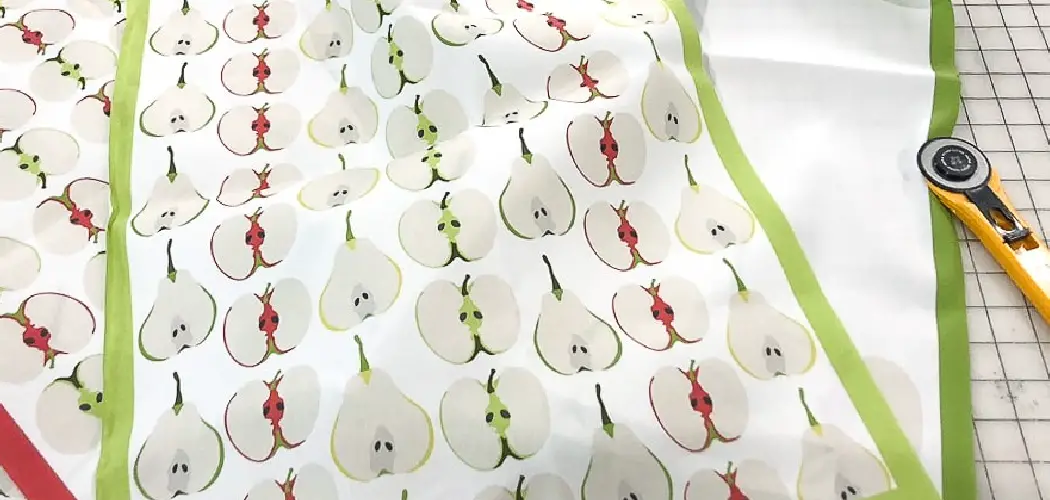
Are you tired of using paper towels to clean spills or dry dishes? Look no further than a tea towel! These thin, absorbent cloths are perfect for cleaning, drying, and covering food. Plus, they’re eco-friendly and can be customized to match your kitchen decor.
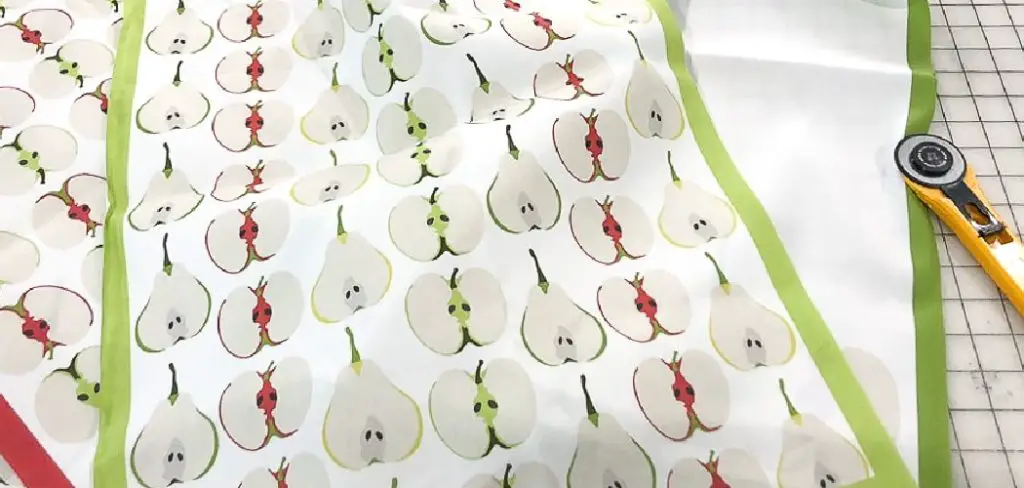
How to make a tea towel is a straightforward and rewarding project that can add a personal touch to your kitchen decor. Whether you want to customize your kitchen essentials or create a heartfelt homemade gift, crafting a tea towel allows for creativity and practicality. This simple sewing project is suitable for beginners and does not require an extensive list of materials, making it an accessible and enjoyable activity.
In the following sections, we will guide you through the essential steps and tips for producing a beautiful and functional tea towel easily.
What Will You Need?
- Cotton Fabric: Choose a lightweight, absorbent fabric such as flour sack or terry cloth. You can also opt for patterned or plain cotton fabric to match your style.
- Sewing Machine: While it is possible to hand-sew your tea towel, using a sewing machine will make the process faster and more efficient.
- Thread: Use a thread color that complements your fabric choice.
- Scissors: A sharp pair of scissors will make cutting your fabric more accessible and more precise.
- Pins: These are essential for holding the fabric in place while you sew.
- Iron and Ironing Board: Pressing your fabric before sewing will ensure clean and crisp edges on your finished product.
- Fabric Marker or Pencil: This will be useful for marking out your measurements and lines.
- Ruler or Measuring Tape: Accurate measurements are crucial for a well-made tea towel, so make sure you have a ruler or measuring tape on hand.
10 Easy Steps on How to Make a Tea Towel
Step 1: Preparing Your Fabric
First, you’ll want to pre-wash your cotton fabric. This step is important, as it helps remove any chemicals from the manufacturing process and minimizes the risk of shrinkage later on. Once the fabric is washed and dried, press it with your iron to remove any wrinkles and ensure it’s flat and smooth.
Next, measure and cut your fabric to the desired size. A standard tea towel is typically 18×28 inches, but you can adjust the dimensions according to your preferences or the size of your fabric. Use your ruler or measuring tape to mark these measurements on the fabric with your fabric marker or pencil, then carefully cut along the lines using your scissors.
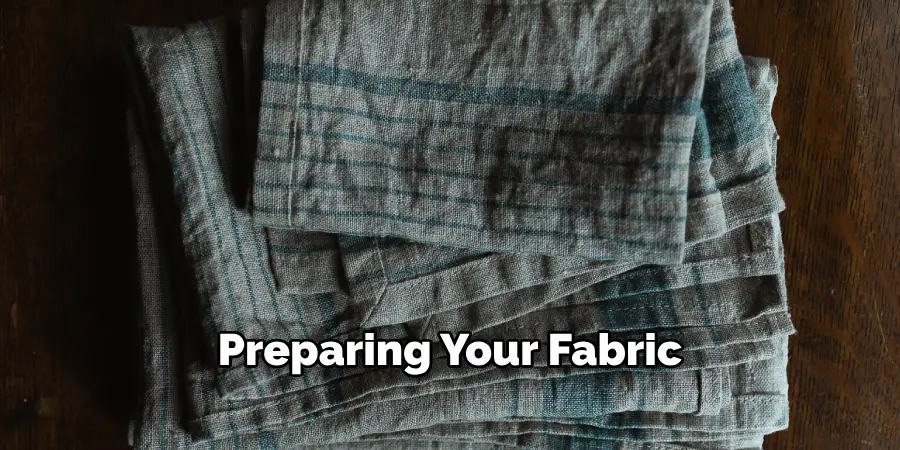
After cutting, it’s time to prepare the edges for sewing. Fold each edge of the fabric over by approximately half an inch and press the fold with your iron. This pre-folded edge will make it easier to sew a neat hem and also prevent the fabric from fraying. Secure the folds using pins, ensuring the corners are correctly aligned for a smooth finish. You’re ready to sew the hems with the fabric edges prepared and pinned.
Step 2: Sewing the Hems
Continue sewing along all four fabric sides, maintaining a consistent seam allowance. As you reach each corner, leave the needle in the fabric, lift the presser foot, and pivot the fabric to turn the corner smoothly. Lower the presser foot and continue sewing along the next edge. This technique ensures clean and precise corners, giving your tea towel a professional finish. Once all sides have been hemmed, give the towel one final press with the iron to set the seams. Your custom tea towel is now complete and ready to use!
Step 3: Adding Decorative Touches
Consider adding decorative elements such as embroidery, fabric paint, or appliqué to personalize your tea towel further. If you’re adding embroidery, choose a simple design or pattern and use an embroidery hoop to keep the fabric taut as you stitch. Fabric paints or markers can directly add vibrant colors and patterns to the towel. For appliqué, cut shapes from fabric scraps and sew or glue them onto the towel. These creative touches enhance the look of your tea towel and make it a unique accessory or a customized gift for friends and family. As always, ensure that any additional embellishments are securely attached and able to withstand washing.
Step 4: Caring for Your Tea Towel
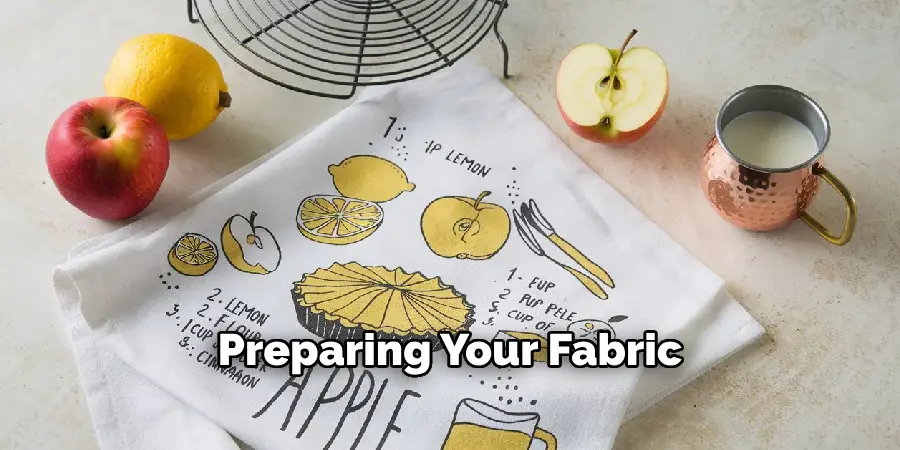
Proper care will prolong the life and appearance of your newly crafted tea towel. Wash the tea towel in cold or warm water to maintain its color and fabric integrity and use a gentle detergent. Avoid using bleach, as it can cause discoloration or damage to the fabric and any decorative elements. For drying, you can tumble dry on a low setting or hang it to air dry. If needed, you can iron the tea towel to remove any creases, ensuring that it remains as beautiful and functional as the day you made it. With these care tips, your tea towel will remain a staple in your kitchen for years to come.
Step 5: Using Your Tea Towel
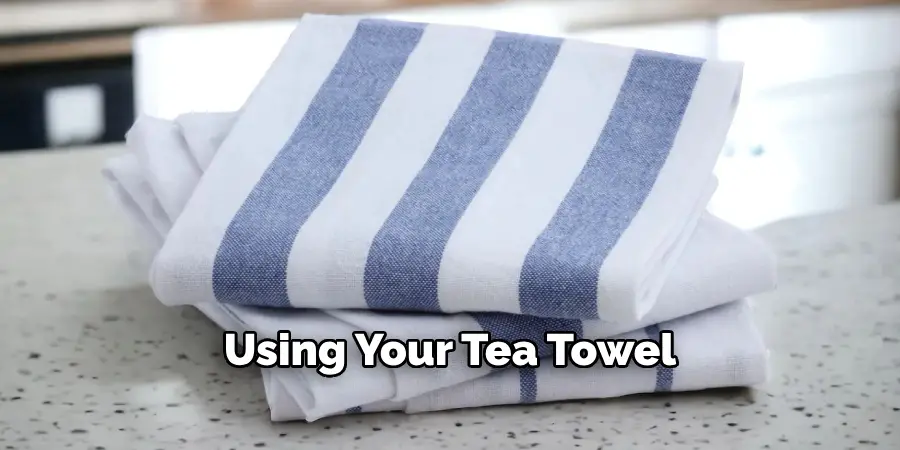
Now that your tea towel is complete, it’s time to enjoy its versatility in the kitchen. Whether you’re using it to dry dishes, cover rising dough, or as a stylish hand towel, your handmade creation will serve both functional and aesthetic purposes. Its absorbent nature makes it ideal for quick clean-ups, while its design can complement your kitchen decor. Moreover, using your handmade tea towel can add a personal element to your everyday routine, bringing a sense of achievement and creativity into your daily life.
Step 6: Gifting Your Tea Towel
Handmade tea towels make for thoughtful and personalized gifts that friends and family will cherish. To prepare your tea towel as a gift, consider adding a few extra touches to enhance its presentation. You can neatly roll up the tea towel and secure it with a ribbon or twine, attaching a small tag with a message or recipient’s name. Pair the towel with kitchen accessories or home-baked goods to create a themed gift set. This personal touch shows that you took the time and effort to craft something unique, making your gift memorable. Whether for a housewarming, holiday, or a simple gesture of appreciation, a handmade tea towel is a delightful and practical gift option.
Step 7: Repurposing Old Tea Towels
If you have old tea towels that are no longer in prime condition, consider repurposing them to extend their life and usefulness. These worn towels can be transformed into cleaning rags, reusable dust cloths, or even cut into smaller pieces for polishing various surfaces. Another creative option is to use them as stuffing material for pet beds or draft stoppers. By repurposing your old tea towels, you reduce waste and make the most out of the materials you have, embracing a sustainable approach in your household.
Step 8: Organizing Your Tea Towel Collection
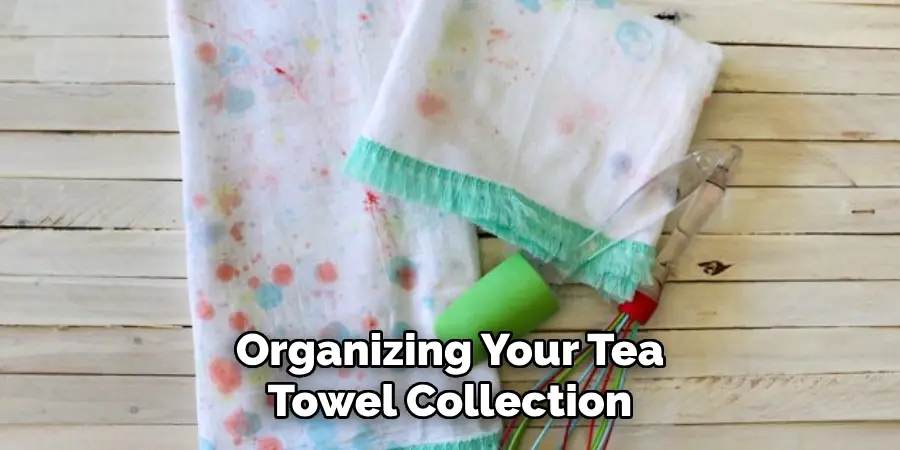
A growing collection of tea towels can bring joy and utility to your kitchen, but it’s essential to keep them organized to maximize their use and aesthetic value. Start by designating a specific drawer or shelf space for your tea towels, ensuring easy access when needed. Consider sorting them by color or pattern to make selection quick and to better blend with your kitchen decor. Using dividers or baskets can help maintain order within your designated space, preventing towels from becoming a jumbled mess. Additionally, rotating your towels regularly allows even wear and ensures that cherished handmade or decorative pieces are preserved for special occasions.
Step 9: Displaying Your Tea Towels in Style
Consider various stylish display options around your kitchen to highlight the beauty and craftsmanship of your tea towels. Hanging them on hooks or decorative rods near the sink or stove keeps them within easy reach and adds a charming touch to your kitchen decor. You might also drape them over handles on your oven or refrigerator for a classic, effortless look. When hosting guests, consider using tea towels as placemats or napkin alternatives to showcase their design and give your table setting a unique flair.
Step 10: Experimenting with New Designs
As you become more confident in your tea towel crafting, don’t hesitate to experiment with new designs and techniques to expand your creative repertoire. For varied textures and durability, consider exploring different fabric types such as linen, cotton blend, or even organic materials. Play with dyeing techniques to create ombre effects or tie-dye patterns that provide a fresh and modern twist. You can also incorporate seasonal or thematic designs, using stencils or stamps for a quick and crisp application. You can continuously evolve your style and keep your collection exciting and versatile through experimentation.
By following these steps and tips, you can enjoy the satisfaction of creating practical yet charming tea towels for your home.
Conclusion
Crafting your tea towel is not just about producing a functional kitchen accessory but also about channeling creativity, personalizing your space, and offering heartfelt gifts.
The process starts with selecting suitable materials, exploring design options, and sewing with attention to detail. As you progress, the opportunity to embellish and care for your creation enriches the experience, leading to a versatile final product. Whether kept for personal use or given as a treasured gift, handmade tea towels reflect effort and creativity.
Hopefully, the article on how to make a tea towel has inspired you to try your hand at this satisfying and enjoyable craft. So gather your materials, let your creativity flow, and create a beautiful tea towel that will add both function and charm to your kitchen. Happy crafting!
About
Angela is the chief editor of Indoorense. She began her career as an interior designer before applying her strategic and creative passion to lifestyle and home.
She has close to 15 years of experience in creative writing and online content strategy for housekeeping and cleaning,home decorations as well as other efforts.
She loves her job and has the privilege of working with an extraordinary team. She lives with her husband, two sons, and daughter in Petersburg. When she’s not busy working she spent time with her family.

