

Sliding doors are a popular choice for both interior and exterior spaces due to their ability to save space and provide easy access. However, sliding doors can become difficult to open and close over time. This can be due to various factors, such as dirt buildup in the tracks, worn rollers, or misalignment. Struggling with a sticky sliding door can be frustrating, but the good news is that fixing it is often simple and can be done with basic tools. This guide will walk you through several steps to make your sliding door glide smoothly again.

Whether it’s a glass patio door, a closet door, or a shower door, these tips will help you identify the cause of the problem and restore your door’s functionality. Understanding how to make a sliding door slide easier will enhance convenience and prolong your door system’s lifespan.
Clean the Tracks
Step 1: Remove Debris from the Track
Over time, dirt, dust, pet hair, and other debris can accumulate in the sliding door track, causing friction and making the door slide harder. To clean the track, use a vacuum with a narrow attachment to remove any loose dirt or debris. Pay special attention to the bottom track, where most of the buildup occurs. Thoroughly removing this loose material will lay the groundwork for a smoother sliding door experience.
Step 2: Scrub the Track
Once you’ve removed loose debris, you may still notice grime stuck to the track. Use a stiff brush, old toothbrush, mild detergent, or cleaning solution to scrub the tracks thoroughly. A mixture of water and white vinegar can be effective for stubborn grime or mold. Scrub the track until it is clean, and then wipe it down with a damp cloth to remove any residue. This step is critical in eliminating any hidden dirt layers contributing to door movement resistance.
Step 3: Dry the Track
After cleaning the track, dry it completely to prevent rust or further buildup. Use a dry microfiber cloth or towel to wipe the track dry. For metal tracks, especially on exterior doors, you can use a hair dryer to speed up the drying process and remove all moisture. Keeping the track dry prevents rust and discourages dirt adhesion, preserving the clean state you’ve achieved.
Step 4: Inspect for Damage
While cleaning the tracks, inspect them for any visible damage, such as dents or bends. Damaged tracks can impede the door’s movement. If you notice any major issues, you may need to repair or replace the track to restore proper function. Catching and addressing these potential problems early can save significant time and effort in maintaining the smooth operation of your sliding door. Regular inspections can flag minor issues before they develop into larger concerns, prolonging the life and efficiency of your sliding door system.

How to Make a Sliding Door Slide Easier: Lubricate the Track and Rollers
Step 1: Choose the Right Lubricant
A well-lubricated track and rollers are essential for smooth sliding. Avoid using oil-based lubricants like WD-40, as they can attract dirt and worsen the problem over time. Instead, opt for a silicone-based lubricant, which doesn’t attract dust and is safe for both metal and plastic parts. Silicone lubricants ensure long-lasting, clean lubrication suitable for sliding door systems.
Step 2: Apply Lubricant to the Track
After cleaning and drying the track, apply a thin layer of silicone spray along its length. Make sure to spray both the upper and lower tracks to ensure comprehensive coverage. Use a cloth or paper towel to evenly spread the lubricant and wipe away any excess. This will help maintain a smooth, uninterrupted glide for your sliding door.
Step 3: Lubricate the Rollers
If your sliding door has rollers that move along the track, they must also be lubricated. Open the door to expose the rollers on the bottom and top of the door (depending on the type of sliding door). Spray a small amount of silicone lubricant directly onto the rollers. Once applied, move the door back and forth to distribute the lubricant evenly. Well-lubricated rollers can significantly enhance the door’s performance and longevity.
Step 4: Test the Door
Once you’ve applied the lubricant, slide the door open and close several times to ensure the lubricant is evenly spread. You should notice a significant improvement in how easily the door moves. If the door still sticks or resists movement, consider additional adjustments or inspect whether roller replacements might be necessary. Regular lubrication and maintenance can prevent persistent issues, preserving your sliding door system’s functionality and ease of use.

How to Make a Sliding Door Slide Easier: Adjust the Door Rollers
Step 1: Locate the Roller Adjustment Screws
Sliding doors typically have rollers that can be adjusted to change the height of the door and ensure smooth operation. These rollers are located at the bottom or top of the door, and you can usually access them through small adjustment holes or slots on the side of the door frame. You may need a screwdriver to make adjustments. The roller adjustment screws are often hidden behind caps or covers, which can be pried off gently with a flathead screwdriver to reveal the screws. Once located, proceed with the necessary adjustments to fine-tune the door’s movement.
Step 2: Adjust the Height of the Door
Use a screwdriver to turn the adjustment screw clockwise to raise the door or counterclockwise to lower it. Adjusting the height ensures that the door is level and properly aligned with the track. Raising the rollers slightly if the door is dragging along the bottom track can help prevent friction and make it easier to slide. Make small incremental adjustments and check the level after each one, paying attention to any drag points or irregular movement. Properly leveled doors reduce wear on the track and frame, thereby enhancing the overall door operation and longevity.
Step 3: Balance Both Sides of the Door
Be sure to adjust both sides of the door evenly. If one side is higher, the door may tilt and cause additional strain on the track, making it difficult to open and close. Make small adjustments on each side until the door glides smoothly along the track without sticking or dragging. An even balance facilitates smoother movement and prevents issues like jamming and misalignment that can compromise the door’s functionality. Always check after each adjustment to ensure balance and to maintain alignment with the track.
Step 4: Test the Door
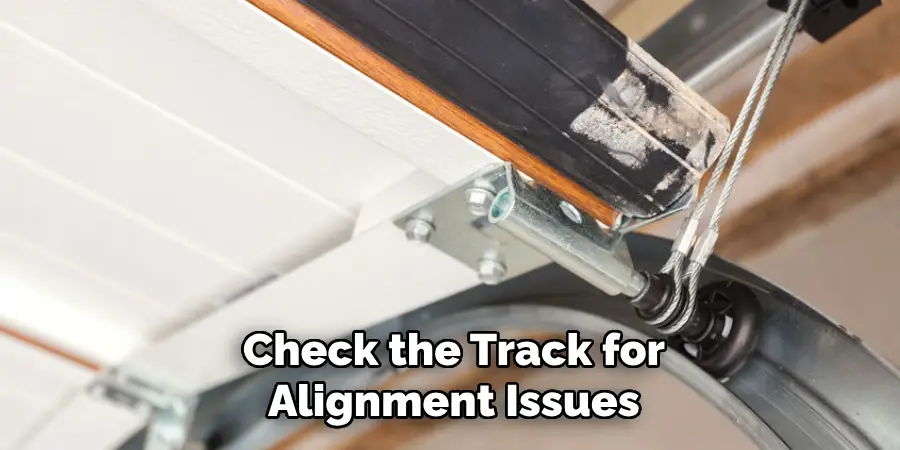
After adjusting the rollers, test the door to see if it slides more easily. Move it back and forth several times to ensure it stays on track and operates without any resistance. If it still feels difficult to slide, check the track for alignment issues or consider replacing the rollers. Sometimes, troubleshooting issues might reveal other underlying problems, such as track warping or roller wear, which could necessitate further maintenance. Continuous testing ensures that any remaining problems are promptly identified and addressed, leading to a more durable, hassle-free sliding door system.
Replace Worn Rollers
Step 1: Identify Worn or Damaged Rollers
If the door still sticks or doesn’t slide smoothly after cleaning, lubricating, and adjusting the rollers, it may be time to replace them. Over time, rollers can become worn, rusted, or damaged, causing them to stop functioning properly. Indications that rollers need replacement include visible wear, unusual noises when operating the door, or persistent resistance even after performing routine maintenance tasks.
Step 2: Remove the Door from the Track
You’ll need to remove the sliding door from the track to replace the rollers. Start by lifting the door up and pulling the bottom out of the track. Depending on the door type, you may also need to remove the door from the top track. Be sure to have someone help you, as sliding doors can be heavy and difficult to maneuver. Lay the door flat on a padded surface to prevent damage while you work on it.
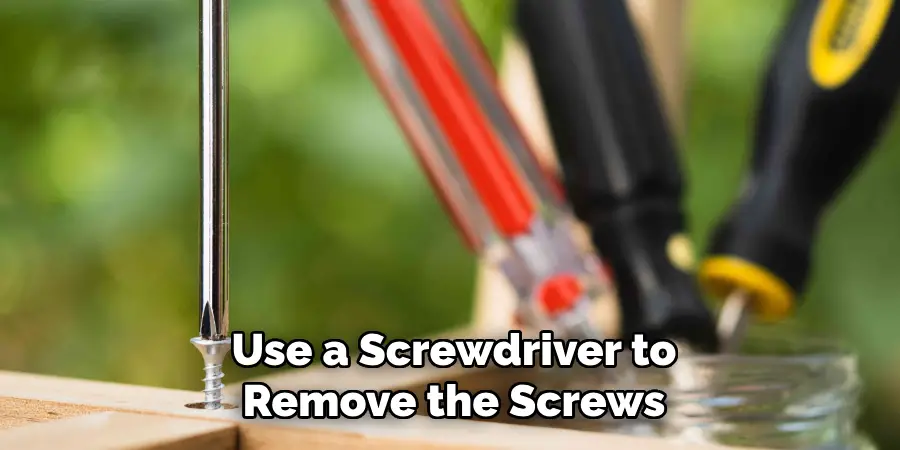
Step 3: Remove the Old Rollers
Once the door is off the track, locate the rollers at the bottom or top of the door. They are typically attached with screws or clips. Use a screwdriver to remove the screws and take out the old rollers. Carefully note the positioning and type of connection, as you’ll need to replicate this setup when installing the new rollers. During this process, check for any other damage or wear around the roller housing.
Step 4: Install New Rollers
Purchase replacement rollers that match the size and type of your sliding door. Install the new rollers by securing them with screws or clips in the same position as the old ones. Make sure the rollers are aligned properly and can rotate smoothly. It is crucial to ensure that the rollers are securely fixed and that there is no wobbling. Poor installation can lead to further damage and affect the door’s functionality.
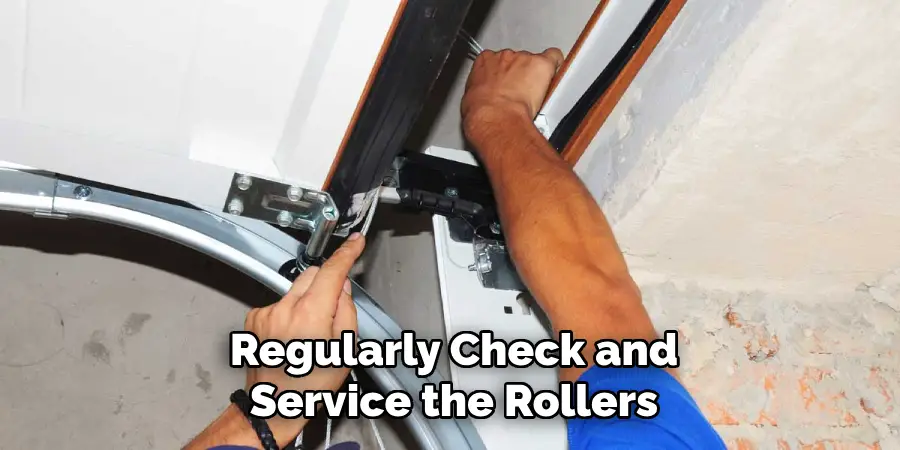
Step 5: Reinstall the Door
After replacing the rollers, carefully lift the door back onto the track. Align the rollers with the track and gently lower the door into place. Ensure the door slides smoothly by testing it multiple times. If necessary, make minor adjustments to the roller height to improve the door’s movement. With the new rollers in place, your sliding door should operate with ease, enhancing both convenience and performance. Regularly check and service the rollers to maintain their condition, prolong their lifespan, and ensure uninterrupted, reliable door operation.
Realign the Sliding Door
Step 1: Check Door Alignment
Misalignment is a common cause of sticking sliding doors. Examine whether your door is properly seated within the track to assess the alignment. Look for indications that one side of the door seems higher or lower than the other, which can cause drag or binding against the frame. Properly aligned doors should run parallel to the track, ensuring smooth and unhindered operation.
Step 2: Adjust the Rollers for Alignment
If you detect any misalignment, return to the roller adjustment screws to make height modifications. Begin by slightly adjusting the roller height on the side that appears higher or lower. The aim is for the door to sit level within the track, avoiding contact with the bottom or bumping against the top of the frame. Make incremental changes and periodically check the door positioning to prevent over-adjustment.
Step 3: Ensure Smooth Operation
After completing the alignment adjustments, test the door by sliding it back and forth to check for any impediments. Observe whether the door moves freely along the track without sticking or creating resistance. If needed, continue to fine-tune the roller adjustments until you achieve a smooth glide and ensure the door remains consistently aligned. Successful realignment of the door enhances operational efficiency and prolongs the life of the sliding door system by minimizing wear and tear on the components. Regular checks can help maintain this alignment, ultimately preventing future misalignment issues.

Conclusion
Fixing a sliding door that doesn’t slide easily is usually straightforward, whether the issue is dirt buildup, lack of lubrication, or worn-out rollers. By following these steps—cleaning the tracks, lubricating the door, adjusting or replacing the rollers, and ensuring proper alignment—you can restore smooth, effortless movement to your sliding door. Regular maintenance is key to keeping your sliding door in good working order.
Clean and lubricate the tracks and rollers periodically to prevent future problems. By implementing these preventative measures, understanding “how to make a sliding door slide easier” becomes second nature, allowing you to capitalize on the full benefits of your door without daily interruptions. With these tips, you can enjoy the convenience of a perfectly functioning sliding door for years to come, ensuring every glide is as effortless as intended.
About
Angela is the chief editor of Indoorense. She began her career as an interior designer before applying her strategic and creative passion to lifestyle and home.
She has close to 15 years of experience in creative writing and online content strategy for housekeeping and cleaning,home decorations as well as other efforts.
She loves her job and has the privilege of working with an extraordinary team. She lives with her husband, two sons, and daughter in Petersburg. When she’s not busy working she spent time with her family.