
Creating a selfie wall is a fun and creative way to personalize a space and provide a perfect backdrop for pictures. Whether you are planning for an event, a party, or simply want to spruce up a room in your home, a selfie wall can be a unique and stylish addition. This guide will walk you through how to make a selfie wall, helping you choose the right theme, materials, and layout to reflect your personality and style. With just a few supplies and a touch of creativity, you can create a captivating display that will delight guests and capture stunning photos.

Importance of a Selfie Wall
A selfie wall serves not only as an aesthetic focal point but also as an interactive element that can enhance the experience of any gathering or space. By providing a designated area for taking photos, it encourages guests to engage and capture memories, making events more memorable.
For businesses, a well-designed selfie wall can be an effective marketing tool, attracting more foot traffic and encouraging social media sharing, which, in turn, increases brand visibility. Additionally, a selfie wall allows individuals to express creativity, explore design possibilities, and personalize their environment, making it a versatile feature that offers both functional and decorative benefits.
Planning Your Selfie Wall
The first step in creating a stunning selfie wall is careful planning. Begin by determining the purpose and theme of your selfie wall. Consider who will be using it and the occasion it serves. Are you aiming for a whimsical look for a party, a sophisticated backdrop for a corporate event, or a cozy, personalized space in your living room? Once you have a clear theme in mind, choose a location that is easily accessible and receives good natural light—this is crucial for taking high-quality photos. Measure the area to ensure enough space for decorations and for people to comfortably stand while taking selfies.
Make a list of materials you might need, such as decorative items, lighting, backdrops, and props, keeping your budget in mind. Map out a layout that incorporates your theme and available materials, remembering that symmetry and balance will often produce the most visually appealing results. With a thoughtful plan in place, you’re ready to start assembling your selfie wall, ensuring it becomes an unforgettable feature of your space.
10 Steps How to Make a Selfie Wall
In the age of Instagram and TikTok, having a dedicated selfie wall can elevate your social media presence and bring a touch of creativity to your home. Whether you’re a DIY enthusiast looking for a new project or a social media influencer aiming to captivate your audience, creating a selfie wall is a fun and rewarding endeavor. In this guide, we’ll walk you through the 10 essential steps to design and construct a stunning selfie wall that will make your photos pop and your followers engage.
Step 1: Choose the Perfect Location
Selecting the right location is crucial. Look for a well-lit area with plenty of natural light to ensure your photos come out bright and vibrant. Ideally, choose a spot with enough space to step back and capture full-length shots.
Step 2: Decide on a Theme
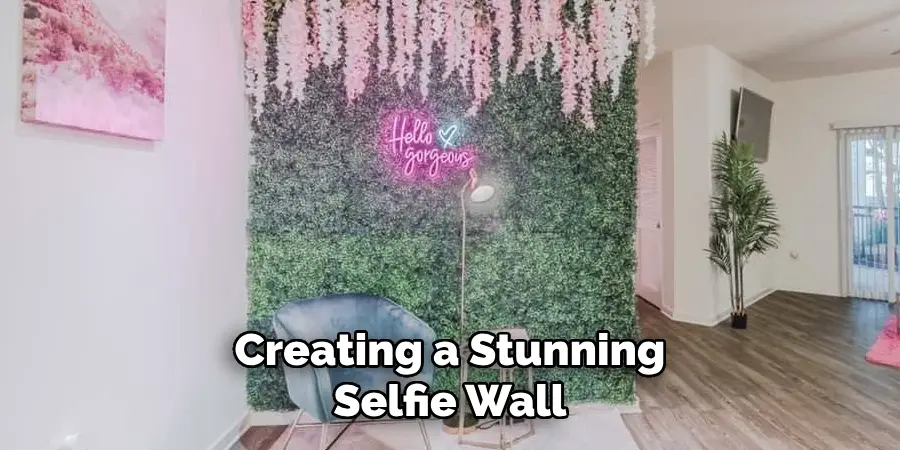
Your selfie wall should reflect your personality or brand. Whether you opt for a floral garden, a neon lights display, or a minimalist aesthetic, ensure your theme is cohesive and aligns with your style. Themes not only set the mood but also make your content more memorable.

Step 3: Gather Materials
Depending on your chosen theme, you’ll need various materials, such as wallpaper, paint, decorative panels, or props. Make a comprehensive list to avoid multiple trips to the store. Incorporating unique textures and patterns can add depth to your photos.
Step 4: Prepare the Wall
Before you start decorating, ensure the wall surface is clean and smooth. Remove any nails, fill in holes, and apply a primer if you plan to paint. A well-prepared surface will ensure your decorations adhere properly and last longer.
Step 5: Paint or Apply Wallpaper
Once the wall is ready, it’s time to add color or texture. If painting, use a roller for even coverage. For wallpaper, follow the manufacturer’s instructions for the best results. Remember, bold patterns can create striking backgrounds, while softer hues offer subtle elegance.
Step 6: Add Decorative Elements
Incorporate decorative elements like mirrors, frames, or fairy lights to enhance the visual appeal. Using various materials will add layers and interest to your wall. Mirrors can also create an illusion of depth and make your space appear larger.

Step 7: Install Props and Accessories
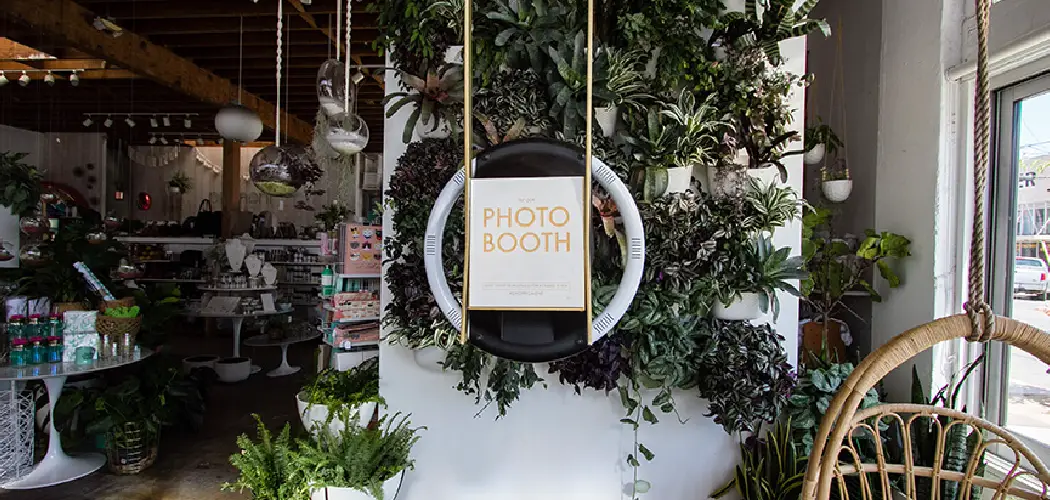
Props can bring your selfie wall to life. Consider adding plants, neon signs, or quirky statues that match your theme. This not only makes your selfies more dynamic but also showcases your creativity.
Step 8: Ensure Lighting is Optimal
Lighting can make or break your selfies. Ensure your wall is well-lit with additional LED lights or ring lights if natural light is insufficient. Optimal lighting will highlight your features and make your photos look professional.
Step 9: Test and Adjust
Before declaring your wall complete, take a few test shots. Check the angles and lighting, and make adjustments as necessary. This trial run ensures that every element works together to produce the perfect picture.
Step 10: Share and Engage
Once your selfie wall is set, start snapping and sharing your photos online. Use relevant hashtags and engage with your audience by asking for their opinions. Your selfie wall could become the next big trend!

Maintenance Tips for Your Selfie Wall
Keeping your selfie wall in top condition is crucial to ensuring it remains a captivating backdrop for all your photography needs. Here are some maintenance tips to consider:
- Regular Cleaning: Dust and grime can accumulate over time, dulling the appearance of your materials. Use a soft cloth or a duster to regularly clean the surface and decorative elements. For more stubborn spots, a mild cleaner can be used, but always test it on a small, inconspicuous area first.
- Lighting Check: Periodically check any lighting fixtures, such as LED or fairy lights, to ensure they are functioning properly. Replace bulbs as needed and ensure wires are safely secured to prevent them from becoming a tripping hazard.
- Inspect Fixtures and Props: Examine the stability and condition of any props or fixtures, especially those that might loosen over time. Tighten screws, replace worn-out adhesive strips, and make necessary repairs to ensure everything remains securely in place.
- Seasonal Updates: To keep your selfie wall fresh and engaging, consider updating the theme or decorations seasonally. Incorporate new colors, patterns, or accessories that reflect current trends or personal milestones.
- Monitor Wear and Tear: With frequent use, some parts of your selfie wall may show signs of wear. Be proactive in repairing or replacing worn-out sections to keep the wall looking pristine and inviting.
By maintaining your selfie wall diligently, you’ll ensure it remains an attractive and functional feature for capturing memorable moments and generating engaging content.
Tips for Achieving the Best Selfie Wall Photos
Capturing stunning photos with your selfie wall requires more than just a great backdrop. Here are some tips to help you take your selfies to the next level:
- Experiment with Angles: Try different angles to find the most flattering perspective for your features. Angling the camera slightly above eye level can accentuate your eyes and minimize shadows.
- Use Props Wisely: Incorporate props that complement your theme without overwhelming the composition. Props should enhance your photo and add personality rather than distract from the main subject—you!
- Play with Poses: Experiment with a variety of poses to find what looks best for you. Slight changes in body positioning, tilting your head, or altering your posture can drastically improve the outcome.
- Enhance with Filters: While your selfie wall provides a great backdrop, filters can add a touch of creativity or mood to your photos. Explore different editing apps and filters to find the right style that matches your aesthetic.
- Focus on Natural Expressions: Relax and have fun to capture natural, candid expressions. Practicing in front of the mirror can help you become more comfortable with your expressions and poses.
- Maintain Consistent Lighting: If shooting at different times of the day, aim to maintain consistent lighting to ensure uniformity across your photos. Investing in a quality ring light can make a big difference in achieving this.
By employing these techniques, you can maximize the potential of your selfie wall and consistently produce photos that are eye-catching and uniquely yours.
Conclusion
Creating a selfie wall is not just about constructing a visually appealing space but also about expressing your unique style and creativity. By following the detailed steps and maintenance tips provided, your selfie wall will remain an alluring backdrop to showcase your personal brand or simply capture delightful memories. As you experiment with your setup and continue to refine your photography techniques, your selfie wall can become a dynamic and ever-evolving element of your environment, ready to impress and inspire. Thanks for reading, and we hope this has given you some inspiration on how to make a selfie wall!
About
Angela is the chief editor of Indoorense. She began her career as an interior designer before applying her strategic and creative passion to lifestyle and home.
She has close to 15 years of experience in creative writing and online content strategy for housekeeping and cleaning,home decorations as well as other efforts.
She loves her job and has the privilege of working with an extraordinary team. She lives with her husband, two sons, and daughter in Petersburg. When she’s not busy working she spent time with her family.