
Lime washing is a centuries-old technique that has been used to beautify and protect walls, giving them a soft, aged appearance with a matte finish.
This natural process not only enhances the aesthetic appeal of surfaces but also offers benefits like breathability and protection against fungal growth. Ideal for both interior and exterior applications, lime wash creates a distinctive look that evolves over time, developing a charming patina.
Whether you’re looking to refresh a tired wall or add character to new construction, lime washing is an environmentally friendly and versatile choice that can transform any space with its unique and timeless charm. In this post on how to lime wash walls, we’ll guide you through the process step by step.

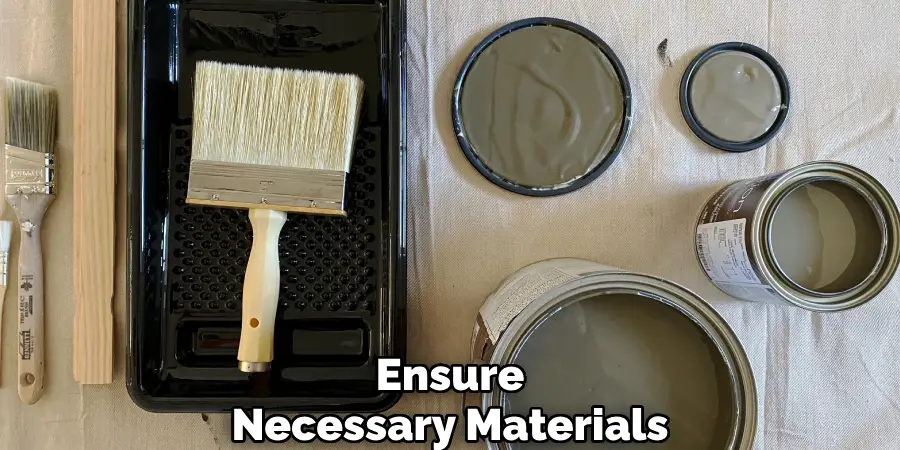
Materials You Will Need
Before getting started, gather all the necessary materials to ensure a smooth and successful lime-washing project. Here’s what you’ll need:
Calcium Hydroxide (Hydrated Lime):
The main ingredient in lime wash, calcium hydroxide, or hydrated lime, is readily available at most hardware stores. It comes in powder form and needs to be mixed with water before application.
Natural Pigments:
To create different shades and add color to your lime wash, you’ll need natural pigments such as ochre, iron oxide or lamp black.
Water:
Plain water is used to dilute the calcium hydroxide powder and mix it into a paint-like consistency.
Stirring Tools:
You’ll need a stir stick or a drill attachment to mix the hydrated lime and pigment with water.
Paintbrushes:
Use natural fiber brushes for an even and smooth application of the lime wash.
Step-by-step Guidelines on How to Lime Wash Walls
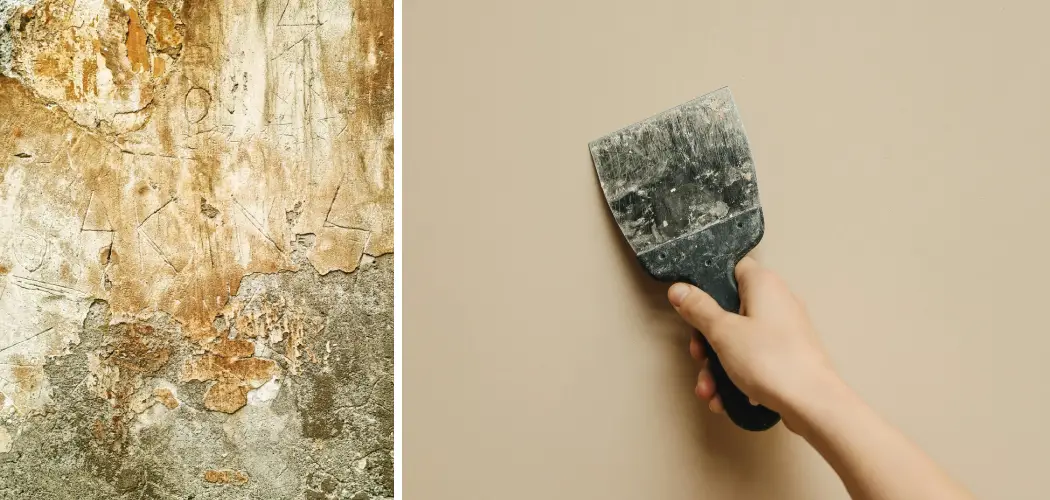
Step 1: Preparing the Surface
Proper surface preparation is key to achieving the best results from your lime washing project. Begin by cleaning the walls thoroughly to remove any dirt, dust, or grease, ensuring a clean and even application of the lime wash. For exterior surfaces, consider using a power washer for more efficient cleaning. Inspect the wall for any damages, such as cracks or holes, and repair these with suitable materials to ensure the surface is smooth and ready for lime wash.
If the wall has been previously painted or varnished, it may be necessary to remove the old layer or roughen it slightly with sandpaper to ensure better adhesion. Once the surface is prepped, cover any areas you do not wish to lime wash, such as floors, windows, or adjacent walls, with protective coverings like drop cloths or painter’s tape. This initial preparation is crucial for a successful lime wash application.
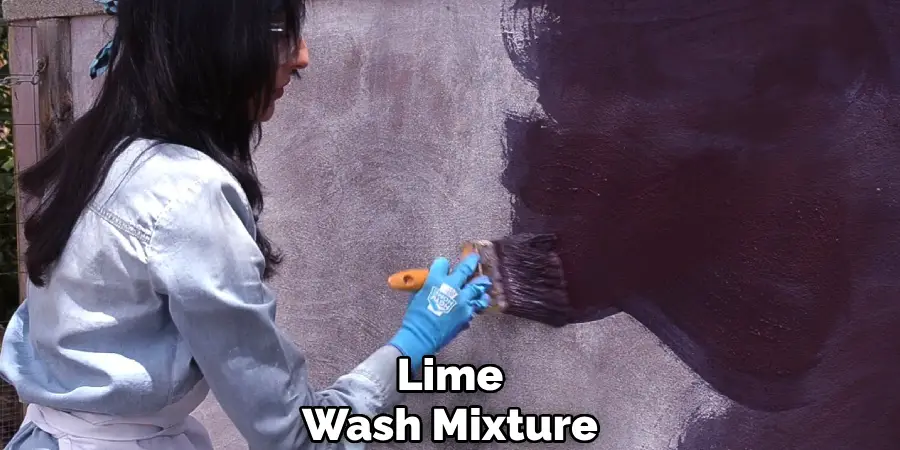
Step 2: Mixing the Lime Wash
Once your surface is prepared, the next crucial step is to mix your lime wash. Begin by measuring out the necessary amount of calcium hydroxide (hydrated lime) powder. A common ratio is around one part lime powder to four parts water, though this can be adjusted depending on the consistency you prefer. In a large bucket, slowly add the lime powder to the water while stirring continuously to ensure a smooth mixture.
If you’re planning to color your lime wash, gradually introduce the natural pigments at this stage, mixing thoroughly until you achieve the desired shade. It’s important to let the lime wash mixture sit for at least 24 hours after mixing, as this allows the lime to settle and the pigments to fully integrate, leading to a more uniform application. Make sure to stir the mixture well before use to ensure an even consistency. Keep in mind that lime wash is ideally applied in thin layers, and achieving the right consistency during mixing plays a significant role in the final appearance of your walls.
Step 3: Wetting the Surface
Before applying the lime wash, it’s essential to dampen the wall surface with water. This helps prevent the surface from absorbing too much of the lime wash mixture, which can lead to uneven results and possible flaking or peeling. Use a spray bottle or a sponge to dampen the surface with clean water.
You can add a small amount of water to the lime wash mixture if needed, but avoid diluting it too much as this may affect the final color and texture.
Step 4: Applying the First Coat
With the surface properly wetted and the lime wash mixture well-prepared, it’s time to apply the first coat. Using a natural fiber paintbrush, start at the top of the wall and work your way downwards, applying the lime wash in overlapping strokes. This technique ensures an even distribution and minimizes visible brush marks. It’s important to apply the lime wash in thin layers; a heavy application can lead to drips and uneven finishes. Allow this initial coat to dry completely before assessing the color and texture, as it may appear lighter once dry.
If needed, you can apply additional coats to achieve the desired depth and richness. Make sure each coat dries thoroughly before proceeding with the next to ensure optimal adhesion and a smooth final appearance. Remember, the lime wash will continue to lighten as it cures, adding to its unique charm and character over time.
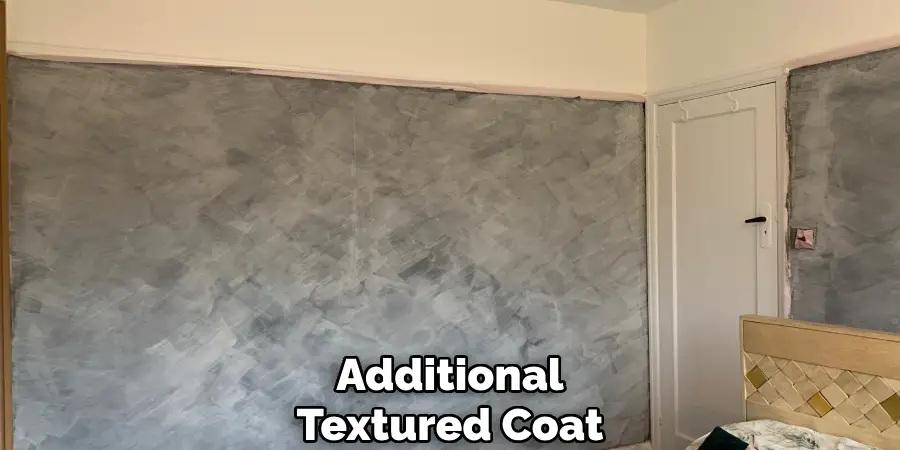
Step 5: Adding Texture (Optional)
For those looking to introduce more character to the lime-washed walls, adding texture can be an optional but impactful step. After applying the first coat and ensuring it has dried thoroughly, you can create patterns or textures using various tools. A common technique involves using a sponge or a brush with stiff bristles to gently dab or sweep across the surface while the lime wash is still slightly damp. This can create a soft, weathered look that enhances the aged appearance typical of lime-washed finishes.
Another approach is to use a trowel to apply a thin layer of lime wash, then lightly drag or swirl the tool across the surface to create grooves or ridges. This method requires a steady hand and a bit of practice to achieve the desired effect but can add significant depth and interest to your walls. Remember to experiment on a small, inconspicuous section of the wall or a spare board before committing to a texturing technique, as the final look will largely depend on the tool and method used. Allow the textured coat to dry fully before deciding if additional coats are needed.
Step 6: Finishing Touches
Once you have achieved the desired texture and coverage with your lime wash, it’s time to focus on the finishing touches. Begin by inspecting the walls for any areas that might need touch-ups or additional blending to ensure a seamless appearance. If you notice any streaks or inconsistencies, use a lightly dampened brush to carefully feather in those areas, blending them smoothly with the rest of the surface.
While limewash naturally tends to have an uneven, rustic look, it’s important to strike a balance between character and uniformity. After addressing any irregularities, allow the wall to cure for a few days. This period will help the lime wash to set and fully develop its distinctive finish. Once cured, you might consider sealing the surface with a breathable, natural sealer to enhance the longevity of your lime-washed walls, particularly in areas exposed to high humidity or wear.
Step 7: Maintenance and Care
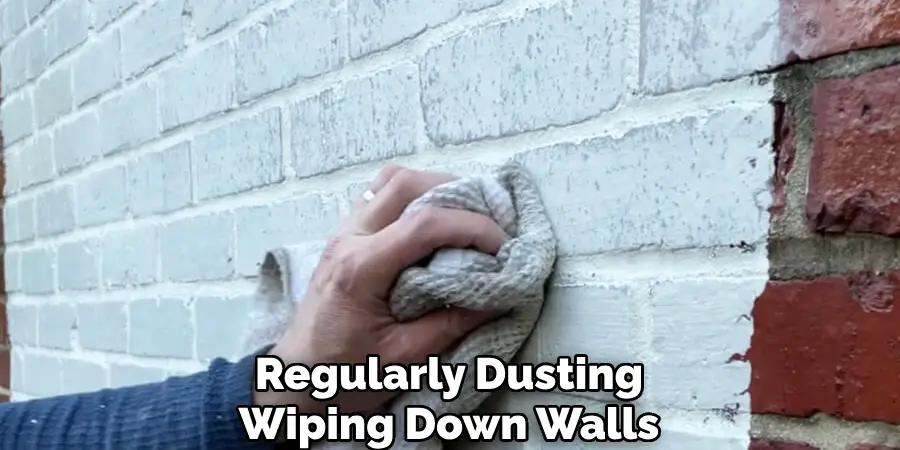
As with any painted surface, proper maintenance and care are essential for preserving the beauty of your lime-wash walls. Regularly dusting or wiping down the walls will help prevent dirt and grime from building up on the surface. If you happen to notice any stains or marks, gently spot clean using a damp cloth and a mild detergent if necessary.
Avoid harsh chemical cleaners, as they can strip away the protective sealer or affect the color of your limewash. In case of any chips or scratches, you can use a small paintbrush to touch up the affected areas with a bit of lime wash mixture and blend it in gently. With proper care, your lime-washed walls will continue to add warmth and character to your space for years to come.
Step 8: Other Uses for Lime Wash
While lime wash is commonly used on interior or exterior walls, it can also be applied to other surfaces such as floors, furniture, and even metal objects. On floors, lime wash adds an elegant patina that develops over time with wear and foot traffic. On furniture or decorative objects made of wood, metal, or terracotta, applying a lime wash can create a unique, textured finish that adds interest and depth to your decor. As with walls, it’s important to properly prepare the surface and apply thin layers for optimal results. With its versatility and timeless charm, lime wash continues to be a popular choice among homeowners and designers for creating a beautifully aged look in any space.
Following these steps on how to lime-wash walls and taking proper care of your lime-washed walls will ensure a stunning finish that adds character and warmth to your home. So why not give this traditional and eco-friendly technique a try and see the transformative power of lime wash for yourself? Whether you prefer a subtle, weathered look or a bolder texture, the options are endless with this versatile finish. With a little patience and creativity, you can create unique and beautiful spaces that stand the test of time with lime wash. Happy painting!
Conclusion
In conclusion, lime washing is an ancient technique that has stood the test of time as a versatile and eco-friendly way to add character and texture to interior or exterior surfaces. By following these simple steps and tips on how to lime wash walls, you can achieve stunning results with this traditional method while also incorporating your personal style through color choices and textured finishes.
And remember, don’t be afraid to experiment and have fun with the process – after all, it’s all about embracing the imperfect and creating a truly one-of-a-kind look in your home. So go ahead and give lime washing a try, and see how this timeless finish can transform your space into a warm and inviting oasis. So why wait? Grab your tools and get ready to add some rustic charm to your walls! Happy painting!
About
Angela is the chief editor of Indoorense. She began her career as an interior designer before applying her strategic and creative passion to lifestyle and home.
She has close to 15 years of experience in creative writing and online content strategy for housekeeping and cleaning,home decorations as well as other efforts.
She loves her job and has the privilege of working with an extraordinary team. She lives with her husband, two sons, and daughter in Petersburg. When she’s not busy working she spent time with her family.