
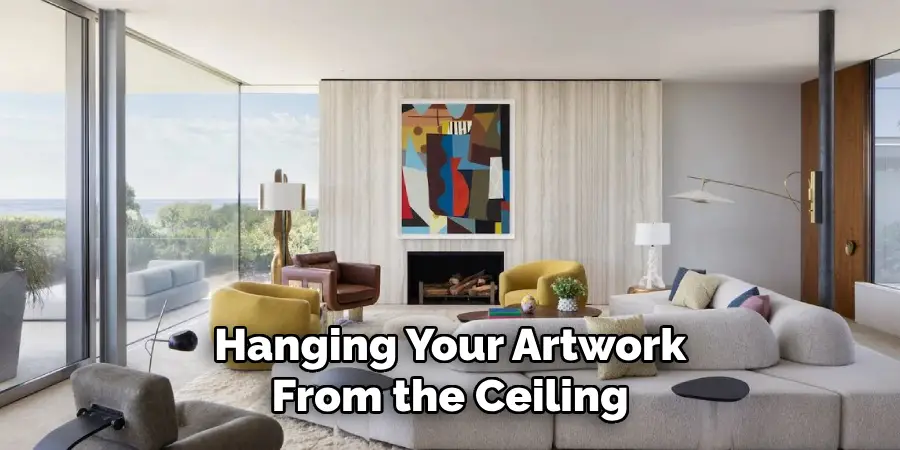
Hanging a picture from the ceiling can add a unique and artistic touch to any room. This method of display is not only visually appealing but also practical for decorating spaces with limited wall availability. By suspending artwork from above, you can create a floating effect that draws the eye and adds depth to your décor.

Whether you’re showcasing a favorite piece in the middle of a room or accentuating a corner, learning to correctly and safely hang a picture from the ceiling is essential. In this guide on how to hang a picture from the ceiling, we’ll explore the materials needed, step-by-step instructions, and tips to ensure your artwork is beautifully and securely displayed.
Why Hang a Picture From the Ceiling?
Hanging a picture from the ceiling provides a creative solution for displaying artwork in spaces where wall options are limited or when you wish to achieve a unique design aesthetic. This technique is especially useful in multifaceted rooms where traditional wall hangings may be obstructed by open spaces or excessive furniture.
By utilizing ceiling space, you can maximize the visibility of art pieces while contributing to the room’s ambiance with a novel and whimsical touch. Additionally, hanging pictures from the ceiling can help define focal points within a room, create a sense of movement, and imbue the space with a sense of openness and airiness that is often difficult to attain through conventional means.
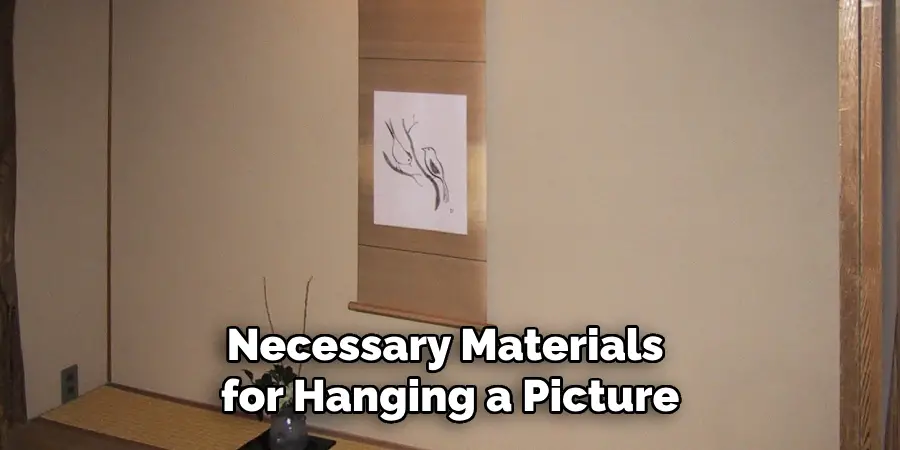
Materials Needed
Before we dive into the steps, let’s gather the necessary materials for hanging a picture from the ceiling:
- A Picture or Artwork That You Wish to Hang
- Picture Hanging Kit (Includes Hooks, Wire, and Eyelets)
- Ladder or Step Stool
- Measuring Tape
- Pencil
- Hammer
- Screwdriver (or Drill for Heavier Pieces)
8 Step-by-step Guidelines on how to hang a picture from the ceiling
Step 1: Determine the Placement
Begin by deciding where you want your picture or artwork to hang from the ceiling. Consider the balance and flow of the room, ensuring that the artwork will be visible from key locations within the space. Use a ladder or step stool to visualize the placement at ceiling height and determine the optimal position.
Make sure there is ample clearance between the artwork and any furniture or fixtures below. Once you’ve chosen the perfect spot, use a measuring tape to mark the desired location on the ceiling with a pencil, ensuring your marks are level and centered for symmetry and visual appeal.
Step 2: Prepare the Picture
Now that you’ve determined the placement, it’s time to get the picture or artwork ready for hanging. Start by flipping the picture over and attaching eyelets to the top corners of the frame. Ideally, these should be placed around one-third to one-quarter of the way down from the top to provide optimal support. Use a screwdriver or drill to secure the eyelets in place; ensure they are tightly fastened to handle the picture’s weight.
Next, cut a length of picture wire that is approximately 1.5 to 2 times the width of the frame. Thread the wire through both eyelets, leaving some slack to form a gentle curve. Twist the wire around itself securely, ensuring there are no sharp ends that could damage the frame or ceiling. Once the wire is secured, gently pull to check that everything holds firm and make any necessary adjustments. With the picture prepared, you’re ready to move on to the next step in hanging your artwork from the ceiling.
Step 3: Assemble the Picture Hanging Kit
Open your picture hanging kit and lay out all the necessary materials. Make sure you have enough hooks, wires, and eyelets for your project’s size and weight. If you’re unsure, it’s always better to err on the side of caution and use more support than needed.
Refer to the instructions provided with your kit for proper assembly, or follow these general guidelines:
- Thread one end of the wire through a hook until it reaches the desired length.
- Twist this wire around itself three times to secure it in place.
- Repeat this process on the other end of the wire with another hook.
Step 4: Install Ceiling Hooks
With your picture prepared and hanging kit assembled, it’s time to install the ceiling hooks. Use a screwdriver or drill to secure the hooks into the marked spots on the ceiling. Make sure they are positioned correctly and securely fastened by gently tugging on them.
If you have a plaster or drywall ceiling, be sure to use anchors for extra support. If your ceiling is made of concrete, you may need to use special hardware designed for this material.
Step 5: Attach Picture Hook
Now that your ceiling hooks are securely in place, it’s time to attach the picture hook to the picture itself. Begin by lifting the picture gently and positioning it beneath the installed ceiling hooks. Carefully connect the picture wire to these hooks. For optimal stability and balance, adjust the wire’s position on the ceiling hooks until the picture hangs evenly and at the desired angle. It may take a few tries to align perfectly; patience is key.
Ensure that the picture does not touch any surfaces below it, allowing it to appear as if it is floating. Double-check the security of the wire and hooks to prevent future mishaps. Once satisfied with the positioning, gently release the picture and verify it remains stable before moving on to the final adjustments.
Step 6: Make Final Adjustments
Take a step back and look at the picture from multiple angles, verifying that it is hung evenly and centered. If any adjustments are necessary, repeat the previous steps until you achieve your desired result.
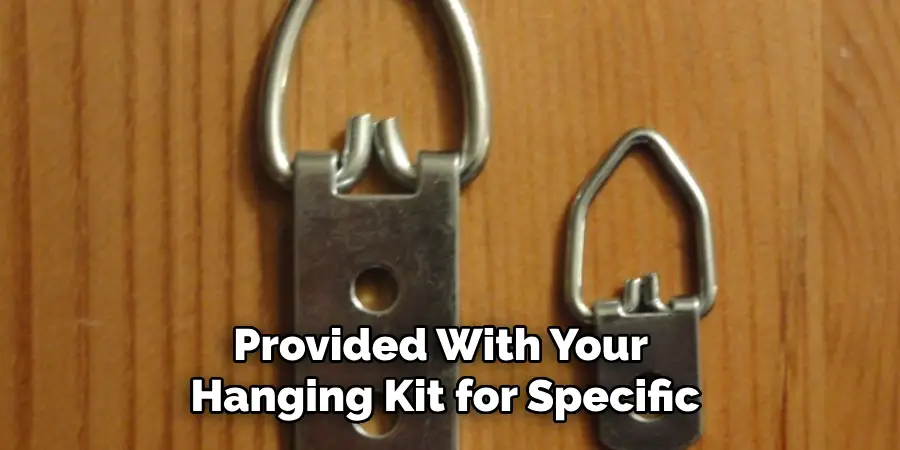
If your artwork is heavier or larger than average, you may want to consider using additional hooks or support for extra stability. Refer to the instructions provided with your hanging kit for specific weight limitations and recommended support methods.
Once satisfied with the picture’s placement, use a level or measuring tape to ensure it hangs straight before making any final tweaks. Remember not to rush this process; proper alignment will enhance the overall appearance of your art piece when displayed from the ceiling.
Step 7: Secure the Picture
Once everything is in place, use a hammer to gently tap any protruding nails or screws into the wall for a more seamless appearance. If using anchors or special hardware, follow the manufacturer’s instructions to secure them.
Ensure that your picture is secure and level before releasing it. Test its stability by giving it a gentle tug; if it remains firmly in place, you’re ready to move on to the final step!
Step 8: Enjoy Your Newly Hung Artwork!
Congratulations, you’ve successfully hung a picture from the ceiling! Stand back and admire your handiwork, making any necessary adjustments as needed. Now, sit back and enjoy your beautifully displayed artwork, adding a unique and eye-catching element to your space. Remember to check the picture’s stability periodically, ensuring it remains secure for future enjoyment.
Following these steps on how to hang a picture from the ceiling will not only help you safely and securely hang your pictures from the ceiling but also allow for creative and unique display options. So go ahead, get innovative, and showcase your art in a whole new way! Happy hanging!
Frequently Asked Questions
Q: Can I Hang Any Picture or Artwork From the Ceiling?
A: It is essential to consider the weight of your picture or artwork before hanging it from the ceiling. Refer to the instructions provided with your hanging kit for specific weight limitations and recommended support methods. If your artwork is too heavy or large, it may require additional support for proper display.
Q: How Many Hooks Should I Use to Hang a Picture From the Ceiling?
A: The number of hooks needed will depend on the weight and size of your picture. It’s always better to use more hooks than necessary for added stability. Refer to the instructions provided with your hanging kit for specific recommendations based on weight limitations.
Q: Can I Hang Multiple Pictures From One Hook?
A: This depends on the weight and size of each picture and the hook’s recommended weight limit. It is generally not recommended as it can put extra strain on the hook and cause damage to both the pictures and the ceiling. It’s best to use one hook per picture for proper support and balance.
Q: How Do I Know If My Ceiling Is Suitable for Hanging Pictures?
A: Most standard ceilings are suitable for hanging pictures, but it’s essential to check the material of your ceiling before proceeding with installation. For plaster or drywall ceilings, you will need to use anchors for added support. Concrete ceilings may require special hardware designed for this material.
Conclusion
Hanging pictures from the ceiling is a creative way to display your art and add a unique touch to any room. By following the detailed steps outlined in this guide on how to hang a picture from the ceiling, you can ensure that your artwork is hung safely and securely, complementing your interior space beautifully.
Remember to consider the weight and size of your artwork and consult the hanging kit’s instructions for optimal support. Whether it’s a statement piece or a collection of smaller artworks, the ceiling provides a distinctive backdrop that can enhance the overall aesthetic of your home.
Enjoy the satisfaction of seeing your artistic vision come to life in a new dimension, and keep the space dynamic by periodically rotating or updating the displayed art. Happy decorating!
About
Angela is the chief editor of Indoorense. She began her career as an interior designer before applying her strategic and creative passion to lifestyle and home.
She has close to 15 years of experience in creative writing and online content strategy for housekeeping and cleaning,home decorations as well as other efforts.
She loves her job and has the privilege of working with an extraordinary team. She lives with her husband, two sons, and daughter in Petersburg. When she’s not busy working she spent time with her family.