

Hanging a mirror on a tiled surface, such as in a bathroom or kitchen, can be intimidating due to the risk of cracking or damaging the tile. However, this task can be done safely and securely with the right tools and techniques. The key is to understand the type of tile you’re working with, as surfaces can range from ceramic and porcelain to glass tiles, each having its own requirements for drilling or adhesive.

In this guide, we’ll explore the materials and steps needed to successfully hang a mirror on a tiled wall, ensuring it stays secure without damaging the tile surface. Whether you’re dealing with ceramic, porcelain, or glass tiles, following these steps will help you avoid common mistakes and achieve a professional-looking result. By mastering how to hang a mirror on tile, you’ll be able to enhance your space while preserving the integrity of your tiled wall.
Gather the Necessary Materials and Tools
Before hanging your mirror on a tiled wall, it’s important to gather all the necessary materials and tools to ensure a smooth and successful installation. Here is a list of materials you will need:
Materials Needed:
- Mirror: This can come with pre-installed hanging hardware or without, depending on your preference.
- Anchors: To ensure a secure hold, use anchors specifically designed for tiled surfaces, such as plastic anchors or toggle bolts.
- Wall Screws: Opt for rust-resistant screws as they are ideal for humid environments like bathrooms.
- Adhesive: Optional, but you can use a mirror or construction adhesive for extra support.
Tools Required:
- Tile Drill Bit: Use a carbide or diamond-tipped drill bit to effectively drill without cracking the tiles.
- Electric Drill: A variable speed drill is recommended for better control.
- Level: To ensure your mirror hangs perfectly straight.
- Measuring Tape or Ruler: This is used for precise measurement of placement.
- Pencil: This is for marking drilling points on the tile.
- Masking Tape: To prevent the drill from slipping on the tile surface.
- Hammer: Useful if you decide to use plastic anchors.
- Safety Goggles and Gloves: These are for protection during the drilling process.
Optional Tools:
- Stud Finder: Helpful for locating studs behind the tile, providing additional support for heavier mirrors.
- Suction Cups: These are useful for handling and positioning heavy mirrors with ease.
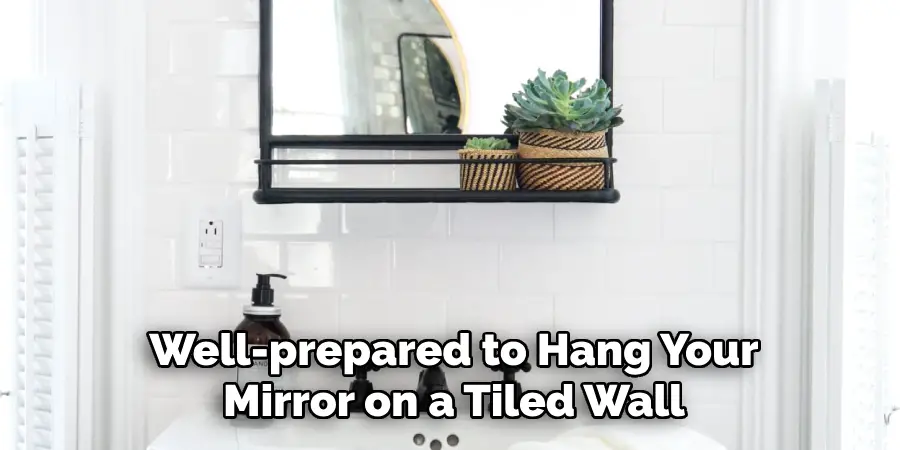
With these materials and tools, you will be well-prepared to hang your mirror on a tiled wall safely and securely.
Choose the Right Hanging Method
When hanging a mirror on a tile, selecting the correct hanging method is crucial for ensuring the mirror stays securely in place without compromising the tile’s integrity. Below are three methods you can consider based on your mirror’s weight and the condition of your wall:
Method 1: Using Anchors and Screws
This is the most secure method, particularly suitable for heavy mirrors. It involves carefully drilling into the tile and inserting anchors that support screws to bear the mirror’s weight. Use a tile-specific drill bit to prevent cracking, and opt for rust-resistant screws for longevity, especially in humid environments. Knowing your mirror is securely anchored, this method offers robust support and peace of mind.
Method 2: Adhesive or Mounting Tape
Heavy-duty adhesive or mounting tape can be an effective option for lightweight mirrors. This method avoids drilling and is ideal if you are concerned about damaging the tile. Ensure you use adhesives specifically designed for mirrors to prevent damage to the mirror backing. While convenient and less invasive, this method is less secure for large or heavy mirrors.
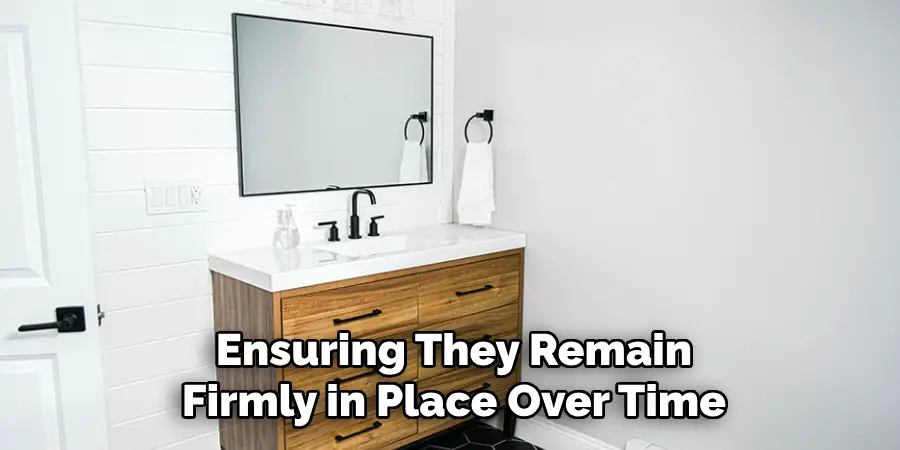
Method 3: Combination of Adhesive and Screws
You can combine both methods for added support and security, especially in high-moisture areas like bathrooms. Secure the mirror with screws for structural integrity while using adhesive to distribute the weight evenly. This method provides extra assurance for heavy mirrors, ensuring they remain firmly in place over time.
How to Hang a Mirror on Tile: Preparing to Drill Into the Tile
Adequate preparation is essential for ensuring a precise and damage-free installation when hanging a mirror on the tile. Careful attention to detail in the early steps will lay the foundation for a successful and secure mirror installation.
Step 1: Measure and Mark Your Hanging Points
Before drilling, use a tape measure to determine your mirror’s desired height and placement. Mark the corresponding spots on the tile with a pencil where you intend to drill the holes for the anchors. Hold your mirror against the tile and use a spirit level to confirm horizontal alignment to ensure your mirror will hang straight. Adjust your pencil marks if necessary to achieve perfect leveling.
Step 2: Apply Masking Tape
Adding a small piece of masking tape over each mark where you plan to drill will help keep the drill bit steady and prevent slipping on the slick tile surface. This added precaution is crucial for maintaining accuracy and avoiding damage to the tile.
Step 3: Select the Right Drill Bit
Choosing the correct drill bit is essential for minimizing the risk of cracking or chipping the tile. Utilize a diamond-tipped or carbide-tipped drill bit engineered for cutting through dense surfaces like tile. Choose a bit that matches the size of the anchor to be used. A 3/16-inch or ¼-inch bit is commonly appropriate for standard anchors, providing a snug fit for the anchor.
Step 4: Begin Drilling Slowly
When you’re ready to drill, set the drill to a low-speed setting. Carefully position the bit on the masked marks, applying light and steady pressure. Start drilling slowly to penetrate the tile. Patience is key; excessive speed or force can result in unwanted tile damage.
Step 5: Drilling Through the Tile
Once you’ve successfully drilled through the tile, switch to a regular masonry or wood drill bit suited to the material behind the tile. Continue drilling to keep the hole deep enough to house the anchor securely. This step ensures that the mirror stays firmly attached to the wall.

Step 6: Insert the Anchors
After completing the drilling, blow or vacuum the holes to remove dust or debris. Gently insert plastic wall anchors or toggle bolts into the drilled holes. If using plastic anchors, lightly tap them with a hammer until they are flush with the tile surface. These anchors will provide the stability needed to hold your mirror securely in place, ready for the hanging process.
How to Hang a Mirror on Tile: Hanging the Mirror
Successfully hanging your mirror is the final step in the installation process. Follow these steps to ensure your mirror is securely and correctly positioned:
Step 1: Align the Mirror Brackets with the Screws
Most mirrors come with brackets or hanging hardware pre-installed on the back. Before attaching the mirror, ensure the hardware aligns with the screws you’ve installed into the anchors. This alignment is crucial for stability and to prevent any unexpected movement or damage once the mirror is mounted.
Step 2: Insert the Screws
With the anchors securely in place, insert screws into them, leaving about ¼ inch of the screw protruding. This protrusion allows the mirror’s hardware to fit over the screws without obstruction. If your mirror includes D-rings or keyhole slots, carefully position the mirror over the screws; ensure they fit snugly into the hardware. This creates a sturdy hold, ensuring the mirror remains in place.
Step 3: Use Adhesive (Optional)
For additional support, especially for larger mirrors, apply a small amount of mirror adhesive to the back of the mirror before placing it on the wall. This adhesive aids in distributing the weight more evenly and prevents the mirror from shifting over time. Carefully press the mirror firm against the tile, ensuring it’s secure and stable. Remember that while adhesive adds extra reinforcement, it is not a substitute for properly anchored screws.
Step 4: Check for Stability
After the mirror is in position, gently tug it to ensure it is firmly and securely attached. Verify that the mirror is level and evenly aligned by using a spirit level or checking against pre-determined markings. If the mirror appears wobbly or misaligned, tighten the screws or adjust the anchors as necessary to achieve a stable and perfect fit. This final check ensures long-term stability and safety so you can enjoy your beautifully hung mirror without concern.

Alternative No-Drill Methods (For Lightweight Mirrors)
Option 1: Adhesive Strips or Mounting Tape
For lightweight mirrors, heavy-duty double-sided mounting tape offers an effective no-drill alternative. Begin by selecting tape that is specifically rated to support the full weight of your mirror. Proper preparation is key, so thoroughly clean the tile surface to remove any dust, grime, or residues that could impede adhesion.
Once the surface is pristine, adhere the mounting tape to the back of the mirror, ensuring that the strips are evenly distributed to provide balanced support. Carefully position the mirror on the wall and press it firmly against the tile. Maintain pressure for the recommended duration, typically 30 seconds to 1 minute, to secure a strong bond between the tape and the tile surface.

Option 2: Suction Cup Hooks
Suction cup hooks are a convenient and damage-free solution for hanging lightweight mirrors on smooth, non-porous tile surfaces. These hooks are perfect for temporary installations and eliminate the need for drilling. To ensure optimal grip, thoroughly clean the tile and suction cups before application. Any lingering moisture or dirt could compromise their effectiveness. Affix the suction cups to the tile by pressing firmly until a secure vacuum is formed, then simply hang your mirror using hooks, loops, or any pre-installed hardware on the back of the mirror. This method allows for effortless removal or repositioning, offering flexibility without leaving any marks or residues behind.
Conclusion
Hanging a mirror on a tile may seem daunting, but with the right preparation, tools, and techniques, you can complete the task successfully without damaging the surface. Whether you decide to drill into the tile or choose a no-drill adhesive method, it’s essential to select a secure approach that accommodates the weight and style of your mirror. By thoroughly following the steps in this guide on how to hang a mirror on tile, you can ensure a beautifully mounted mirror that enhances your tiled space with light, depth, and style.
The key lies in understanding the properties of your materials and applying patience and precision throughout the installation process, ultimately resulting in a stunning addition to your home that remains sturdy and secure.
About
Angela is the chief editor of Indoorense. She began her career as an interior designer before applying her strategic and creative passion to lifestyle and home.
She has close to 15 years of experience in creative writing and online content strategy for housekeeping and cleaning,home decorations as well as other efforts.
She loves her job and has the privilege of working with an extraordinary team. She lives with her husband, two sons, and daughter in Petersburg. When she’s not busy working she spent time with her family.