Balloon arches have become increasingly popular for events and parties, transforming ordinary spaces into festive spectacles. These vibrant creations add a splash of color and excitement, capturing the essence of celebrations. With their eye-catching design, balloon arches serve as stunning backdrops, perfect for photos and centerpieces that draw every eye. Their versatility complements any theme, from elegant weddings to lively birthday bashes.

Despite their intricate appearance, balloon arches are surprisingly doable for enthusiastic decorators. The purpose of this article is to guide you on how to hang a balloon arch on a wall, offering a practical, step-by-step approach. Whether you are an event planner or a DIY enthusiast, the insights provided here will equip you with the knowledge needed to execute a flawless display. By following these instructions, you’ll ensure your balloon arch remains secure and appealing throughout your celebration.
Materials Needed for Hanging a Balloon Arch
1. Balloons and Balloon Tape
To construct a striking balloon arch, start with choosing the right types of balloons. Latex balloons are the most popular choice due to their elasticity and affordability, often available in various sizes and colors to match any event theme. Foil balloons offer a metallic sheen and are more durable, serving as excellent focal points within the arch. Once you have selected your balloons, balloon tape becomes an essential tool. This flexible strip has small holes designed to securely hold the necks of balloons, allowing you to build and shape the arch structure with ease. Balloon tape serves as the backbone of your arch, providing stability while offering the freedom to adjust and rearrange balloons as needed.
2. Adhesive Hooks or Command Strips
Securing your balloon arch to the wall without causing damage requires the use of removable adhesive hooks or Command strips. These hooks are designed to adhere temporarily and remove cleanly, making them ideal for party settings. Choose hooks that can support the weight of your arch; heavier arches might require multiple hooks to ensure weight distribution. Consider the type of surface—for instance, smooth surfaces like painted walls may work best with Command strips, while textured or rough surfaces might need different adhesive styles. Ensuring you have the right hooks will keep your arch safe and intact throughout your event.

3. Fishing Line or String
A fishing line or string can be valuable when hanging your balloon arch for additional support. Opt for clear, lightweight materials that remain invisible to maintain the visual appeal of the arch while providing extra stability. The fishing line can discreetly anchor the arch to fixed points in the room, ensuring that it stays in place. By strategically pairing the fishing line with your arch’s framework, you can prevent sagging or movement during your celebration, creating a flawless display that remains picture-perfect from start to finish.
Preparing the Wall
1. Cleaning the Wall Surface
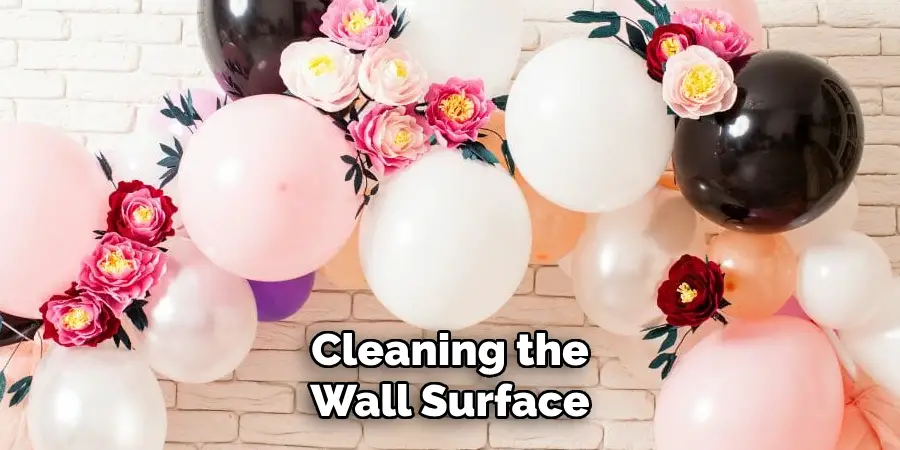
The first crucial step in preparing to hang a balloon arch on a wall is cleaning the wall surface thoroughly. A clean surface ensures that adhesive hooks or Command strips adhere properly, providing the stronghold necessary to support your balloon arch throughout the event. Begin by wiping the wall with a damp cloth to remove any dust or residue that could interfere with the adhesive. For particularly stubborn stains or oily spots, use a soft cloth soaked in rubbing alcohol to ensure a spotless finish. Allow the wall to dry completely before proceeding to the next step. Proper cleaning helps prevent the arch from prematurely falling or detaching, maintaining the aesthetic of your celebration.

2. Planning the Layout
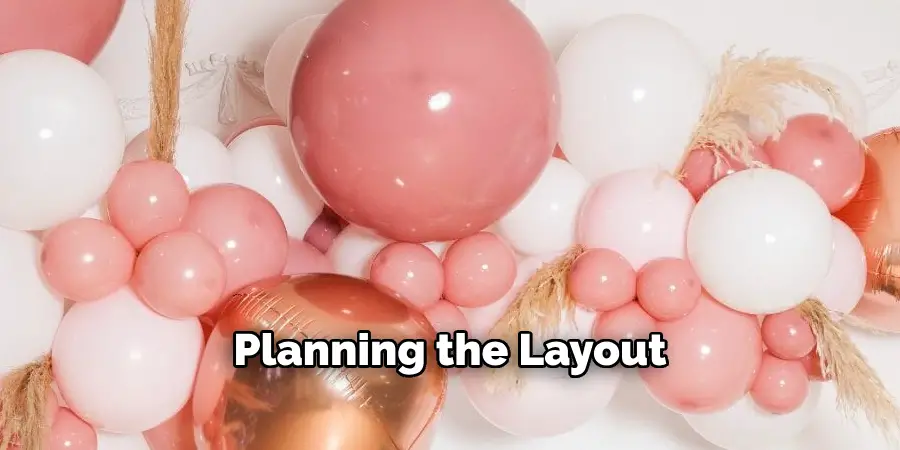
Once the wall is cleaned, it’s time to plan the layout of your balloon arch. Visualizing exactly where the arch will be positioned on the wall ensures a balanced and striking display. It’s helpful to stand back and view the wall from different angles to imagine the final look. Use a pencil to lightly mark where each adhesive hook will be placed, ensuring even spacing and alignment. This step allows you to adjust the layout before committing, providing room for creativity and precision. Proper layout planning helps prevent last-minute adjustments and errors, guaranteeing a smooth assembly process and a perfectly aligned arch.
How to Hang a Balloon Arch on A Wall: Creating the Balloon Arch
1. Inflating Balloons
Inflating balloons is a fundamental step that sets the stage for crafting a stunning arch. Decide whether to use a hand pump or an electric balloon pump. A hand pump is portable and inexpensive, though it requires more effort, while an electric pump offers speed and efficiency, which is ideal for larger installations. Start by inflating balloons to various sizes—this mix will introduce depth and dimension to your design. Consider combining large, medium, and small balloons in various colors. This approach not only fills space effectively but also enhances visual interest. For optimal results, avoid over-inflating, which can lead to balloon bursts; instead, fill each to about 90-95% of its capacity to ensure firmness while maintaining elasticity.

2. Assembling the Arch with Balloon Tape
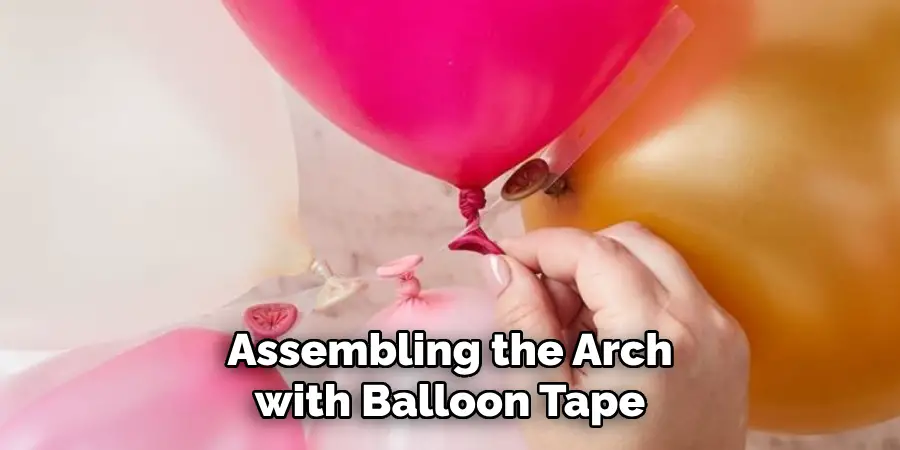
Once your balloons are inflated, it’s time to assemble the arch using balloon tape. This innovative tool allows for easy insertion and adjustment of balloons, enabling you to craft the desired arch shape without hassle. Begin by inserting the knot of each balloon into the holes of the tape, spacing them at regular intervals to maintain uniform distribution.
For a more dynamic look, alternate between different balloon sizes or gather balloons in clusters, creating a fuller and more textured design. You might start with the larger balloons to outline the basic shape and then fill in with smaller ones for added density. Remember, arranging the balloons thoughtfully will maximize the visual impact, resulting in a bold and captivating display.
3. Adding Additional Balloons
Once the primary structure of your arch is in place, consider adding additional balloons for extra flair and personalization. Using glue dots or balloon adhesive, affix smaller balloons to layer over the existing arch, focusing on strategic areas such as corners or gaps. Specialty balloons, like metallic, confetti-filled, or shaped varieties, can infuse a touch of elegance or whimsy, capturing the theme of your event. These accents serve as focal points and can highlight specific sections, enhancing the overall aesthetic. By thoughtfully incorporating these elements, you not only enrich the textural quality of the arch but also elevate it to a professional level, ensuring your decoration stands out.

How to Hang a Balloon Arch on A Wall: Hanging the Balloon Arch on the Wall
1. Attaching the Adhesive Hooks
Begin by placing adhesive hooks or Command strips at the predefined marks you made while planning the layout. Carefully read and follow the instructions provided with the adhesive product to ensure they are securely attached to the wall. Generally, this involves pressing the adhesive firmly onto the wall for about 30 seconds to 1 minute.
Most adhesives require a smoothing motion to eliminate air pockets and guarantee a stronghold. Let the adhesive sit for the recommended time, usually 30 minutes to an hour, allowing the backing to form a stable bond before burdening it with weight. These initial steps are essential for ensuring that the hooks will support your balloon arch throughout the event without the risk of detachment.
2. Securing the Balloon Arch
Once the adhesive hooks are securely in place, it’s time to hang your balloon arch. Carefully align the balloon tape with the hooks and gently hang it by threading it through them. Ensure the arch is evenly distributed across the hooks to maintain a balanced and symmetrical appearance. As you position the arch, take a step back and observe it from different angles, adjusting as necessary to achieve the desired shape and alignment.
If certain sections appear too concentrated or sparse, reposition the balloons along the tape until you have an even, harmonious design. Adjusting the arch thoughtfully ensures it is visually appealing and secure, allowing it to maintain its structure throughout your event.
3. Reinforcing with a Fishing Line or String
For additional stability, especially for larger or heavier arches, reinforce the structure with a fishing line or string. Cut several lengths of the fishing line long enough to discreetly tie around the balloon tape, then secure it to additional hooks or nearby fixtures. This added support prevents sagging and keeps the arch firmly in place. Be sure to tie the fishing line tightly, but discreetly so it’s not visible from the front of the arch.
Use these extra anchor points strategically, focusing on areas that might bear more weight or where the arch might shift due to movement or airflow. By reinforcing your balloon arch with a fishing line or string, you ensure it remains in an optimal position, looking professional and polished for the duration of your celebration.
Final Touches and Adjustments
1. Fluffing and Adjusting Balloons
To achieve a professional look, take time to fluff and adjust the balloons of your arch. Start by inspecting the entire structure for any visible gaps, focusing on areas that may appear sparse or uneven. Gently reposition balloons by sliding them along the tape or adhesive or by twisting them within a cluster to enhance fullness. Adding extra clusters of smaller balloons can effectively fill empty spaces, creating a balanced appearance. Do not hesitate to experiment with arrangements until you achieve the desired visual appeal, as the careful placement of balloons is key to a striking display.
2. Adding Decorative Elements
Enhance your balloon arch by incorporating decorative elements such as greenery, flowers, or ribbons. These additions can introduce texture, color, and thematic accents to complement your event’s aesthetic. Use zip ties, floral wire, or glue dots to attach these elements securely and avoid puncturing or damaging the balloons. When adding greenery or flowers, consider arranging them in clusters or trailing them naturally to weave cohesively into the arch. Ribbons can be tied in bows or allowed to drape elegantly, adding movement and sophistication to the overall design.
3. Ensuring Stability and Safety
Before unveiling your balloon arch, conduct a final check to ensure it is securely attached and stable. Gently shake the structure to verify that it won’t shift or fall during the event, reinforcing any points as necessary. Check that all adhesive and attachment materials are robustly adhered to the wall and balloon tape. If adjustments are needed, make sure any additional supports are discreetly integrated. By ensuring stability and safety, you can enjoy peace of mind knowing your balloon arch will remain a beautiful centerpiece throughout the occasion.
Conclusion
Learning how to hang a balloon arch on a wall involves a few key steps that ensure stability and visual appeal. Start by assembling your arch and embellishing it with additional balloons or decorative elements for added flair. Securely attach the arch using adhesive hooks, reinforcing it with a fishing line for extra support. Customize your design by experimenting with different colors, sizes, and accents to match your event theme. Despite its simplicity, a well-executed balloon arch can dramatically enhance the decor of any celebration, providing a striking and memorable centerpiece to delight your guests.
About
Angela is the chief editor of Indoorense. She began her career as an interior designer before applying her strategic and creative passion to lifestyle and home.
She has close to 15 years of experience in creative writing and online content strategy for housekeeping and cleaning,home decorations as well as other efforts.
She loves her job and has the privilege of working with an extraordinary team. She lives with her husband, two sons, and daughter in Petersburg. When she’s not busy working she spent time with her family.

