

Hanging a backdrop on a wall can instantly transform a space, creating the perfect setting for photography, events, or even a cozy home environment. Whether you’re a professional photographer looking to enhance your studio setup or a DIY enthusiast aiming to create a personalized background for a special occasion, understanding how to securely and aesthetically hang a backdrop is crucial.
This guide on how to hang a backdrop on a wall will walk you through the essential steps and considerations to ensure your backdrop is both securely mounted and beautifully displayed, suitable for any occasion.
Why is Hanging a Backdrop Important?
Before we dive into the steps of hanging a backdrop, it’s important to understand why proper installation is necessary. A backdrop serves as the background for your subject or event and can significantly impact the overall aesthetic and quality of your photos or setting. If a backdrop is not hung correctly, it may appear wrinkled, uneven, or even fall down during use, ruining the desired effect.
Furthermore, poorly installed backdrops can pose safety risks if they are not securely mounted on the wall. This is especially crucial for events where there will be a large number of people in close proximity to the backdrop.
Materials Needed
To hang a backdrop on a wall, you will need the following materials:
A Backdrop:
This can be a large piece of fabric, paper roll, or vinyl material in the desired color or design. Make sure it is wide enough to cover the space you want to use.
A Backdrop Stand or Mounting Tool:
There are a few options for mounting a backdrop on a wall, including using a backdrop stand, curtain rods, or adhesive hooks.
Backdrop Stand:
This is a popular option for photographers and event planners as it provides a sturdy and adjustable support for backdrops.

Curtain Rods:
If you don’t have access to a backdrop stand, curtain rods can be used to hang lightweight fabric backdrops. Choose rods with strong brackets and adjust the length to fit your backdrop’s width.
Adhesive Hooks:
These are an affordable and easy-to-use option for mounting paper or vinyl backdrops on walls. Be sure to choose hooks that can hold the weight of your backdrop material.
Measuring Tape:
This tool will help you determine the size of your backdrop and where to place it on the wall.
Level:
A level is essential for ensuring your backdrop is straight and even.
Pencil:
To mark the placement of your backdrop on the wall.
Scissors:
If necessary, use scissors to trim any excess material from your backdrop.
8 Step-by-step Guides on How to Hang a Backdrop on a Wall
Step 1: Measure the Space
Begin by measuring the wall or area where you intend to hang your backdrop. Use measuring tape to determine both the height and the width of the space. This will help you identify the size the backdrop needs to be, ensuring it covers the intended area without leaving any gaps.
Mark the measurements lightly on the wall with a pencil, which will serve as guidelines when you position the backdrop. Taking accurate measurements also helps in assessing the placement of any support structures or mounting tools you plan to use, such as curtain rods or hooks.
Step 2: Choose the Right Backdrop Material
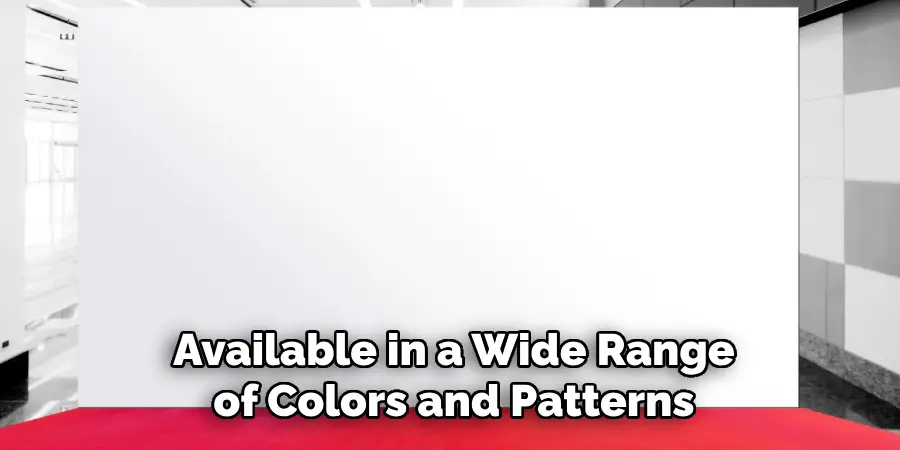
Selecting the appropriate backdrop material is critical to achieving the desired visual effect while ensuring ease of installation. The material you choose will depend on several factors, including the purpose of the backdrop, the environmental conditions, and your budget. For professional photography or events, vinyl and polyester backdrops provide a durable and vibrant option, often available in a wide range of colors and patterns. These materials are resistant to wrinkles and can withstand repeated use.
For a more budget-friendly or temporary solution, consider using paper backdrops, which offer a clean and crisp background, though they require careful handling to avoid tears. Fabric backdrops, such as muslin or polyester, offer versatility with the option to iron out wrinkles, making them suitable for a variety of settings. Consider the weight of the material as well, as heavier materials might require more robust mounting solutions. By carefully choosing the right material, you can ensure that your backdrop will enhance the visual appeal of your setting.
Step 3: Prepare the Backdrop
Before hanging the backdrop, make sure it is clean and free of any creases or wrinkles. If your backdrop material is prone to wrinkles, use a steamer or iron on low heat to remove them. Lay out the backdrop on a flat surface and smooth out any imperfections. For paper backdrops, consider using weights on each corner to prevent curling during installation.
You can also attach any desired props or decorations to the backdrop at this stage, such as string lights or paper flowers. This will save time and effort later on.
Step 4: Set up Your Backdrop Stand
If you’re using a backdrop stand, you’ll need to assemble it before mounting your backdrop. Start by laying out all the components of the stand, including the crossbar, legs, and any connecting pieces. Assemble the legs first, ensuring they are fully extended for stability. Then connect the crossbar, making sure it is secure and adequately supported by the legs.

Adjust the height of the stand according to your needs. Most backdrop stands are adjustable and can be raised or lowered to suit the height of your wall or the size of your backdrop. Make sure the stand is level on the floor to ensure a straight and even display when the backdrop is added. Once the stand is set up and properly secured, you’re ready to hang your backdrop using clamps or other fasteners appropriate for your chosen material. Setting up the stand properly is crucial for maintaining the stability and visual appeal of your display.
Step 5: Install Curtain Rods or Hooks
If you’re using curtain rods or adhesive hooks to mount your backdrop, make sure they are properly installed before hanging the backdrop. Measure and mark the placement of the rods or hooks on the wall, making sure they align with your earlier measurements. Use a level to ensure that they are straight and evenly aligned. If installing curtain rods, be sure to use strong brackets that can support the weight of your backdrop material. Adhesive hooks should also be chosen based on their weight-bearing capacity.
The placement and installation of these support structures will depend on the size and weight of your backdrop, so make sure to follow any instructions provided by the manufacturer for proper installation.
Step 6: Hang the Backdrop
With your backdrop stand or mounting tools in place, it’s time to hang the backdrop. For a backdrop stand, use clamps or other fasteners to attach the top edge of the backdrop to the crossbar. If using curtain rods, slide the rod through a sleeve at the top of your backdrop or use clips or pins to secure it in place. For adhesive hooks, carefully align and press down on each corner of your backdrop until it is securely attached.
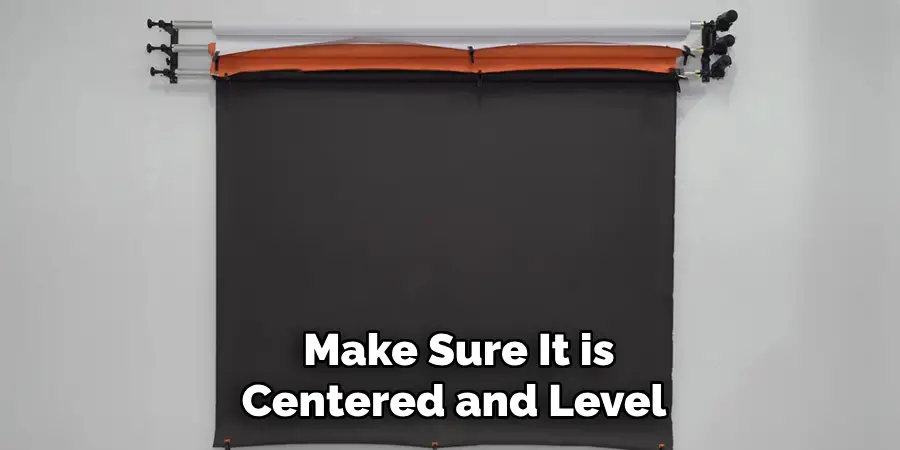
When hanging your backdrop, make sure it is centered and level with your guidelines. Use a level to ensure the backdrop is straight and adjust as needed. Once it is in place, gently smooth out any wrinkles or creases by hand.
Step 7: Secure the Bottom of the Backdrop
To prevent your backdrop from shifting or falling, secure the bottom edge using weights or other methods. This is particularly important for lightweight materials like paper backdrops. Small weights attached to each corner or tape along the bottom edge can help keep your backdrop in place.
If you are using a backdrop stand, most come with clips or pegs that can be used to attach the bottom edge of your backdrop to the crossbar for added stability. Make sure to evenly distribute the weight along the bottom edge to avoid any sagging or bunching of your backdrop.
Step 8: Finishing Touches
Once your backdrop is securely hung, step back and assess its placement. Make any necessary adjustments to ensure it is centered and level, as well as free from any wrinkles or imperfections. Add any final touches, such as props or decorations, to enhance the overall look of your display.
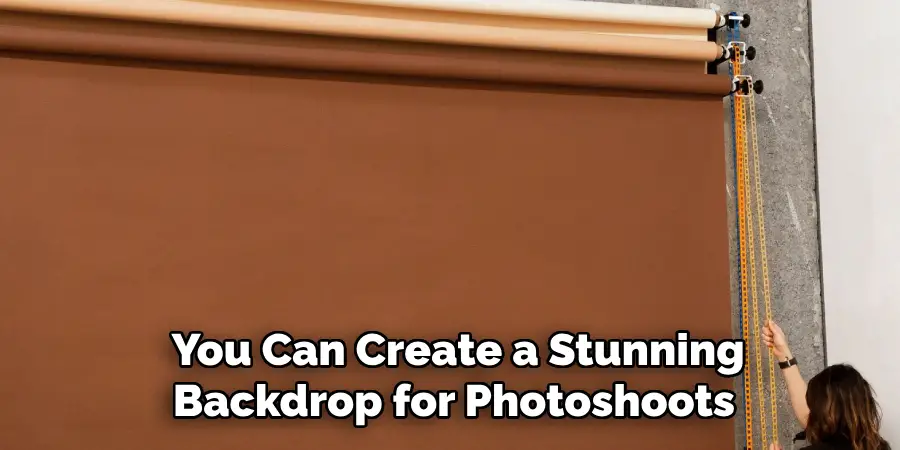
By following these steps on how to hang a backdrop on a wall and carefully preparing and hanging your backdrop, you can create a stunning backdrop for photoshoots, events, or other settings. Remember to take proper care when removing and storing your backdrop for future use, and enjoy the professional-looking results of a well-hung backdrop. So, consider all these factors when choosing and preparing your backdrop to achieve the best possible result. Happy decorating! *
Frequently Asked Questions
Q: Can I Reuse My Backdrop After It’s Been Hung?
A: Yes, as long as the material is in good condition and properly maintained, backdrops can be reused multiple times. Just make sure to take proper care when removing and storing the backdrop to avoid any tears or damage.
Q: Can I Hang a Backdrop Without a Stand?
A: Yes, it is possible to hang a backdrop without a stand by using curtain rods, adhesive hooks, or other mounting tools. However, using a stand provides more stability and makes it easier to adjust the height and placement of the backdrop.
Q: How Do I Choose the Right Material for My Backdrop?
A: Consider factors such as the setting, lighting, and purpose of your backdrop when choosing the material. Fabric backdrops offer versatility and can be ironed out for a smooth look, while paper backdrops can add texture and dimension to your display. Ultimately, choose a material that fits your needs and desired aesthetic.
Q: Can I Hang Different Types of Backdrops on the Same Wall?
A: Yes, as long as you have proper support structures in place for each type of backdrop. Just make sure to evenly distribute the weight and adjust accordingly when hanging multiple backdrops on one wall. *
Conclusion
Hanging a backdrop effectively requires thoughtful preparation and attention to detail, but the results are well worth the effort. By following the outlined steps on how to hang a backdrop on a wall, you can ensure that your backdrop is securely mounted and visually pleasing, whether for professional photography, events, or personal projects.
Remember to choose the appropriate materials and mounting methods that suit your specific needs, taking into account factors like weight and stability. With these best practices, you can create stunning backgrounds that enhance your visual content and set the perfect scene. Enjoy the creative process and the beautiful results of your well-hung backdrops!
About
Angela is the chief editor of Indoorense. She began her career as an interior designer before applying her strategic and creative passion to lifestyle and home.
She has close to 15 years of experience in creative writing and online content strategy for housekeeping and cleaning,home decorations as well as other efforts.
She loves her job and has the privilege of working with an extraordinary team. She lives with her husband, two sons, and daughter in Petersburg. When she’s not busy working she spent time with her family.