

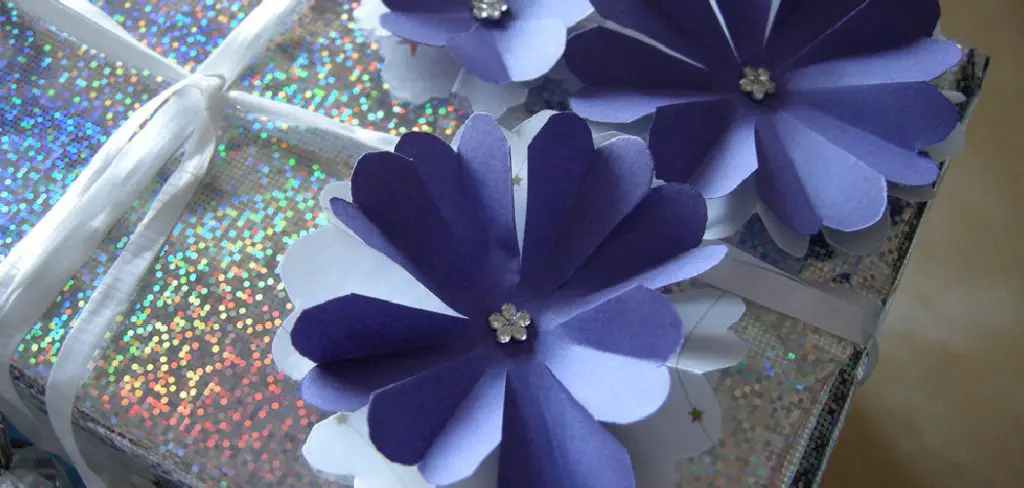
Creating art with dried flowers is a delightful way to preserve the beauty of nature and craft unique pieces. This activity allows you to capture the intricate details and vibrant colors of blooms that might otherwise fade with time. Whether you’re a seasoned crafter or a beginner looking for a fun project, learning how to glue dried flowers to paper can unlock a variety of artistic possibilities. From greeting cards to framed artwork, dried flower projects make for thoughtful gifts and enchanting decor.
In this guide, you will discover the essential tools and techniques needed to bring your dried flower creations to life.
The Beauty and Versatility of Dried Flowers in Crafts
Dried flowers offer a unique aesthetic that combines rustic charm with delicate elegance, making them a favorite medium for various craft projects. Their natural hues and intricate forms remain preserved, providing a timeless quality that fresh flowers cannot match. This versatility allows for a plethora of applications, ranging from simple embellishments on homemade cards to elaborate arrangements in shadow boxes or resin pieces. Moreover, dried flowers blend seamlessly with other natural elements such as twigs, leaves, and even feathers, providing endless opportunities for creativity.
Crafters can use them to achieve diverse styles, from vintage and bohemian to modern and minimalist, showcasing their adaptability and enduring appeal in the world of art and craft.
Materials Needed
Before you begin crafting with dried flowers, gather the essential materials to ensure your project runs smoothly. Here is a list of supplies you’ll need:
- Dried Flowers: Choose a variety of flowers based on your project design and color scheme.
- Paper or Cardstock: Select a sturdy base to support the weight of the flowers and adhesive.
- Clear Drying Glue or Mod Podge: An adhesive that dries clear is crucial for a clean and professional finish.
- Soft Paintbrush: Use this to apply glue to the flowers and paper without causing damage.
- Tweezers: Handy for precisely placing delicate flowers or small floral components.
- Scissors or Small Shears: For trimming stems and shaping flowers as needed.
- Wax Paper or Parchment Paper: Protects your work surface and is useful for drying glued elements.
- Sealer Spray (optional): Provides an extra layer of protection for your finished piece, preserving it for longer.

10 Methods How to Glue Dried Flowers to Paper
1. Choose the Right Glue
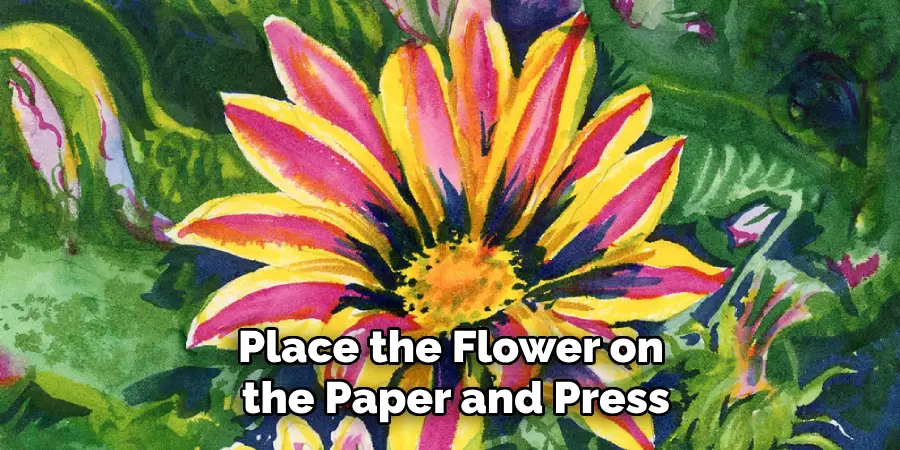
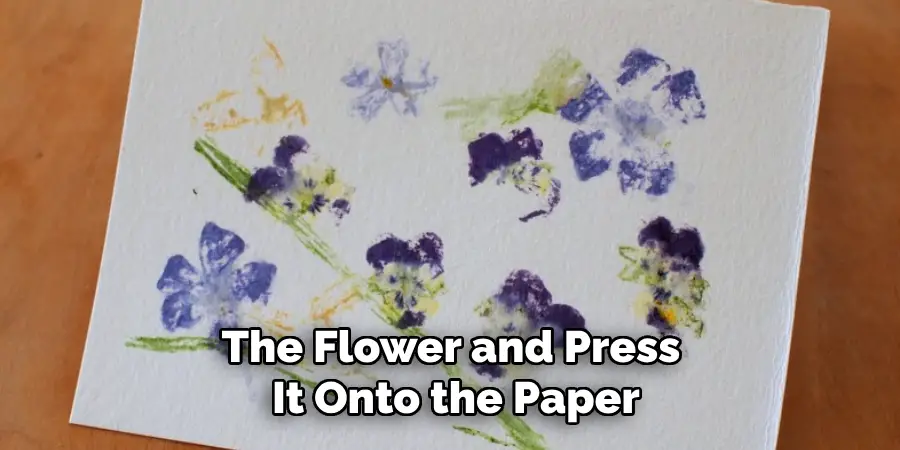
The first and most important step in gluing dried flowers to paper is selecting the appropriate adhesive. Not all glues are created equal when it comes to working with dried flowers. A lightweight, clear-drying glue, such as white craft glue (PVA), is ideal because it provides a firm hold without soaking into the flowers and causing discoloration. To use this type of glue, apply a small amount to the back of the flower with a fine brush or toothpick, gently pressing it onto the paper. Make sure to use glue sparingly to avoid oversaturation, which can damage the delicate petals.
2. Use Tweezers for Precise Placement
Handling dried flowers with your fingers can lead to accidental breakage or crushing, especially with fragile petals and stems. To ensure precision and protect the flowers, use tweezers when positioning them on the paper. Tweezers allow you to carefully lift, move, and place flowers exactly where you want them without the risk of damaging their intricate details. After applying glue to the back of the flower, hold it gently with the tweezers and press it onto the paper, using a light touch to secure it in place.
3. Apply Glue with a Fine-Tip Applicator
To avoid mess and ensure a neat application, consider using a fine-tip applicator when gluing dried flowers to paper. A glue bottle with a precision nozzle allows for more control over the amount of adhesive applied, reducing the risk of using too much glue. This method is especially useful for small or intricate flowers, where too much glue could easily overwhelm the delicate structure. By using a fine-tip applicator, you can apply glue exactly where it’s needed, keeping the application clean and tidy.
4. Experiment with Glue Stick for Minimal Wetness
For smaller or thinner dried flowers, a glue stick can be a useful alternative to liquid glue. Glue sticks are less wet and less likely to cause discoloration or warping in the petals. To use a glue stick, gently swipe the back of the flower against the stick, ensuring it’s evenly coated with a thin layer of adhesive. Then, place the flower on the paper and press lightly. While glue sticks may not be suitable for heavier flowers or stems, they can be perfect for lightweight, flat blooms that don’t require a strong adhesive bond.
5. Use Mod Podge for a Protective Finish
Mod Podge is a versatile crafting glue that works not only as an adhesive but also as a sealer, which can help protect your dried flowers once they’re attached to the paper. To use Mod Podge, apply a thin layer to the back of the flower and press it onto the paper. After the flower has dried, apply another thin coat over the top of the flower to seal it and create a smooth, protective finish. This method helps preserve the flower’s color and shape while giving your artwork a polished, professional look. Mod Podge dries clear and can be used for both matte and glossy finishes.
6. Consider Using Double-Sided Adhesive Sheets
For a mess-free alternative to liquid glue, consider using double-sided adhesive sheets or tape. These adhesive sheets are easy to use and are less likely to damage fragile flowers since they don’t involve wet glue. Simply cut a piece of the adhesive sheet to match the size of your dried flower, peel off one side of the backing, and press the flower onto the adhesive. Then, peel off the other side of the backing and attach the flower to the paper. This method works best for flat flowers and leaves, as it provides an even bond without adding moisture.
7. Create a Pressed Flower Sandwich with Wax Paper
If you’re concerned about glue soaking through the dried flowers or leaving unsightly marks, consider creating a pressed flower sandwich using wax paper. This method involves placing a small piece of wax paper between the dried flower and the glue to act as a barrier. Start by cutting the wax paper to fit the shape of your flower, then glue one side of the wax paper to the back of the flower. Once it’s dry, apply glue to the other side of the wax paper and press the flower onto the paper. This technique adds an extra layer of protection for your dried flowers while still securing them firmly to the paper.
8. Use Spray Adhesive for Even Coverage
Spray adhesive is another effective way to attach dried flowers to paper, particularly when you need to cover a larger area or when working with intricate or fragile flowers. Spray adhesive provides an even coat of glue that’s less likely to cause clumping or wet spots. To use this method, place your dried flower face down on a piece of scrap paper or newspaper. Spray a light, even coat of adhesive on the back of the flower from a distance of about 6-8 inches. Quickly and carefully lift the flower using tweezers and press it onto the paper.
This method is great for maintaining the flower’s shape and appearance without oversaturating it with glue.
9. Allow Time for the Glue to Fully Dry
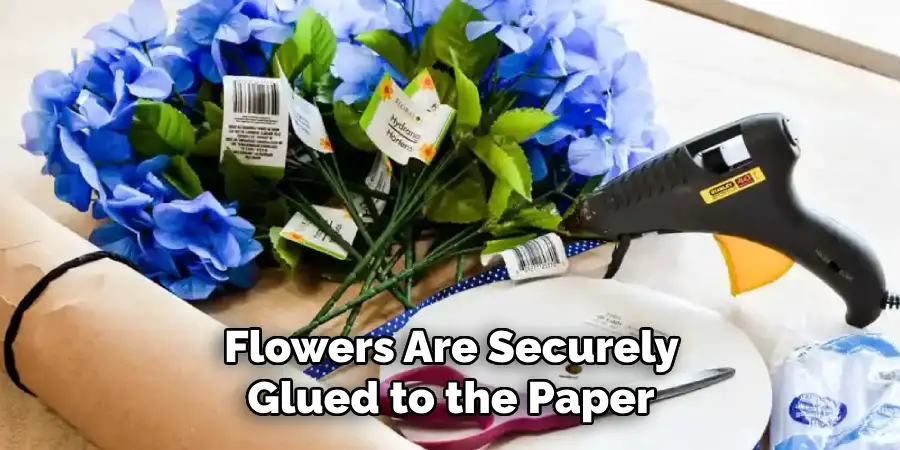
Patience is key when gluing dried flowers to paper. Once the flowers are in place, it’s important to allow the glue to fully dry before handling or framing your artwork. Depending on the type of glue used, this can take anywhere from a few hours to overnight. Avoid moving or adjusting the flowers during this drying period, as it can cause them to shift or become dislodged. Once the glue is completely dry, you can proceed with any additional sealing or framing steps.
10. Seal the Finished Piece with a Clear Acrylic Spray
After your dried flowers are securely glued to the paper, you may want to protect the finished piece with a clear acrylic spray. This protective sealant helps preserve the color and integrity of the flowers by creating a barrier against moisture, dust, and UV light. To apply the spray, hold the can about 10-12 inches away from the artwork and spray a light, even coat over the entire surface. Allow the spray to dry for at least an hour before adding additional coats if needed.
This final step will ensure that your dried flowers remain vibrant and intact, making your paper-based project durable and long-lasting.
Conclusion
Gluing dried flowers to paper is a delicate but rewarding process that requires the right materials, techniques, and a gentle touch. From choosing the proper adhesive to using tools like tweezers and fine-tip applicators, each method contributes to successfully preserving and displaying the natural beauty of dried flowers. Thanks for reading, and we hope this has given you some inspiration on how to glue dried flowers to paper!
About
Angela is the chief editor of Indoorense. She began her career as an interior designer before applying her strategic and creative passion to lifestyle and home.
She has close to 15 years of experience in creative writing and online content strategy for housekeeping and cleaning,home decorations as well as other efforts.
She loves her job and has the privilege of working with an extraordinary team. She lives with her husband, two sons, and daughter in Petersburg. When she’s not busy working she spent time with her family.