

When tackling a painting project, dealing with paint bleed through can be a frustrating setback. This issue occurs when stains, tannins, or other residues seep through a new coat of paint, diminishing the overall appearance and quality of the finish. Fortunately, with the right techniques and materials, it’s possible to effectively address and prevent paint bleed through.
In this guide on how to fix paint bleed through, we’ll explore the common causes of this problem and provide step-by-step solutions to ensure your paintwork remains pristine and professional-looking. Whether you’re updating walls, furniture, or cabinetry, these tips will help you achieve a flawless finish.
Why Does Paint Bleed Through Happen?
Paint bleed-through can occur for a variety of reasons. Some common causes include:
Stains and Tannins From Wood Surfaces:
Wood is porous, meaning that stains and tannins from the wood itself can seep through paint layers. This is especially true for woods with high tannin content, such as cedar or redwood.
Residue From Previous Paint:
If the previous coat of paint was not properly cleaned or primed, any stains or residues from it can bleed through new layers of paint.
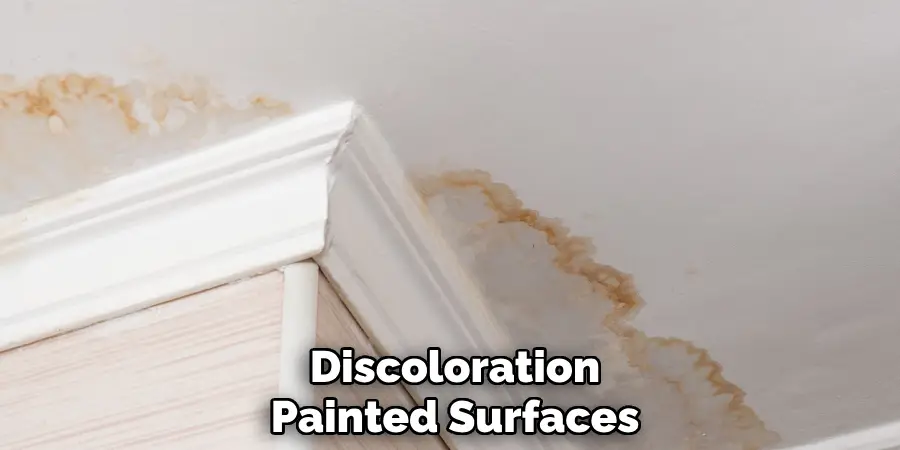
Water Damage:
Water damage can cause discoloration on walls and other surfaces, which may seep through when painted over.
Rust or Metal Stains:
Metal surfaces can rust, leaving behind rusty residue that can bleed through paint layers.
Now that we understand some common causes of paint bleed through, let’s look at how to fix this issue.
8 Step-by-step Guides on How to Fix Paint Bleed Through
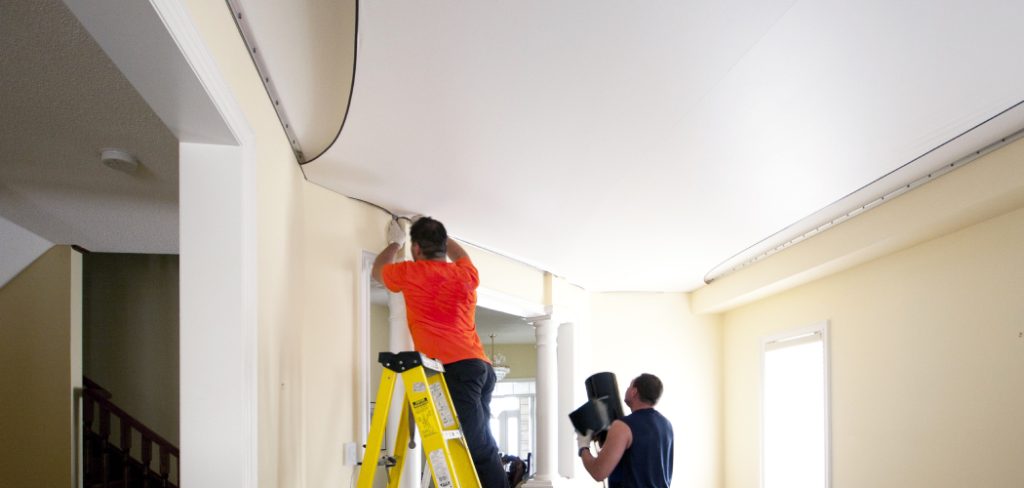
Step 1: Prepare the Surface
Begin by thoroughly preparing the surface you intend to paint. This involves cleaning the area to remove any dirt, grease, or loose paint that could interfere with a new coat of paint. Use a mild detergent mixed with water to scrub the surface clean. For tougher stains or sticky residue, consider using a degreaser or a solution of water and vinegar. After cleaning, rinse the area with clean water and allow it to dry completely.
Sand the surface lightly to create a smooth, even area for the primer and paint to adhere to. Finally, wipe away any dust or debris from sanding with a tack cloth or a damp microfiber cloth. This preparation step is crucial to ensure all subsequent layers of primer and paint adhere properly and uniformly, helping to minimize the risk of paint bleed through.
Step 2: Use a Stain-blocking Primer
To effectively prevent stains or tannins from seeping through new layers of paint, it’s essential to use a stain-blocking primer. Choose an oil-based primer that is specifically formulated to block stains and adhere well to wood surfaces.
Apply the primer using a high-quality brush or roller in even strokes, following the grain of the wood if applicable. Make sure to cover the entire surface evenly with no gaps or missed areas.
Step 3: Wait for the Primer to Dry Completely
Allow the primer to dry completely before moving on to the next step. Depending on the brand and type of primer used, this can take anywhere from 4 hours to overnight. Follow the manufacturer’s instructions for specific drying times.
Step 4: Apply Two Coats of High-quality Paint
To ensure a long-lasting and professional-looking finish, it’s essential to use high-quality paint. Choose a brand and type that is suitable for your project, whether it’s walls, furniture, or cabinetry.
Apply two coats of paint using a brush or roller in even strokes, similar to how you applied the primer. Make sure to allow the first coat to dry completely before applying the second coat. Double-check for any missed spots and ensure full coverage of the surface.
Step 5: Consider Using a Sealer
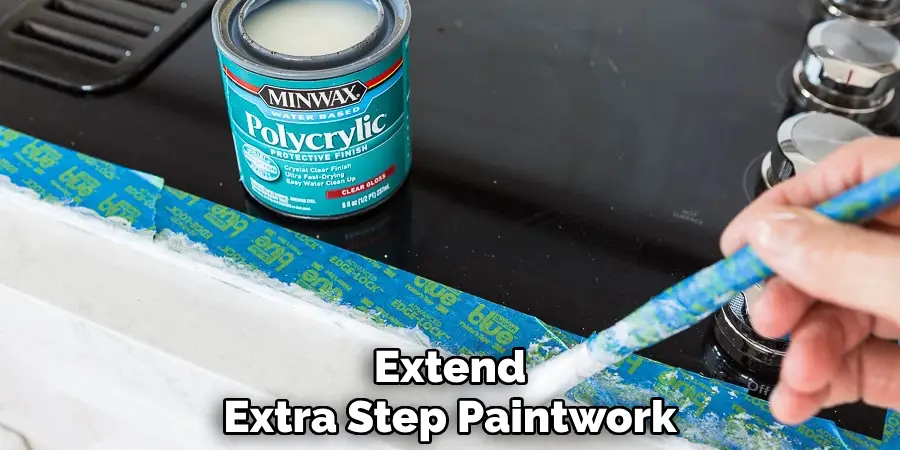
After the final coat of paint has dried completely, you might want to consider applying a sealer, especially in high-moisture or high-traffic areas. A sealer provides an additional protective layer that helps prevent future staining and damage from environmental factors, such as humidity or wear. Choose a clear, water-based sealer that is compatible with both the paint and primer used in your project.
Apply the sealer evenly using a clean brush or roller, following the manufacturer’s instructions for application and drying times. This extra step can extend the life of your paintwork, ensuring it remains vibrant and intact for longer periods.
Step 6: Use a Stain-blocking Paint
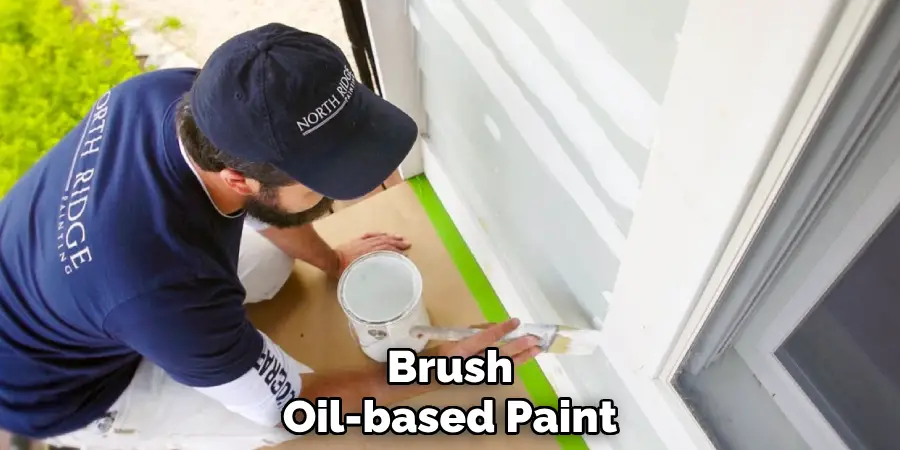
For added protection against bleed through, consider using a high-quality, stain-blocking paint formulated to resist stains and tannins. These paints often contain additional ingredients that help guard against discoloration, making them ideal for problematic surfaces prone to bleed through. When selecting your stain-blocking paint, ensure it matches the type of stain-blocking primer you used.
For example, if you applied an oil-based primer, use an oil-based stain-blocking paint for consistent compatibility and performance. Apply the paint smoothly with a brush or roller, ensuring even coverage across the entire surface. This extra measure enhances the finish’s durability and appearance, further safeguarding your project from potential blemishes.
Step 7: Use a Sponge or Cloth to Remove Fresh Stains
In case you notice fresh stains or marks on the surface after painting, act quickly to prevent them from bleeding through. Use a clean sponge or cloth and gently dab the affected area with water until the stain is no longer visible. Avoid rubbing as this could spread the stain further. Once the area is dry, apply another coat of paint if necessary.
It’s important to address any potential bleed-through issues as soon as possible to prevent them from becoming a larger problem in the future.
Step 8: Regular Maintenance and Inspection
Once your painted surface is fully dry, maintain it regularly with gentle cleaning and inspection. This will help you catch any potential stains or damages early on before they become more severe. Use mild cleaners and avoid harsh chemicals that could damage the paintwork or cause discoloration. Additionally, inspect the surface periodically for signs of wear or new stains that may require touch-ups or further attention.
By following these step-by-step guides on how to fix paint bleed through and taking preventative measures, you can effectively fix and prevent paint bleed through issues for a flawless finish every time. Remember to always use high-quality products and follow manufacturer’s instructions for best results. Happy painting!
Frequently Asked Questions
Q: What Causes Paint Bleed Through?
A: Paint bleed through can be caused by stains, tannins, or other contaminants on the surface. It can also occur when using low-quality or incompatible products. The type of wood used and its level of absorbency can also contribute to paint bleed through.
Q: How Can I Prevent Paint Bleed Through?
A: To prevent paint bleed through, it’s crucial to properly prepare the surface by cleaning, sanding, and using a stain-blocking primer. Using high-quality products that are compatible with each other and the surface is also essential. Regular maintenance and inspection can also help catch potential issues early on.
Q: Can Paint Bleed Through Be Fixed?
A: Yes, paint bleed through can be fixed by identifying and addressing the underlying cause, such as stains or tannins on the surface. Sanding down affected areas and applying multiple coats of high-quality paint and sealer can also help fix and prevent future bleed through. Additionally, using a stain-blocking paint can provide added protection against bleed through.
Q: How Can I Remove Fresh Stains on a Painted Surface?
A: If you notice fresh stains or marks on your painted surface, act quickly by dabbing the area with a clean sponge or cloth dampened with water. Avoid rubbing as this could spread the stain further. Once dry, apply an extra coat of paint if needed. It’s also essential to regularly maintain and inspect your painted surface for potential stains or damages.
Q: How Can I Keep My Painted Surface Looking Fresh and New?
A: To keep your painted surface looking fresh and new, regularly maintain it with gentle cleaning and inspection. Use mild cleaners and avoid harsh chemicals that could damage the paintwork. Additionally, consider using a sealer for added protection against stains and environmental factors. Touch up any areas that may have experienced wear or damage to ensure an overall flawless appearance.
Conclusion
Fixing paint bleed through can be a meticulous process, but with deliberate attention to preparation and the use of quality materials, it is manageable. By following these step-by-step guides on how to fix paint bleed through, you ensure your painted surfaces are not only visually appealing but also durable and resistant to stains. Consistent maintenance and regular inspections will help preserve the integrity of your work, extending the lifespan of your paint job while maintaining its vibrant appearance.
Investing time in preparation and using the right products required for your specific project will not only yield a flawless finish but also save time and effort in the long run. With patience and the right approach, anyone can achieve a professional-standard finish, even on challenging surfaces. Happy painting!
About
Angela is the chief editor of Indoorense. She began her career as an interior designer before applying her strategic and creative passion to lifestyle and home.
She has close to 15 years of experience in creative writing and online content strategy for housekeeping and cleaning,home decorations as well as other efforts.
She loves her job and has the privilege of working with an extraordinary team. She lives with her husband, two sons, and daughter in Petersburg. When she’s not busy working she spent time with her family.