
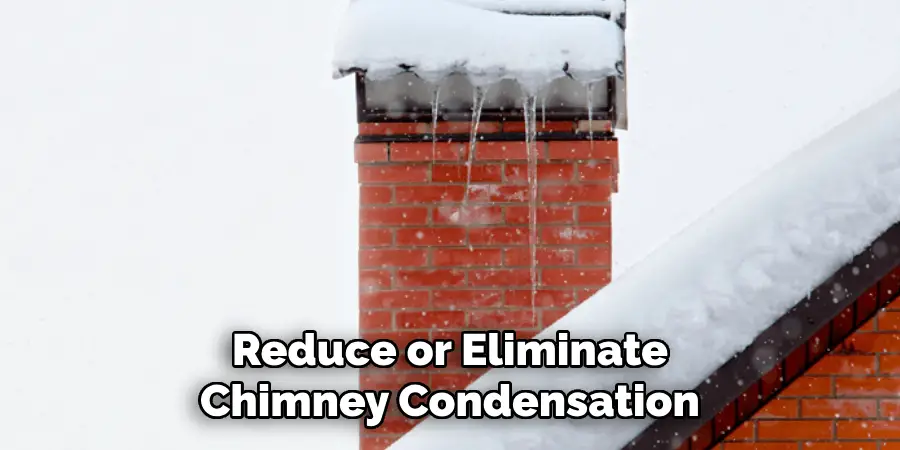
Are you experiencing issues with your chimney constantly developing condensation? This can be a nuisance and damage your chimney and home. If you are experiencing this problem, don’t worry; there are steps you can take to fix it.
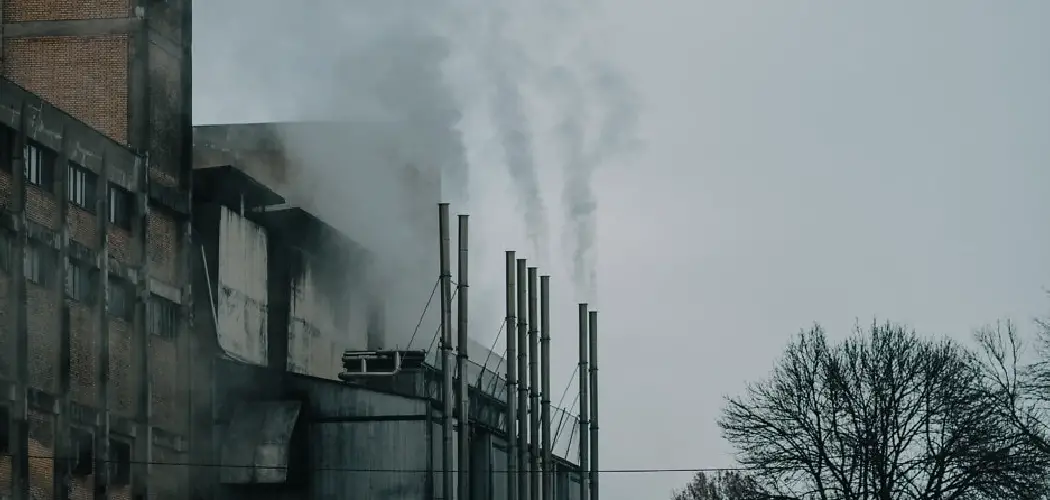
Chimney condensation is a common issue that many homeowners face, especially when cooler temperatures set in. Condensation occurs when the warm air inside the chimney meets the cooler outside air, leading to moisture buildup within the flue. This moisture can lead to various problems, including structural damage, mold growth, and unpleasant odors. Addressing chimney condensation promptly is crucial to maintaining your chimney’s integrity and ensuring your home’s safety and comfort.
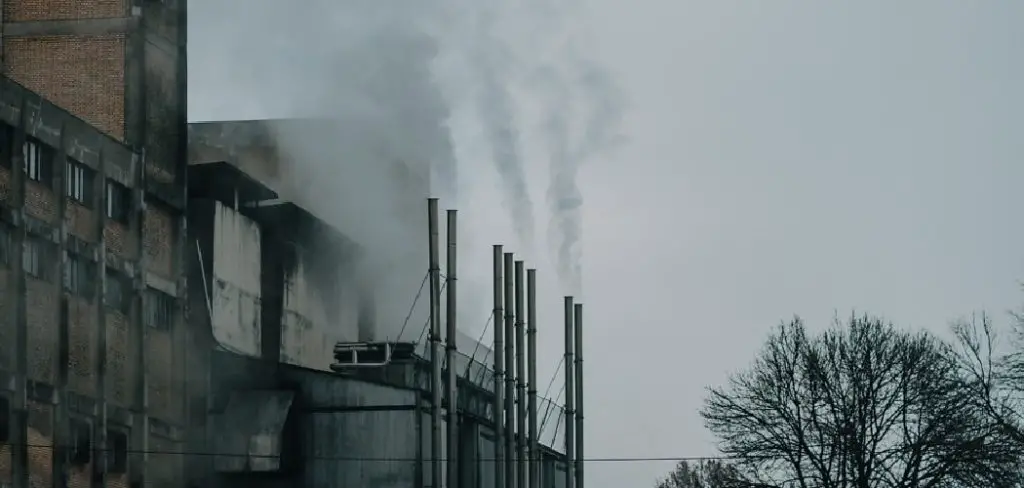
In this guide, we will explore the various causes of chimney condensation and provide practical solutions on how to fix chimney condensation, ultimately safeguarding your home from potential damage.
What Will You Need?
Before we dive into the solutions, gathering some materials that will come in handy during the process is essential. These include:
- Ladder
- Safety equipment (gloves, safety glasses)
- Chimney brush and rods
- Dehumidifier
- Insulation material
- Weatherstripping tape
Once you have these materials, you can start addressing the issue of chimney condensation.
10 Easy Steps on How to Fix Chimney Condensation
Step 1: Check for Leaks or Damage
Begin by inspecting your chimney for any visible signs of leaks or damage. This includes looking for cracks in the chimney structure, loose bricks, or damaged mortar joints. Use a flashlight to closely examine the chimney’s interior and check for any damp spots or water streaks that might indicate where condensation is accumulating.

If you notice any significant structural issues, it is advisable to contact a professional chimney repair service to assess and fix the damage. Ensuring the chimney is free of leaks is a critical first step because any gaps can allow additional moisture to penetrate, exacerbating the condensation problem. Additionally, addressing these repairs early on helps prevent more severe issues down the line, such as water damage to the surrounding areas of your home.
Step 2: Clean the Chimney Flue
After ensuring the chimney is structurally sound, the next step is cleaning the flue. Using a chimney brush and rods, carefully brush away any soot, creosote, or debris accumulated within the flue. Regular cleaning helps prevent condensation and reduces the risk of chimney fires. It is essential to clean the flue thoroughly, reaching all areas possible, as buildup can contribute to moisture retention and restrict proper airflow.
If you are unsure how to clean your chimney effectively or if it hasn’t been cleaned in a while, consider hiring a professional sweep to ensure it is done safely and efficiently. A clean flue is crucial for maintaining proper ventilation and minimizing moisture buildup.
Step 3: Install a Chimney Cap
Installing a chimney cap effectively prevents external elements such as rain, snow, and debris from entering the chimney, which can contribute to condensation issues. A chimney cap sits at the top of the chimney and acts as a protective barrier against moisture. When selecting a chimney cap, ensure it is made of durable materials like stainless steel or copper to withstand harsh weather conditions. Installing the chimney cap may require a ladder and should be done carefully to ensure it fits securely.
In addition to mitigating condensation, a chimney cap can prevent critters and birds from nesting in the chimney, further reducing potential blockage and moisture buildup. Incorporating this step into your routine chimney maintenance not only helps manage condensation but also extends the lifespan of your chimney.
Step 4: Improve Chimney Insulation
Improving the insulation around your chimney is a crucial measure to help reduce condensation. Insulation helps retain heat within the chimney, minimizing the temperature difference between the warm air inside and the cool air outside. Start by examining the existing insulation to determine if it is adequate or needs upgrading. You can use high-quality insulation designed explicitly for chimneys to line the flue and the exterior. Additionally, weather stripping should be applied around the chimney opening to seal any gaps and allow cold air to enter. Proper insulation reduces the likelihood of condensation and enhances your home’s energy efficiency by reducing heat loss.
Step 5: Use a Dehumidifier
Utilizing a dehumidifier in the room where the chimney is located can significantly reduce moisture levels in the air, thus decreasing the likelihood of condensation within the chimney. Position the dehumidifier near the chimney and set it to maintain a comfortable humidity level, typically between 30% to 50%. The dehumidifier can prevent condensation from forming when the warm, humid air rises into the cooler chimney flue by extracting excess moisture from the air.
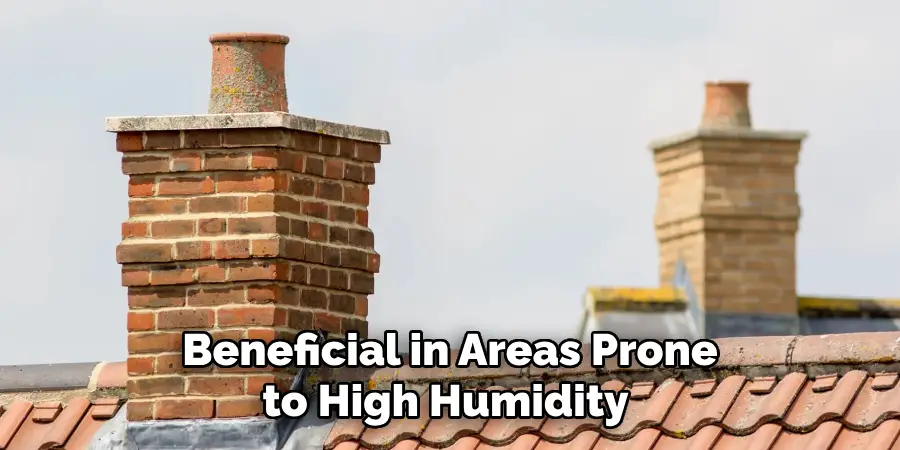
This step is beneficial in areas prone to high humidity or during seasons when the humidity levels are naturally elevated. Regularly check and empty the dehumidifier’s water reservoir, ensuring it operates efficiently. Integrating a dehumidifier into your home’s environment not only combats chimney condensation but also promotes a healthier indoor atmosphere.
Step 6: Seal Gaps and Cracks
After enhancing insulation and managing interior humidity, the next step involves sealing any gaps or cracks around the chimney structure. Small openings can allow cold air to infiltrate, contributing to condensation by creating temperature disparities between the chimney’s interior and the outside environment. Use a high-quality silicone-based sealant to fill in any cracks or gaps in the chimney and surrounding areas.
Prioritize areas where different materials meet, such as between the chimney and the roof, since these are common entry points for moisture. Sealing these openings helps maintain a consistent internal temperature within the chimney and acts as an additional barrier against external elements. It’s a proactive approach that protects against potential water damage, enhances the structural integrity of your chimney, and helps mitigate the condensation issue effectively.
Step 7: Install an Exhaust Fan
Installing an exhaust fan near the chimney can help improve air circulation, which is crucial in preventing condensation. An exhaust fan works by drawing moist air away from the chimney, reducing moisture accumulation and maintaining a drier environment. When selecting an exhaust fan, look for models with humidity sensors or adjustable settings to manage airflow according to the room’s requirements efficiently. Ensure proper fan placement to maximize its effectiveness; it should be positioned where it can intercept the moist air before it travels up the chimney. In addition to aiding in condensation control, an exhaust fan can improve overall indoor air quality, making it a beneficial addition to your home ventilation strategy.
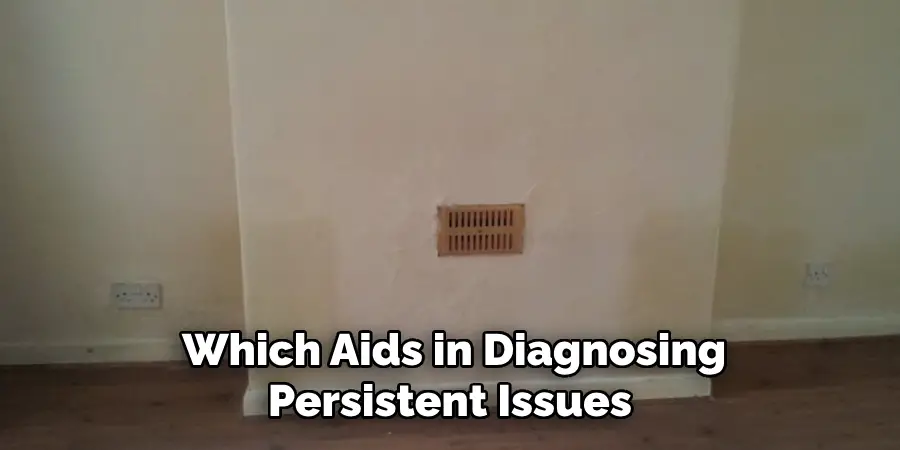
Step 8: Monitor and Maintain Regularly
Consistent monitoring and maintenance are essential to ensuring the effectiveness of your efforts to combat chimney condensation. Regularly inspect the chimney for any signs of wear, damage, or new moisture issues that may arise. Check the chimney cap, insulation, sealant, and exhaust fan to confirm they are in good condition and functioning as intended. Scheduling an annual chimney inspection by a professional can also help identify potential problems early on. Keeping a detailed maintenance log allows you to track any changes or repairs, which aids in diagnosing persistent issues.
Step 9: Regularly Clean the Chimney
Regular cleaning of the chimney is a crucial step in preventing condensation and ensuring safe operation. Over time, soot and creosote can accumulate inside the chimney flue, restricting airflow and retaining moisture, contributing to condensation issues. It’s recommended to have your chimney professionally cleaned at least once a year, mainly if you use your fireplace frequently. During cleaning, removing debris and buildup will facilitate better airflow and enhance the efficiency of your chimney system.
A clean chimney also reduces the risk of chimney fires and improves indoor air quality. In between professional cleanings, you can inspect and remove minor obstructions to maintain a clear airway. Adopting regular cleaning as part of your chimney maintenance routine is both a safety measure and an effective strategy for minimizing condensation and preserving the longevity of the chimney.
Step 10: Insulate the Chimney Cap
Insulating the chimney cap adds layer of protection against condensation. A well-insulated chimney cap can prevent cold air from entering the flue and create conditions conducive to condensation. It acts as a barrier that keeps the chimney top consistently warm, thereby reducing the risk of moisture forming when warm air from inside rises and comes into contact with cooler surfaces. To achieve effective insulation, use materials like insulating blankets or specialized chimney cap covers designed for this purpose. Ensure the insulation is weatherproof and securely fastened to withstand external elements like wind, rain, and snow.
By following these steps, you can significantly reduce or eliminate chimney condensation and effectively maintain your chimney’s structure and functionality.
Conclusion
Addressing chimney condensation is essential for maintaining the integrity and safety of your home.
By implementing a combination of strategies, such as improving insulation, managing humidity levels, sealing gaps, and ensuring regular maintenance and cleaning, you can effectively mitigate the problem of condensation. Each step is crucial in creating a more controlled environment that minimizes moisture accumulation. Investing in tools like dehumidifiers, exhaust fans, and proper insulation for your chimney cap can further enhance your efforts. Regular inspections and timely interventions by professionals are also vital to promptly identifying and addressing potential issues.
By following these guidelines on how to fix chimney condensation, you ensure that your chimney remains efficient, safe, and a well-maintained component of your home’s infrastructure, reducing the risks of water damage and improving overall air quality.
About
Angela is the chief editor of Indoorense. She began her career as an interior designer before applying her strategic and creative passion to lifestyle and home.
She has close to 15 years of experience in creative writing and online content strategy for housekeeping and cleaning,home decorations as well as other efforts.
She loves her job and has the privilege of working with an extraordinary team. She lives with her husband, two sons, and daughter in Petersburg. When she’s not busy working she spent time with her family.