

A slow-filling toilet can be an annoying inconvenience in any household, often signaling underlying issues that require attention. Common causes for this situation include problems with the fill valve, mineral deposits, or issues with the water supply line. While hiring a professional plumber is always an option, many of these problems can be addressed with a few simple tools and a bit of know-how.
Understanding the root cause of the issue not only helps in fixing it faster but also prevents future occurrences. In this guide on how to fix a slow filling toilet, we will walk you through the basic steps to diagnose and remedy a sluggish toilet to restore its efficiency and ensure smooth operation.
Why is Your Toilet Filling Slowly?
Before we dive into the methods for fixing a slow-filling toilet, it is important to understand why your toilet may be filling slowly in the first place. The most common reasons include:
Issues With the Fill Valve:
The fill valve is responsible for refilling the toilet tank after each flush. If it is malfunctioning or damaged, it can lead to slow filling of the tank.
Mineral Buildup:
Mineral deposits, especially from hard water, can accumulate in the tank and clog the fill valve or other components. This restricts the flow of water and leads to slow filling.
Problems With the Water Supply Line:
If there is an issue with the water supply line, such as low pressure or a blockage, it can affect the rate at which water fills up in the toilet tank.
Once you have identified the root cause of your slow-filling toilet, you can move on to fixing it with these simple steps:
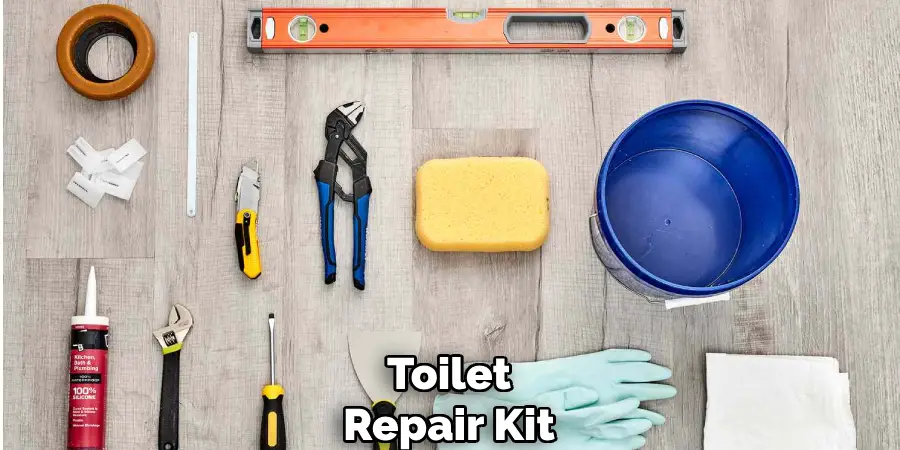
Necessary Tools
- Adjustable Wrench
- Screwdriver
- Toilet Repair Kit (Optional)
8 Steps on How to Fix a Slow Filling Toilet
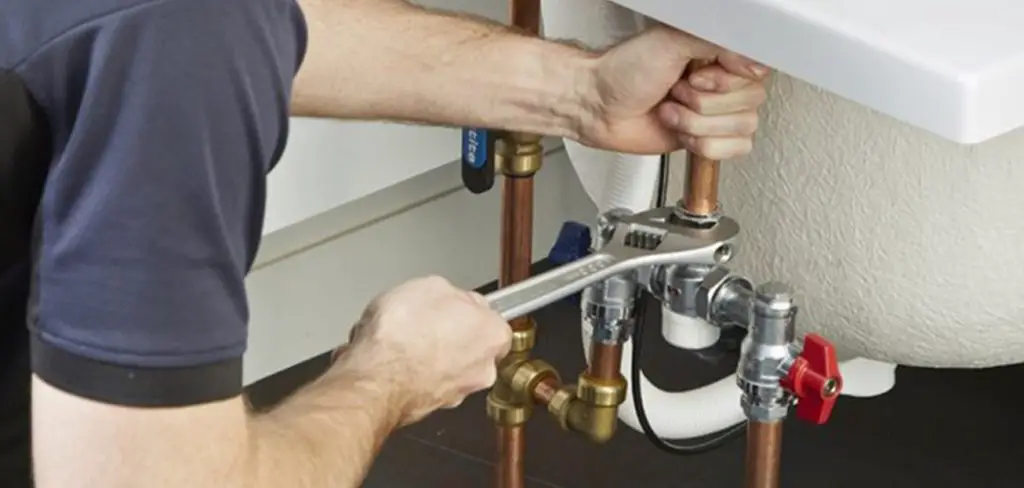
Step 1: Shut off the Water Supply
The first step in fixing a slow filling toilet is to shut off the water supply to prevent any water from entering the tank while you work. Locate the water supply valve, which is usually situated on the wall behind or beneath the toilet. Turn the valve clockwise to close it fully.
Once the valve is closed, flush the toilet to drain the water from the tank. This will ensure that you can work on the components without any water interference. Make sure to place a towel on the floor to catch any residual water that might drip during the repair process.
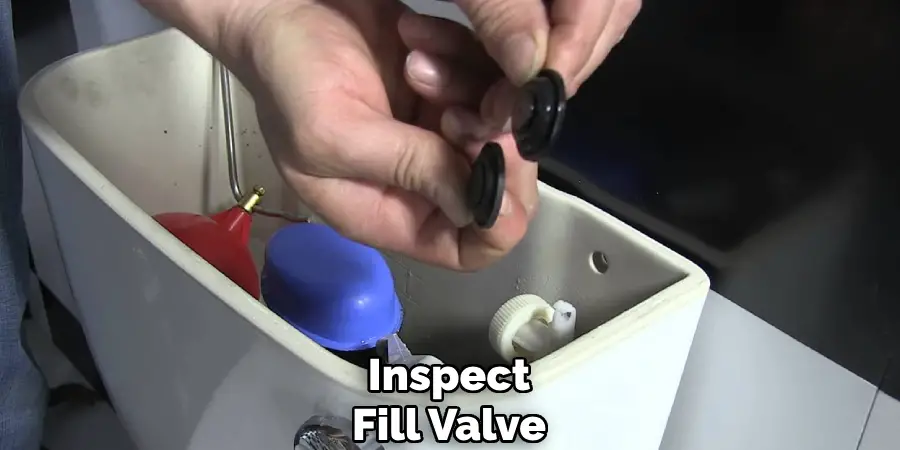
Step 2: Inspect the Fill Valve
After the water supply has been shut off and the tank is drained, it’s time to inspect the fill valve for any visible signs of damage or clogging. The fill valve is typically located on the left side of the toilet tank and connected to the supply line. Carefully remove the lid of the toilet tank and set it aside. Check for any mineral buildup or debris lodged in the valve that could be impeding water flow.
If mineral deposits are present, gently scrub them away using a toothbrush or a small brush, taking care not to damage the valve components. If the fill valve appears significantly worn or damaged, consider replacing it with a new one from your toilet repair kit or seek guidance from local hardware store staff to ensure compatibility. Once the fill valve inspection and cleaning are completed, reassemble any parts you had to remove, ensuring everything is securely in place before proceeding to the next step.
Step 3: Check the Toilet Flapper
The toilet flapper is a rubber piece that sits at the bottom of the tank and opens to allow water into the bowl during flushing. If it is not sealing properly, it can lead to continuous leakage or slow filling of the tank. To check if this could be causing your slow filling issue, put some food coloring in the toilet tank and wait for a few minutes without flushing.
If you see colored water in the bowl, it means your flapper needs replacing as it is not creating an airtight seal. Flush out any remaining water from the tank and replace the flapper with a new one from your repair kit or purchase one separately.
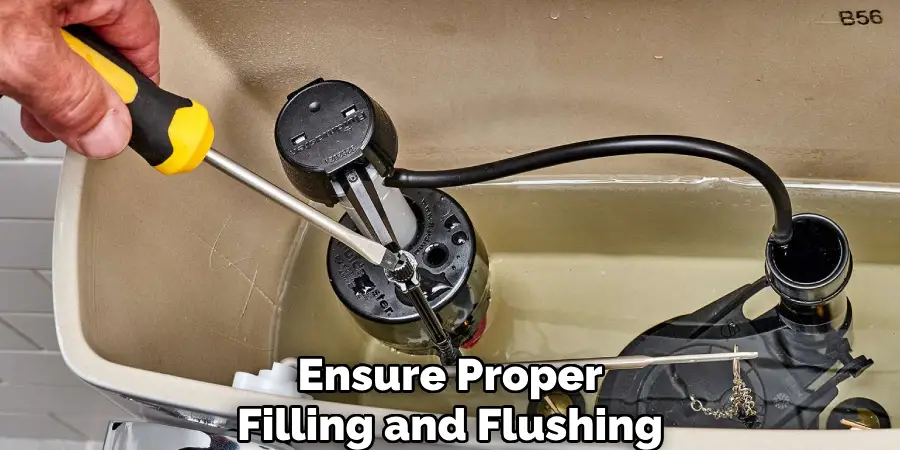
Step 4: Adjust Water Level
The water level in the tank should be at least one inch below the top of the overflow tube to ensure proper filling and flushing. Use your adjustable wrench to adjust the float valve or ballcock until the desired water level is achieved. Make sure there is no excessive slack in the chain connecting the flapper to the handle, as this can prevent proper sealing and cause slow-filling issues.
The exact method for adjusting the water level may differ depending on your toilet model, so refer to the manufacturer’s instructions if needed.
Step 5: Clean or Replace the Water Supply Line
If you have ruled out issues with the fill valve and flapper, it’s time to check the water supply line. Turn off the water supply valve and carefully disconnect the supply line from both ends using your adjustable wrench. Inspect the line for any signs of wear or damage, such as cracks or leaks, and replace it if necessary. If there are no visible problems, clean out any mineral deposits that may be obstructing the flow of water.
It is recommended that the supply line be replaced every 5-7 years to prevent buildup and maintain proper water flow. You can find a replacement at your local hardware store or purchase one online. Once the new line is installed, reconnect it to both ends and turn on the water supply valve.
Step 6: Check the Water Pressure
If you are still experiencing slow filling even after cleaning or replacing the fill valve and flapper, there may be an issue with the water pressure in your home. You can check this by turning on other faucets and showers in your home while monitoring the toilet tank filling speed. If there is a noticeable decrease in water pressure, contact your water company to address any potential problems with the main supply line.
It is also recommended to check the water pressure regulator, which controls and maintains the water pressure in your home. If it is malfunctioning or damaged, it can cause low water pressure and affect the filling of your toilet tank. Consider calling a professional plumber to assist with checking and repairing the regulator if needed.
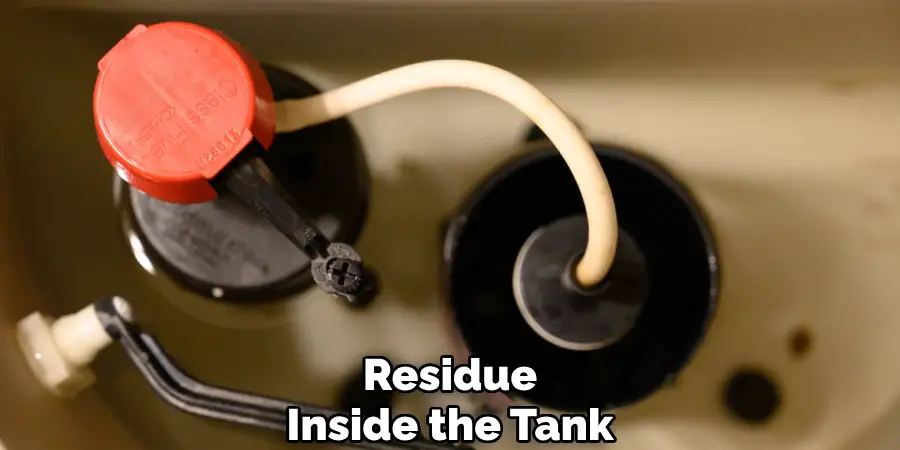
Step 7: Clean Out Tank
If none of the above steps have resolved your slow-filling issue, it may be time to clean out the entire tank. Over time, sediment and debris can accumulate in the tank and affect the functioning of its components. Turn off the water supply valve and flush out any remaining water from the tank.
Using a mixture of vinegar and water, scrub away any buildup or residue inside the tank with a brush or sponge. Once cleaned, rinse out the tank thoroughly before turning on the water supply valve again. The fresh cleaning should help improve water flow and filling speed.
Step 8: Final Check
After completing all necessary repairs and maintenance, turn on the water supply valve and allow your toilet to fill up completely. Keep an eye on it for a few minutes to ensure that it is filling up at a normal speed without any leaks or issues. If everything appears to be in order, it’s time to pat yourself on the back for fixing your slow-filling toilet.
Following these steps on how to fix a slow filling toilet and performing regular maintenance can help prevent future issues with slow filling toilets. Checking and cleaning your toilet’s components at least once a year is recommended to ensure optimal functioning. However, if you continue to experience problems or are not confident in completing the repairs yourself, it is always best to consult a professional plumber for assistance. A properly functioning toilet is essential for daily life, so don’t hesitate to seek help if needed. Happy flushing!
Frequently Asked Questions
Q1: Why is My Toilet Filling Slowly?
A: A slow-filling toilet can be caused by various factors, including a malfunctioning fill valve, worn-out flapper, low water pressure, clogged supply line, or sediment buildup in the tank. It is essential to identify and address the specific issue to fix the problem.
Q2: How Do I Know if My Fill Valve Needs Replacing?
A: If your toilet continues to fill slowly even after cleaning it out and checking the flapper and water level, then the fill valve may be damaged or worn out. Look for signs of wear or damage, such as cracks or corrosion, and consider replacing it with a new one from your repair kit.
Q3: Can I Adjust the Water Level in My Toilet Tank?
A: Yes, you can adjust the water level in your toilet tank using the float valve or ballcock. It is recommended to keep the water level at least one inch below the top of the overflow tube for proper functioning. Refer to your toilet’s manual for specific instructions on adjusting the water level.
Conclusion
In conclusion, addressing a slow-filling toilet can be a straightforward process if you systematically follow the outlined steps. By examining and maintaining critical components such as the fill valve, flapper, and water supply line, you can ensure that your toilet operates efficiently, conserving water and optimizing performance.
Regular maintenance checks can prevent future issues and extend the lifespan of your toilet. If at any point you encounter difficulties or feel uncertain, professional assistance is a valuable resource. Ultimately, taking proactive measures to resolve plumbing issues not only enhances comfort in your home but also contributes to the overall functionality and hygiene of your bathroom. Thanks for reading this article on how to fix a slow filling toilet.
About
Angela is the chief editor of Indoorense. She began her career as an interior designer before applying her strategic and creative passion to lifestyle and home.
She has close to 15 years of experience in creative writing and online content strategy for housekeeping and cleaning,home decorations as well as other efforts.
She loves her job and has the privilege of working with an extraordinary team. She lives with her husband, two sons, and daughter in Petersburg. When she’s not busy working she spent time with her family.