
A dented wooden door can be both an eyesore and a functional issue, detracting from the overall appearance of your home while potentially interfering with the door’s operation. Fortunately, repairing a dent in a wooden door is a straightforward task that you can accomplish with a few basic tools and materials.
This guide on how to fix a dented wooden door will walk you through a step-by-step process to restore your door to its original, smooth condition, helping maintain the aesthetic and practical aspects of your living space. Whether you’re a seasoned DIY enthusiast or new to home repair, these clear instructions aim to make the task manageable and effective.
Why Do Wooden Doors Get Dented?
Before jumping into the steps for fixing a dented wooden door, it’s essential to understand why these dents occur in the first place. Wooden doors are susceptible to damage from impact, whether from a heavy object being dropped on them or someone accidentally bumping into them. These impacts can cause a dent in the wood, which is essentially a localized deformation of the material.
Additionally, wooden doors can also get dented due to changes in temperature and humidity levels. As wood is a natural material, it expands and contracts with fluctuations in moisture levels, potentially causing the surface to warp or become uneven. This warping can create a visible indentation on the door’s surface and impact its functionality.
Materials You Will Need
To fix a dented wooden door, you will need the following materials:
- Wood Filler or Putty
- Sandpaper (Various Grits)
- Spatula
- Putty Knife
- Paint (Matching Color)
- Paintbrush or Roller
- Clean Cloth
8 Step-by-step Guides on How to Fix a Dented Wooden Door
Step 1: Assess the Damage
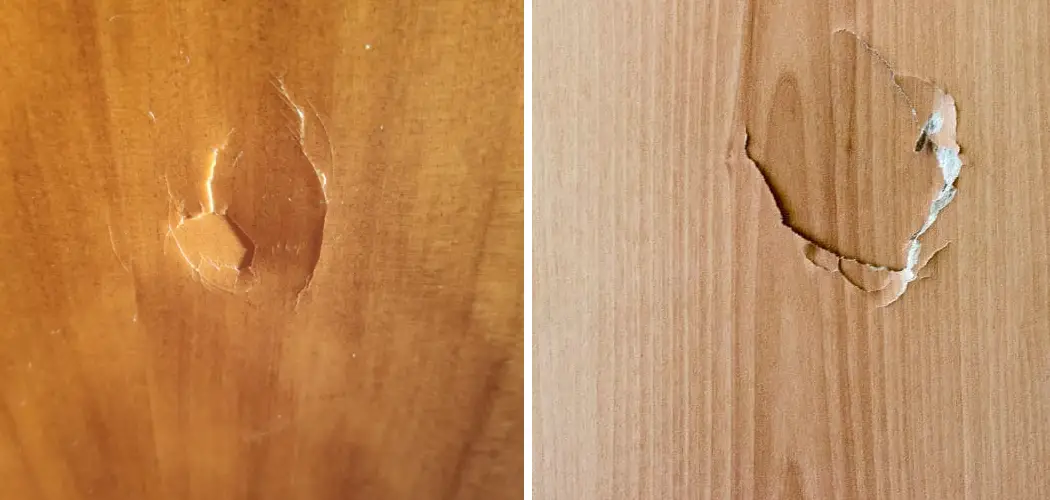
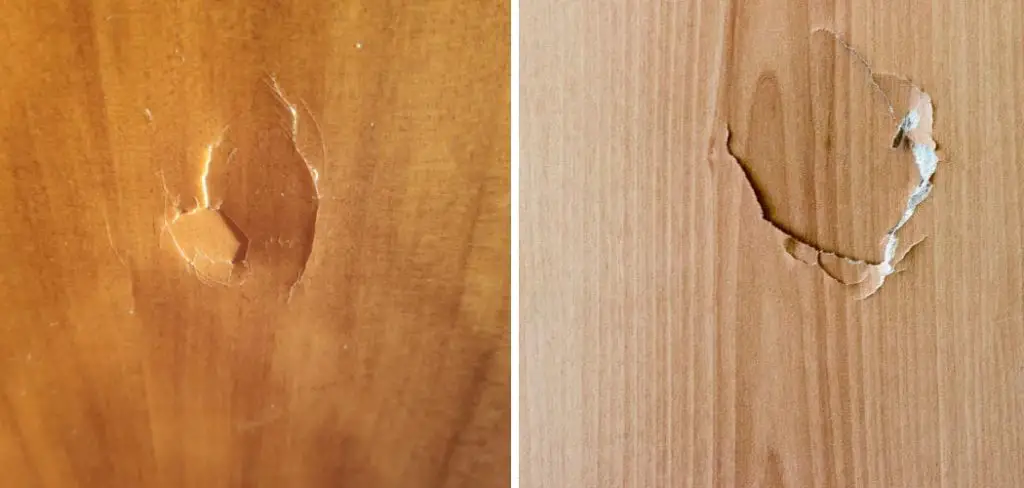
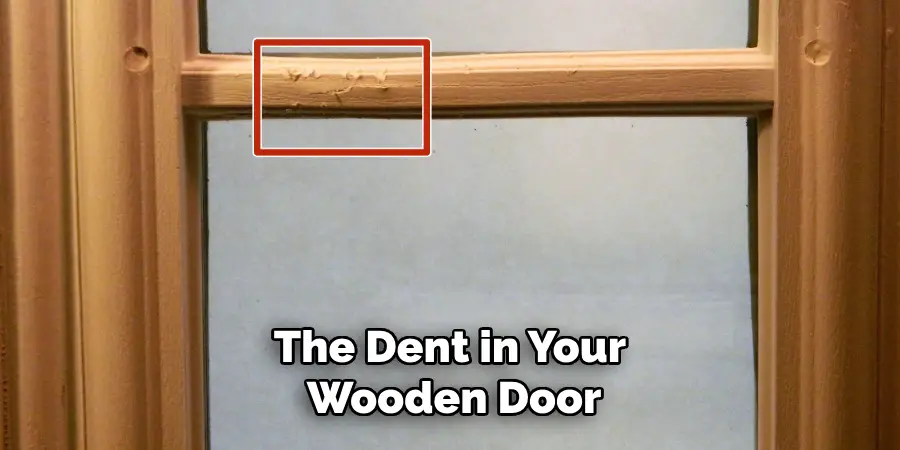
Start by carefully examining the dent in your wooden door to determine the extent of the damage. Is the dent deep or shallow? Are there any cracks or splinters around the dent? Understanding the severity of the damage will help you decide how much wood filler or putty you will need and whether any additional steps are necessary.
Measure the size and depth of the dent to ensure you gather sufficient materials for the repair. Also, take note of the door’s finish and color, as you will later need to match the repair area with the existing tone of the door for a seamless look.
Step 2: Prepare the Work Area
Before you begin repairing the dent, it’s important to prepare the work area to ensure a neat and efficient process. Start by clearing the space around the door and the floor beneath it, removing any furniture or items that could be in your way. To protect the surrounding areas, place a drop cloth or old sheet on the floor to catch any debris or paint drips.
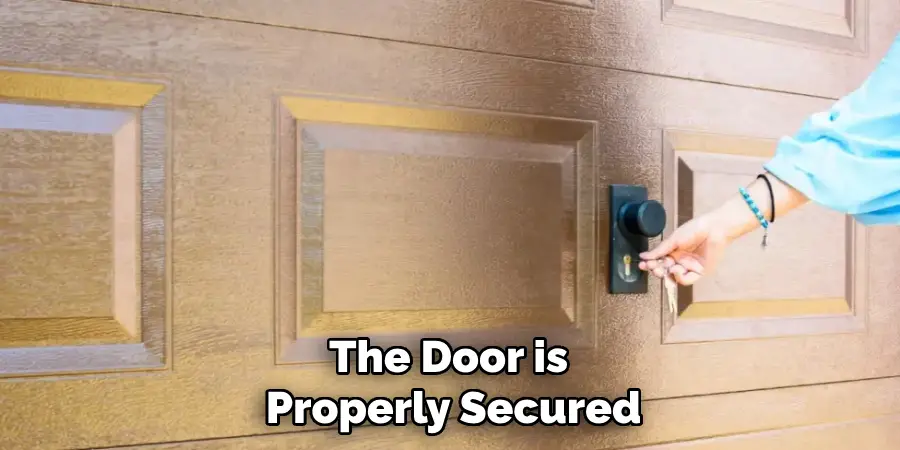
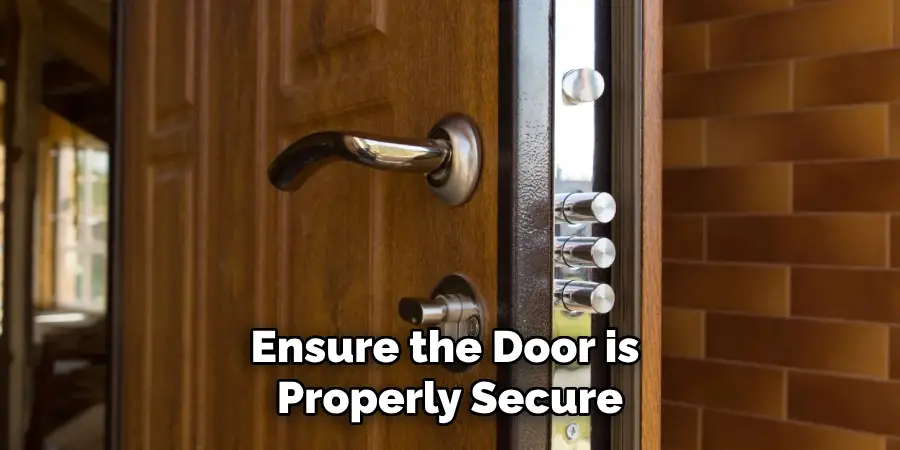
Ensure the door is properly secured, either by closing it or using clamps if it’s necessary to keep it steady during the repair. It is crucial to have proper lighting so you can clearly see the dent and surrounding area as you work. Gather your tools and materials nearby for easy access, making sure everything needed for the repair is within reach.
Step 3: Remove Any Loose Debris
Use sandpaper or a scraper to remove any loose debris, such as splinters or paint chips, from the dent. This step will ensure that the wood filler adheres properly and creates a smooth surface. Be sure to wear protective gear, such as gloves and goggles, when working with sandpaper to avoid any injuries.
You can also use a vacuum to remove any dust or debris from the area, ensuring a clean and even surface for the repair.
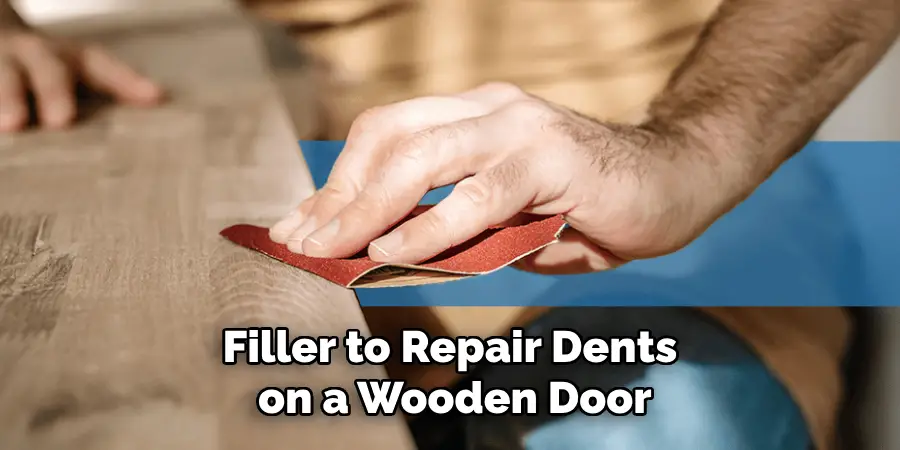
Step 4: Fill the Dent with a Wood Filler
Using a putty knife or spatula, fill the dent with wood filler. Start by applying a small amount of filler to the center of the dent and work your way outward, filling any cracks or gaps. Use light pressure to ensure the filler is evenly distributed and smooth out any excess using the edge of your tool. Continue this process until the entire dent is filled, ensuring there are no air pockets or voids in the filler.
It is important to choose a wood filler that matches the type of wood your door is made from. This will help achieve a more natural look after the repair is completed.
Step 5: Let it Dry
After filling the dent with wood filler, it’s crucial to let it dry completely before proceeding to the next step. The drying time can vary depending on the type of filler used, the size of the dent, and the temperature and humidity levels. Typically, wood filler can take anywhere from a few hours to overnight to dry thoroughly.
To ensure the filler is properly set, refer to the manufacturer’s instructions on the product packaging. During the drying phase, avoid touching or disturbing the repair area, as this can create imperfections on the surface. Once the filler is dry, it’s safe to move on to sanding, which will help achieve a smooth finish that is ready for painting.
Step 6: Sand the Filler
Using sandpaper with a medium grit, gently sand the dried filler in a circular motion. This step will help to smooth out any bumps or irregularities on the surface and ensure it is level with the rest of the door. As you work, periodically check the repair area by running your hand over it to feel for any rough spots that may need more sanding.
After using medium grit sandpaper, switch to fine-grit sandpaper for a final smoothing touch. Be careful not to oversand as this can create a depression in the wood filler and require additional filling and drying time. Once you are satisfied with the smoothness of the repair area, use a clean cloth or vacuum to remove any dust.
Step 7: Paint the Repair Area
Now that the dent is filled and sanded, it’s time to paint the repair area. If you have leftover paint from when the door was initially painted, use that to achieve an exact match. Alternatively, you can take a small sample of the existing color to your local hardware store and have them create a matching paint color for you.
Using a paintbrush or roller, carefully apply one coat of paint over the repaired area. Allow it to dry completely before applying additional coats as needed. It may be necessary to lightly sand between coats for optimal results. Once all coats are applied and dried, the repair should blend seamlessly into the rest of the door.
Step 8: Clean Up
After completing all steps and ensuring that the paint is dry, carefully remove any drop cloths or sheets from around the door. Dispose of any used materials such as sandpaper or rags properly. Wipe down the door with a clean cloth to remove any dust or debris and return furniture or items to their original position.
Congratulations, you have successfully repaired a dented wooden door! With regular maintenance and care, your wooden door should remain in top condition for years to come. Remember to address any dents or damages promptly to prevent them from becoming bigger issues in the future. Happy fixing!

Tips for Maintaining Your Wooden Door
- Regularly check and fix any minor damages to avoid them becoming bigger issues.
- Keep the door clean and free from dust or debris to prevent scratches or dents.
- Use appropriate cleaning products and techniques for wooden doors to avoid damaging the surface.
- Apply a protective finish, such as varnish or polyurethane, every few years to protect the wood from wear and tear.
- Avoid using sharp objects or excessive force when handling or opening/closing the door.
- In case of any major damages, consult a professional for proper repair methods.
With steps on how to fix a dented wooden door and tips for maintaining its condition, you can confidently tackle any future dents or damages that may occur. Remember to always prioritize safety when working with tools and materials, and don’t hesitate to seek professional help if needed. A well-maintained wooden door can add charm and character to your home, so take care of it and enjoy the beauty it brings for years to come.
Frequently Asked Questions
Q: Can I Use Wood Filler on a Painted Door?
A: Yes, you can use wood filler on a painted door. However, it is important to choose a filler that matches the color and type of paint used on the door to achieve a seamless repair.
Q: How Long Does It Take for Wood Filler to Dry?
A: The drying time for wood filler can vary depending on factors such as the type of filler used, the size of the dent, and environmental conditions. Typically, it can take anywhere from a few hours to overnight for the wood filler to dry completely. Refer to the manufacturer’s instructions for specific drying times.
Q: Can I Paint Over Wood Filler?
A: Yes, once the wood filler is dried and sanded smooth, you can paint over it using the same method as painting a wooden door. Be sure to use appropriate paint that matches the existing color of your door for a seamless finish.
Q: Are There Any Other Alternatives to Fixing a Wood Door Dent?
A: Yes, there are alternatives to using wood filler to repair dents on a wooden door. You can use steam to remove small dents or fill larger ones with epoxy putty. However, these methods may require more skill and time for proper execution. It is always recommended to seek professional help if you are unsure or inexperienced in repairing dented doors.
Conclusion
Repairing a dented wooden door may seem like a daunting task, but with the right tools, materials, and a step-by-step approach, it is entirely manageable for a DIY enthusiast. By addressing damages promptly and following the outlined procedure on how to fix a dented wooden door, you can restore your door to its original condition without the need for professional assistance.
Regular maintenance and a proactive approach to small issues will ensure that your door remains a beautiful and functional element of your home for years to come. Whether maintaining its aesthetic charm or preserving structural integrity, a little effort goes a long way in door upkeep. Remember, prevention is often the best cure, so treat your wooden doors with care and attention to prolong their life and functionality. Happy repairing!
About
Angela is the chief editor of Indoorense. She began her career as an interior designer before applying her strategic and creative passion to lifestyle and home.
She has close to 15 years of experience in creative writing and online content strategy for housekeeping and cleaning,home decorations as well as other efforts.
She loves her job and has the privilege of working with an extraordinary team. She lives with her husband, two sons, and daughter in Petersburg. When she’s not busy working she spent time with her family.