
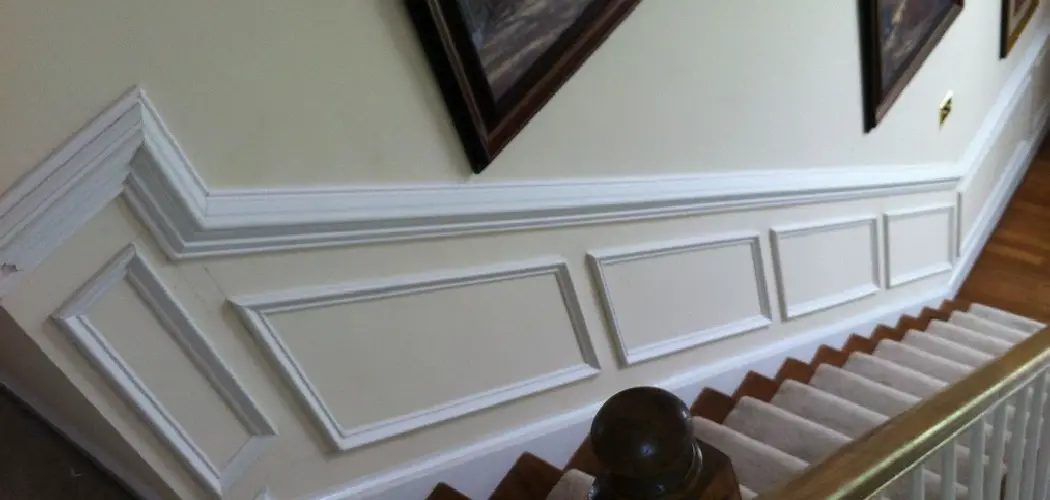
A beautifully finished staircase can be a striking feature in any home, adding to the space’s aesthetic and functionality. Whether you’re refinishing an existing staircase or finishing a newly installed one, this process requires careful attention to detail. This guide will cover everything you need to know about how to finish staircase to achieve a professional, polished look, including preparing, sanding, staining, painting, and sealing. Staircase finishing involves multiple steps, from preparing surfaces to applying the final protective coat. Each phase contributes significantly to the durability and visual appeal of the staircase.

Proper preparation ensures the materials are ready for transformation; sanding smooths out imperfections; staining adds color and character while painting and sealing provide the finishing touches that safeguard the staircase against wear and tear. By following these detailed steps, you can ensure your staircase looks stunning and remains functional and robust for years to come.
Prepping the Staircase for Finishing
Proper preparation is crucial for achieving a professional-looking staircase finish. Follow these steps to ensure your staircase is ready for the upcoming processes.
Step 1: Clear the Area
Before beginning any work, remove all furniture, rugs, or decorations in and around the staircase area. Ensuring the area is clean and debris-free will provide you with the space needed to work effectively and safely. A tidy workspace also helps prevent any accidental damage to your belongings.
Step 2: Remove Old Finish (If Applicable)
If you’re refinishing an old staircase, completely removing the existing finish is essential. Use a chemical stripper designed for paint, varnish, or stain removal. Apply the stripper with a brush, carefully following the manufacturer’s instructions for application and safety precautions. Once the old finish has softened, use a putty knife to scrape it off. This step is critical to providing a clean surface for the new finish.
Step 3: Repair Any Damage
After removing the old finish, thoroughly inspect the stairs for any cracks, dents, or damage. Use a high-quality wood filler to fill any gaps or cracks, allowing it to dry thoroughly before proceeding. Once dried, sand down the filled areas until they are smooth and flush with the surrounding wood. Also, check and tighten any loose steps or rails. If necessary, reinforce the staircase structure with additional screws or wood glue to ensure stability and safety.
Step 4: Mask Off Areas
To protect areas not intended for finishing, use painter’s tape to mask off walls, trim, and other nearby surfaces that could be affected by sanding dust or finishing products. This precaution helps achieve clean lines and prevents any accidental damage, ensuring a polished end result.
Sanding the Stairs
Sanding is a critical step in preparing your staircase for a flawless finish. It ensures a smooth surface that allows the new paint or stain to adhere properly and look its best.
Step 1: Choose the Right Sandpaper Grit
Begin the sanding process by selecting the appropriate sandpaper grit. If you’re working with stairs that have old finishes or rough surfaces, start with coarse sandpaper, typically around 60-80 grit. This helps effectively remove any remaining finish and smooth out rough areas. In cases where the wood is already in relatively good condition, you can start with a finer grit sandpaper, such as 120-150 grit. For the final pass, use finer sandpaper—220 grit is ideal—to achieve a smooth surface ready for finishing.
Step 2: Sand Each Stair
To ensure even sanding, employ an electric sander on the flat surfaces of the treads and risers. The consistent motion of an electric sander will save time and provide a uniform finish. Use hand sanding for edges, corners, and areas with intricate details that the electric sander cannot reach. Make sure to sand in the direction of the wood grain throughout the process to avoid scratches and damage to the surface.
Step 3: Clean the Surface
Once sanding is complete, it’s essential to remove dust and debris to prevent interference with the finish. Use a vacuum to thoroughly clean the staircase, focusing on every nook and cranny. Follow this up by wiping down the stairs with a damp cloth or tack cloth, ensuring any remaining dust is eliminated. A clean surface will help achieve a pristine finish.
Step 4: Check for Smoothness
Finally, run your hand over the sanded surfaces to check for any remaining rough spots. If you discover areas that are not yet smooth, repeat the sanding with a finer grit of sandpaper until the entire staircase feels uniform and ready for the next finishing stage. This attention to detail in sanding is crucial for achieving a professional-grade appearance and durability.
How to Finish Staircase: Staining or Painting the Staircase
Choosing the right finish is essential to your staircase, significantly impacting the overall aesthetic and feel. You must consider whether you prefer to enhance the natural beauty of the wood with stain or achieve a bold and uniform look with paint.
Step 1: Choose the Right Finish
Staining: Staining is an excellent choice if you wish to highlight the wood’s natural grain and beauty. Stains are available in various shades, from light, vintage-inspired hues to deep, rich tones. This option allows the wood’s character to shine through, making it suitable for those who love the organic appeal of wooden textures.
Painting: Painting is a fantastic alternative for a more cohesive and uniform appearance. Colors can range from soothing neutrals to vibrant hues, allowing you to create a striking focal point or match your home’s color scheme. Painting provides a clean canvas, contributing to a modern or traditional look, depending on your choice.
Step 2: Applying Stain
For Staining: Begin by using a clean, lint-free cloth or brush to apply the stain, working in small sections for precision. Always apply the stain in the direction of the wood grain to ensure a smooth and even finish. After applying, promptly wipe off any excess stain with a cloth to prevent blotching and inconsistencies. You might need multiple coats depending on the depth and intensity of color you desire. Allow each coat to dry for the manufacturer’s recommended time before applying subsequent ones.
Step 3: Applying Paint
For Painting: When opting to paint, start by applying a coat of primer. This helps the paint adhere better to the wood, offering a foundation for a smooth application. Once the primer is thoroughly dry, use a high-quality brush or roller to apply your chosen paint, starting with the risers, followed by the treads. Ensure your strokes are smooth and even to achieve a flawless finish. Typically, apply at least two coats of paint, allowing sufficient drying time between each to create a seamless, professional look.
Step 4: Drying Time
Allow the stain or paint to dry completely according to the manufacturer’s instructions, ensuring optimal results and minimizing the risk of smudging or imperfections. Proper ventilation during the drying process is crucial to expedite drying and effectively remove fumes, ensuring a safe and comfortable environment. By meticulously following these steps, you can achieve a beautifully finished staircase that enhances the charm and functionality of your home.
Applying a Protective Finish
Step 1: Choose a Protective Top Coat
Applying a protective finish is crucial for the durability of both stained and painted staircases. Polyurethane is a popular option for high-traffic areas like staircases. Choose between oil-based polyurethane, which offers a richer finish but takes longer to dry, and water-based polyurethane, which dries faster and has less odor. Consider your timeline and aesthetic preference when selecting the top coat.
Step 2: Apply the First Coat
Applying the polyurethane in long, even strokes along the wood grain using a high-quality brush or foam applicator. Be sure to apply a thin layer to avoid bubbles or drips. Start from the top of the stairs and work your way down to avoid stepping on wet surfaces. This methodical approach ensures a smooth and even application while minimizing errors that could mar the finish.
Step 3: Sand Between Coats
Once the first coat is dry, lightly sand the surface with fine-grit sandpaper (around 220 grit). This step helps smooth out any imperfections and allows the next coat to adhere better. Make sure to wipe away all dust after sanding with a tack cloth, as lingering dust particles can affect the adherence and clarity of subsequent coats.
Step 4: Apply Additional Coats
For optimal protection, apply at least two to three coats of polyurethane. Consistently sand lightly between each coat, and ensure each coat is fully dry before applying the next. This layered approach enhances the durability and longevity of the finish, providing a robust shield against wear and tear for your staircase.

Step 5: Final Drying Time
Allow the final coat to cure for at least 24-48 hours before using the staircase. This extended drying period ensures the finish hardens and properly protects the wood, offering long-lasting durability. The thorough curing process helps secure the top coat, making your staircase visually appealing and functionally resilient. By meticulously following these steps, you will achieve a beautifully finished staircase that enhances the charm and functionality of your home.
Conclusion
Finishing a staircase is a rewarding project that dramatically enhances the look and feel of your home. You can ensure a professional, long-lasting finish by following the steps of prepping, sanding, staining or painting, and sealing. Using quality materials and taking your time during each step is crucial for achieving the best results. Properly applying a protective finish is essential to maintain the beauty and durability of your staircase for years.
Personalizing your staircase with different finishes and optional features like stair runners or handrails allows you to match your home’s style and create a unique design. Understanding how to finish staircase projects effectively requires attention to detail and a bit of creativity. These efforts not only improve the aesthetic appeal but also contribute to the functionality and safety of your space, making your home more inviting and visually pleasing.
About
Angela is the chief editor of Indoorense. She began her career as an interior designer before applying her strategic and creative passion to lifestyle and home.
She has close to 15 years of experience in creative writing and online content strategy for housekeeping and cleaning,home decorations as well as other efforts.
She loves her job and has the privilege of working with an extraordinary team. She lives with her husband, two sons, and daughter in Petersburg. When she’s not busy working she spent time with her family.