
Identifying areas of heat loss in your home is crucial for maintaining energy efficiency and ensuring a comfortable living environment. Heat loss not only leads to increased energy bills but can also cause your heating system to work harder, potentially reducing its lifespan. By pinpointing common sources of heat leakage, such as drafty windows, inadequate insulation, and ductwork issues, you can take effective steps to minimize energy waste.
This guide on how to find heat loss in your home will walk you through practical methods to detect heat loss and provide solutions to improve your home’s energy performance.
Why is Heat Loss a Problem?
Before we dive into the methods of identifying heat loss, let’s first understand why it is a problem. When cold air enters your home through gaps or openings, it forces your heating system to work harder to maintain a comfortable temperature. This not only increases energy consumption but also puts unnecessary strain on your HVAC system.
Additionally, heat loss can create uncomfortable drafts and cold spots in your home, making it challenging to maintain a consistent temperature throughout. All of these factors contribute to higher energy bills and reduced comfort for you and your family.
Needed Materials
To effectively find heat loss in your home, you will need a few materials. These include:
A Flashlight:
A flashlight will help you navigate dark or hard-to-see areas, such as crawl spaces or attics.
Incense Sticks:
Incense sticks can be used to detect drafty areas by observing the direction of smoke movement.
Infrared Thermometer:
An infrared thermometer is a useful tool for measuring temperature differences and identifying cold spots.
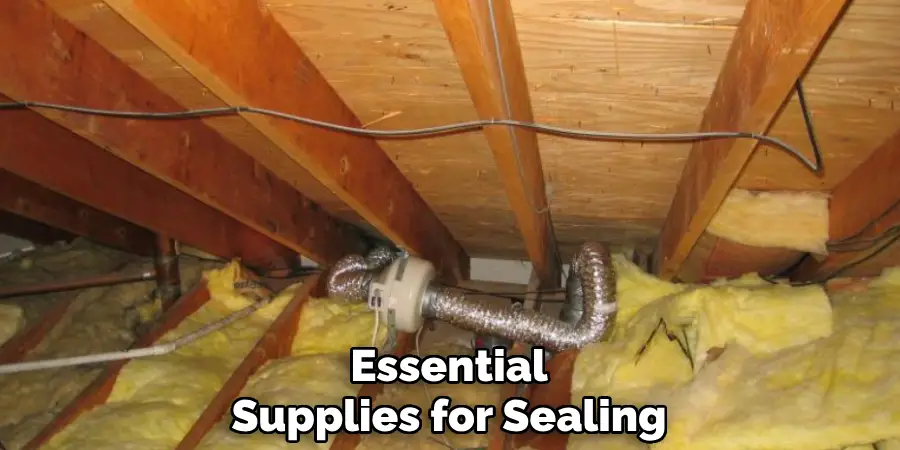
Caulk and Weatherstripping:
Caulk and weatherstripping are essential supplies for sealing gaps and cracks around windows and doors.
8 Step-by-Step How to Find Heat Loss in Your Home
Step 1: Conduct a Visual Inspection
Begin by conducting a thorough visual inspection of your home. Start by examining the exterior for any visible cracks or gaps around windows, doors, and foundations. Look for signs of wear and tear, such as peeling paint or damaged siding, which may indicate areas where air can enter or escape. Inside your home, check for drafts around doors and windows, particularly in older homes where seals might have deteriorated over time.
Inspect the attic and basement for any visible gaps or insulation issues. Use a flashlight to illuminate dark corners or areas that are difficult to see, ensuring a comprehensive inspection. Identifying these problems visually will help you target the areas that need attention when you proceed to more detailed assessments and repairs.
Step 2: Check for Cold Spots and Drafts
Using an infrared thermometer, check the temperature of various areas in your home. Look for any significant differences in temperature between rooms or along exterior walls. These cold spots could be indicative of heat loss due to inadequate insulation or gaps and cracks.
Next, use incense sticks to detect drafts around doors, windows, electrical outlets, and other potential leak sources. Hold the incense stick near these areas and watch the movement of smoke; if it blows toward you, there is likely a draft present. Make a note of all the areas that show signs of drafts or cold spots for further inspection.

Step 3: Perform a Blower Door Test
A blower door test is a simple and effective way to identify significant air leaks in your home. This test involves using a specialized fan attached to an exterior door or window, which pulls air out of the house, creating negative pressure.
As a result, any gaps or cracks will become more apparent, allowing you to pinpoint areas that need sealing. You can hire a professional for this test or purchase a DIY kit online.
Step 4: Inspect Your Ductwork
Checking your ductwork is essential for identifying another potential source of heat loss. Start by visually inspecting the ducts for any visible cracks, gaps, or disconnected sections. These issues allow heated air to escape, wasting energy and reducing the efficiency of your heating system. Additionally, feel for noticeable temperature differences around the ducts, which may indicate leaking.
Pay particular attention to joints and connections, where leaks most commonly occur. You can use foil tape or mastic sealant to address small gaps, ensuring the ductwork is properly sealed. Regular duct maintenance not only minimizes heat loss but also improves indoor air quality by preventing dust and debris from circulating.
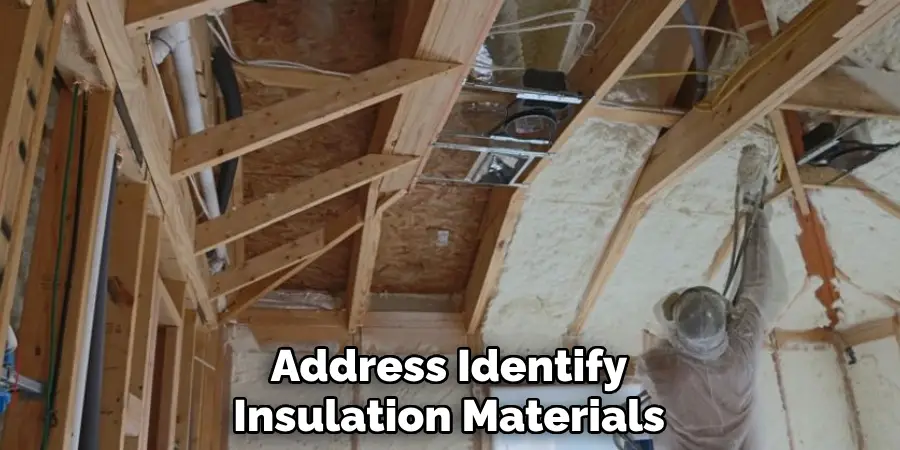
Step 5: Check Your Insulation
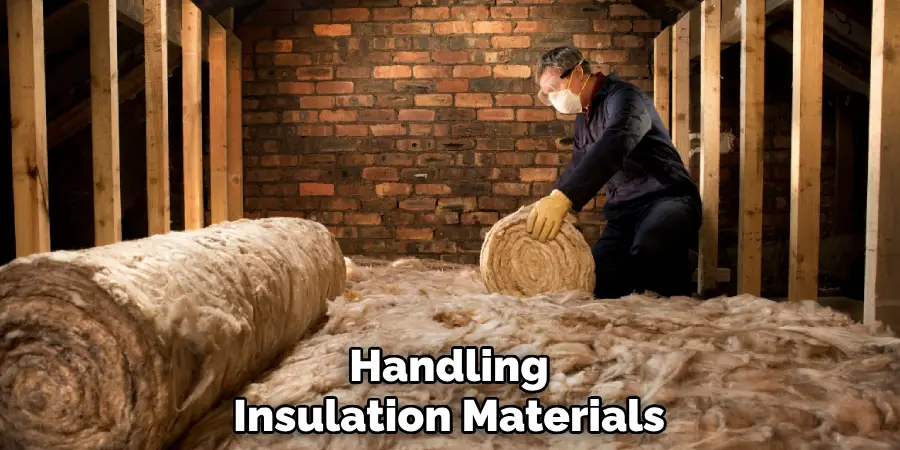
Another crucial factor in preventing heat loss is adequate insulation. Inadequate or damaged insulation can lead to significant energy loss, increasing your heating costs. Start by checking the attic and walls for any visible signs of insulation issues. Use a ruler or measuring tape to determine the thickness of the insulation; it should ideally be between 12-16 inches. If it falls below this range, consider adding additional insulation.
Additionally, inspect areas around pipes and electrical outlets for gaps that may need sealing with foam or caulk. Remember to wear protective gear when handling insulation materials as they can be harmful if touched directly.
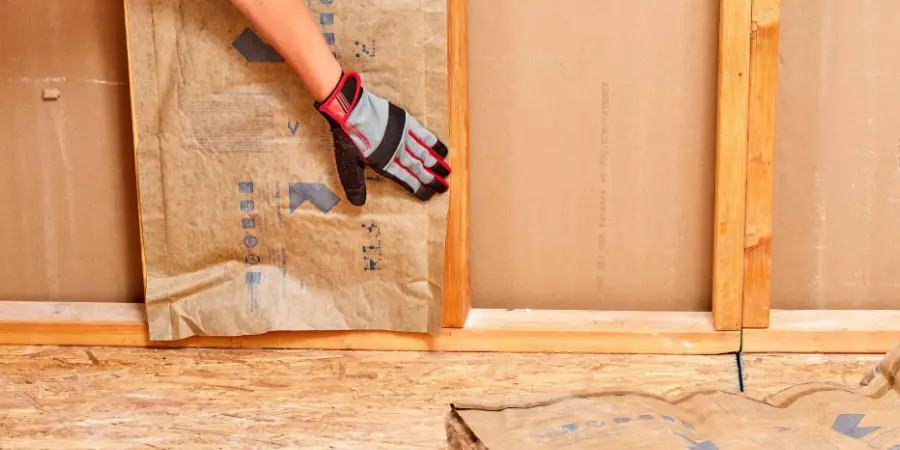
Step 6: Examine Windows and Doors
Windows and doors are common culprits for heat loss. Check for gaps or cracks around frames, as well as worn-out weatherstripping, which can allow cold air to enter your home. Consider investing in energy-efficient windows and doors if you have older ones that are not adequately sealing your home.
For existing windows and doors, use caulk or weatherstripping to seal any visible gaps or replace old weatherstripping with new ones. Additionally, consider installing thermal curtains or window film to minimize heat loss through these openings.
Step 7: Inspect Your Fireplace
If you have a fireplace, it is crucial to ensure that it is properly sealed when not in use. Check for any issues with the damper, which can allow cold air to enter your home. Also, inspect the seal around the fireplace doors or cover when they are closed. Consider installing a chimney balloon to prevent heat from escaping through the chimney when not in use.
It is also essential to have your fireplace and chimney professionally inspected and cleaned at least once a year. This will help maintain its efficiency and prevent any potential hazards.
Step 8: Consult a Professional
While these steps may help you identify and address common sources of heat loss in your home, it is always advisable to seek professional assistance for a thorough evaluation. A professional energy audit can pinpoint all areas of concern and provide recommendations tailored to your specific home.
Following these steps and addressing any identified issues will not only reduce heat loss in your home but also save you money on energy bills. Regular maintenance and inspections are key to maintaining a comfortable and energy-efficient home. So, make sure to conduct routine checks and address any issues promptly to keep your home warm and cozy during the colder months.
Additional Tips for Reducing Heat Loss
- Consider using a programmable thermostat to regulate the temperature in your home and reduce energy consumption.
- Seal any gaps or cracks around pipes, vents, and electrical outlets with expanding foam or caulk.
- Use draft stoppers at the bottom of doors to prevent cold air from entering.
- Close off unused rooms and lower the heat in those areas to save on energy costs.
- Keep curtains or blinds closed at night for added insulation against cold windows.
- Consider investing in insulating window treatments such as cellular shades or heavy drapes.
- Inspect and maintain your heating system regularly to ensure it is running efficiently.
By following these additional tips on how to find heat loss in your home, you can further reduce heat loss and create a more comfortable and energy-efficient home. Remember, small changes can make a big difference in reducing your energy bills and keeping you warm during the winter months. Stay proactive and address any issues promptly to maintain a cozy and efficient living space.
Frequently Asked Questions
Q: How Much Heat Loss is Normal in a Home?
A: According to the U.S. Department of Energy, an average home loses about 30% of its heating energy through air leaks and inadequate insulation. The amount of heat loss can vary depending on the age, size, and condition of your home. Conducting an energy audit can help determine the exact amount of heat loss in your home.
Q: What is the Best Way to Insulate a Home?
A: The best way to insulate a home depends on its construction and location. Generally, adding insulation to the attic and walls is the most effective way to reduce heat loss. It is essential to consult a professional to determine the right type and amount of insulation for your home.
Q: How Often Should I Have My Heating System Inspected?
A: Experts recommend having your heating system inspected and maintained at least once a year. Regular maintenance helps ensure that your heating system is running efficiently and can prevent potential breakdowns or hazards. Also, be sure to change your air filters regularly as dirty filters can restrict airflow and decrease efficiency.
Conclusion
Finding heat loss in your home is crucial for improving energy efficiency and reducing heating bills. By following these simple steps on how to find heat loss in your home, you can identify and address common sources of heat loss, such as air leaks, inadequate insulation, and inefficient windows and doors. Regular maintenance and inspections are key to maintaining a comfortable and energy-efficient home, so make sure to conduct routine checks and address any issues promptly.
Additionally, seeking professional assistance for a thorough evaluation can provide tailored recommendations for your specific home. With these steps in mind, you can create a warm and cozy living space while also saving money on energy costs. It’s a win-win situation for both your comfort and your wallet! So, take the time to assess and improve your home’s energy efficiency today.
About
Angela is the chief editor of Indoorense. She began her career as an interior designer before applying her strategic and creative passion to lifestyle and home.
She has close to 15 years of experience in creative writing and online content strategy for housekeeping and cleaning,home decorations as well as other efforts.
She loves her job and has the privilege of working with an extraordinary team. She lives with her husband, two sons, and daughter in Petersburg. When she’s not busy working she spent time with her family.