
Are you looking to hang a picture but can’t get it right? Are you worried about damaging your walls or the frame of your image?
How to easily hang a picture with two hooks can initially seem daunting, but with a few simple steps and the right tools, you can achieve a perfectly level and secure display. Many artworks, mirrors, or oversized frames require dual hook support to distribute weight evenly and provide stability. Whether adorning your home with personal photographs or showcasing a statement piece of art, understanding the method for hanging with two hooks will ensure that your items sit flush against the wall without the risk of tilting or falling.

In this guide, we will walk you through the straightforward process of transforming your wall into a stunning gallery with confidence and precision.
What Will You Need?
Before starting the process, gather all necessary materials to save time and avoid any interruptions. You will need:
- Picture hooks (two)
- Hammer
- Pencil
- Tape measure
- Leveler
- Wall anchors (if required)
Once you have all the materials, follow these steps to hang your picture with two hooks easily.
10 Easy Steps on How to Easily Hang a Picture With Two Hooks
Step 1: Determine Placement of Hooks
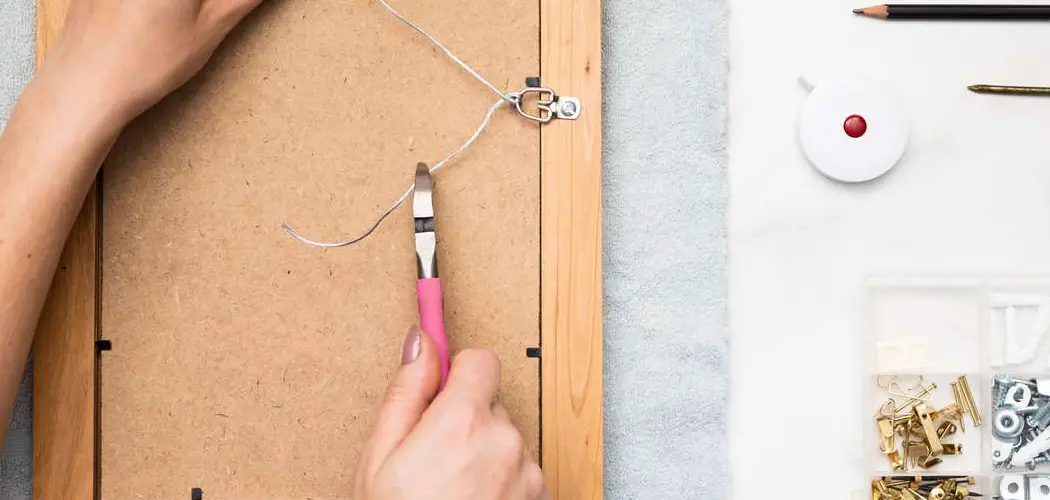
Measure the distance between the top of the frame and the hanging wire or D-rings on the back of your picture. You’ll need to ensure both hooks are placed at the same height, so measuring carefully is essential. Next, decide where on the wall you want to hang the picture. Use the pencil to mark the center point where you’d like the top of your frame to align. From this center mark, use the tape measure to make two additional marks on either side, equidistant from the center, where the hooks will be installed.
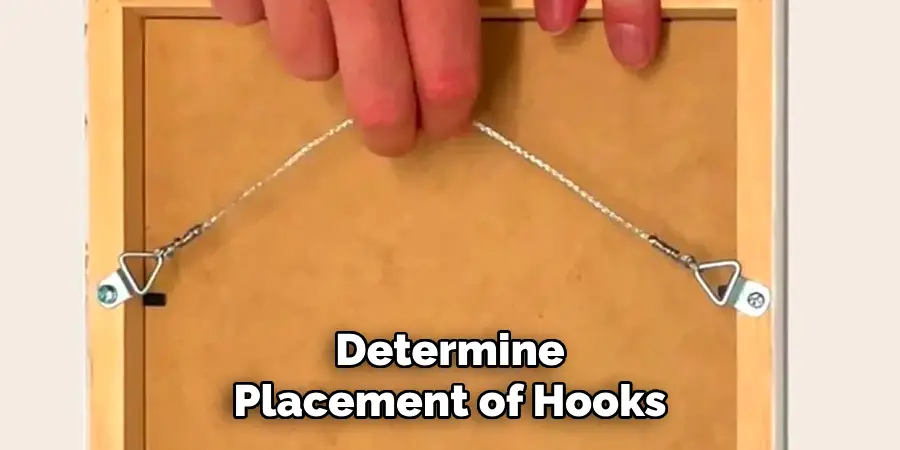
Ensuring equal spacing between these marks will help maintain balance and stability once the picture is hung. If you align multiple pictures or frames, consider the surrounding space and your overall design goals to achieve a harmonious look. Use the leveler to double-check your marks, ensuring they are horizontally aligned. This diligence in preparation will make the hanging process smoother and result in an immaculate display.
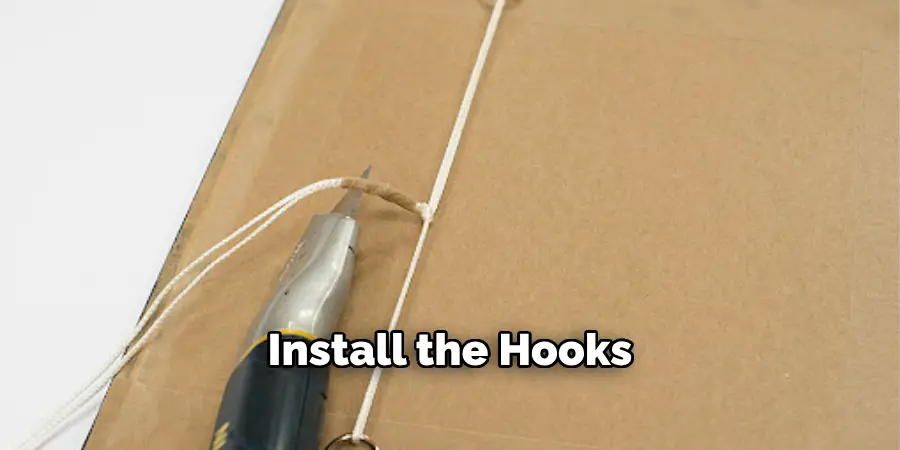
Step 2: Install the Hooks
With your placement marks confirmed, it’s time to install the hooks. Start by examining the type of wall you’re working with—drywall, plaster, or other materials—as this will determine whether you need wall anchors for additional support. If wall anchors are necessary, drill a small hole at each marked spot and insert them according to their instructions. Position the picture hooks over your marked spots (or anchors, if used), ensuring they are pointed upwards to support the frame securely. Use the hammer to gently tap the nails into the wall until the hooks are firmly in place. Double-check that the hooks are parallel to ensure your picture will hang evenly.
Step 3: Hang the Picture
Now that your hooks are securely in place, it’s time to hang your picture. Carefully lift the picture and align the hanging wire or D-rings with the installed hooks. Ensure that each hook catches the respective hanging mechanism without forcing or stretching it unnecessarily. This alignment is crucial for achieving balance and preventing any sway or tilt in the picture once it’s hung. After placing the image on the hooks, step back and visually inspect the alignment. Adjust as necessary until it’s perfectly level, using the leveler for final adjustments.
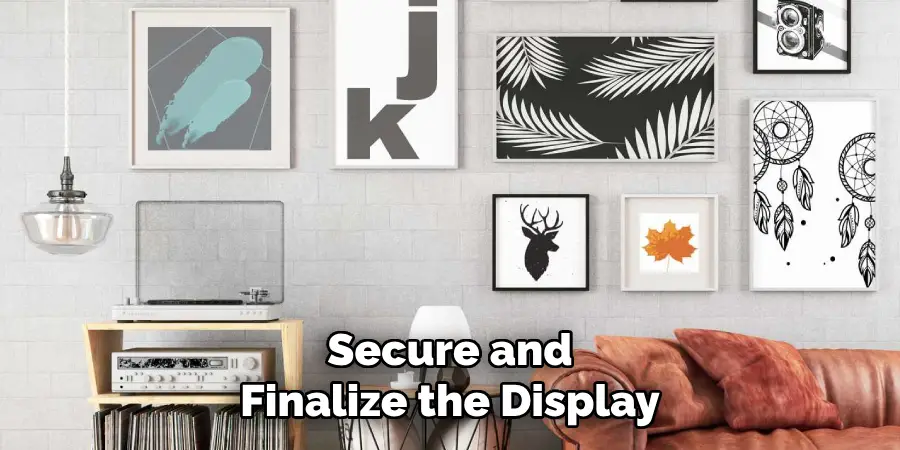
Step 4: Secure and Finalize the Display
After hanging the picture, making some final adjustments and checks is essential to ensure a secure and attractive display. Stand back and look at the image to see if it needs additional leveling or repositioning. Use the leveler again to verify that the frame is perfectly horizontal. If you notice any misalignment, gently lift the frame from the hooks and adjust accordingly. Once satisfied with the placement, press gently on various points of the picture to check for sturdiness and ensure it sits flush against the wall. If the picture tends to tilt or sway, consider using adhesive strips or museum putty to hold the bottom corners in place.
Step 5: Clean Up and Enjoy Your New Display
With the picture securely and beautifully hung, it’s time to clean up your workspace. Gather any leftover materials, such as wall anchors or picture hooks, and store your tools like the hammer and tape measure for future use. Remove any pencil markings from the wall with an eraser or a soft cloth. Once your area is tidy, take a moment to enjoy your newly adorned space. Stand back and admire the way the picture enhances your room’s aesthetic. Invite guests to enjoy your art, creating a sense of warmth and personality in your home. A well-placed picture can change the dynamic of a space, making it feel more inviting and complete.
Step 6: Maintain Your Display
To ensure your newly hung picture continues to look its best over time, regular maintenance is key. Dust the frame and the exposed areas of the photograph gently with a soft, lint-free cloth to prevent the accumulation of dust and dirt, which can detract from its appearance. If your image is glazed, consider spraying a glass cleaner onto the cloth (never directly onto the glass) to keep it spotless.
Inspect the picture frame periodically for any signs of wear or loosening from the hooks. If you notice any tilt or slippage, reassess the hooks and adjust them to maintain a stable and even display. By incorporating these simple upkeep practices into your routine, your picture will remain a vibrant focal point in your living space, preserving the aesthetic impact and investment of effort you committed initially to your wall display.
Step 7: Rotate Your Art Collection
To keep your living space fresh and exciting, consider rotating your art collection periodically. This approach can breathe new life into a room’s aesthetic and allow you to appreciate different pieces over time. Begin by evaluating the artworks you currently have displayed and those in storage. Identify any that might complement the season or newly acquired pieces you’d like to showcase. When changing art pieces, follow the previous steps to safely remove and replace frames, ensuring each new display is secure and well-aligned. Rotating your art rejuvenates your space and offers an opportunity to rediscover cherished pieces that reflect different aspects of your style and interests.
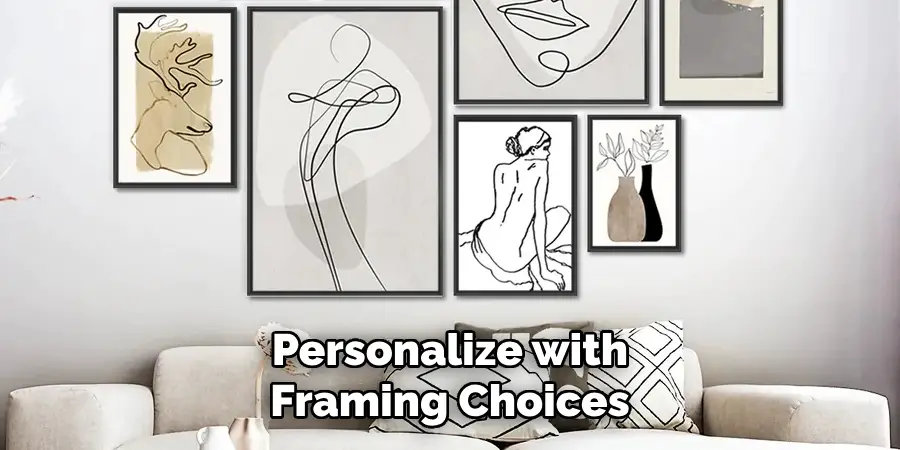
Step 8: Personalize with Framing Choices
Choosing the right frame can significantly influence the visual impact of your artwork. Consider frames that complement your art style, color scheme, and home decor. Classic works might benefit from ornate, traditional frames, while modern art may be best displayed with simple, minimalist frames. Try experimenting with different wood, metal, or acrylic materials, each offering unique textures and vibes. Additionally, matte options can add depth and highlight specific colors or features within the artwork. Personalizing your framing choices ensures that your display offers a seamless blend with your interior, enhancing the art piece and the overall ambiance of your living space. As framing styles evolve, don’t hesitate to refresh them, keeping your displays trendy and accurate to your taste.
Step 9: Enhance with Lighting
Proper lighting can further accentuate the beauty of your displayed art. Evaluate the lighting conditions in the room and consider options like track lighting, picture lights, or adjustable LED spotlights to highlight your piece. The right lighting can amplify the colors and details in your artwork, creating a focal point that draws the eye. Opt for lighting that can be adjusted in intensity to match your desired ambiance. Avoid placing your picture in direct sunlight, which can cause fading and damage over time.
Step 10: Preserve with Proper Environmental Controls
To ensure the longevity and preservation of your artwork, it’s essential to consider environmental factors such as temperature, humidity, and exposure. Maintaining a consistent and moderate environment helps prevent damage to the art, such as warping, cracking, or fading. Ideally, keep the temperature in the room between 60-75 degrees Fahrenheit and aim for a humidity level of around 40-60%. Use humidifiers or dehumidifiers if necessary to achieve these conditions. Avoid placing artwork near heating or cooling vents, fireplaces, or in areas of high humidity like bathrooms. Additionally, be mindful of dust and pollutants in the air that could settle onto the artwork. Employ protective measures, such as framing your art with UV-protective glass, to shield it from harmful light exposure.
Following these steps, you can confidently create stunning and durable wall displays that elevate your living space. With proper care and maintenance, your art pieces will continue to bring joy and inspiration for years.
Conclusion
In conclusion, how to easily hang a picture with two hooks can be a simple and rewarding process when approached with the right tools and techniques.
By carefully planning the picture’s placement and using a level to ensure accuracy, you create a solid foundation for a long-lasting display. Employ appropriate wall anchors and hooks for your wall type to provide maximum support. Remember to measure and mark where the hooks will be placed evenly, ensuring balance and stability. Following a few preparatory steps and maintenance tips can transform the task from daunting to delightful, allowing you to achieve a professional-looking art display quickly.
Whether refreshing your space or showcasing cherished memories, these guidelines will help you hang pictures confidently and precisely.
About
Angela is the chief editor of Indoorense. She began her career as an interior designer before applying her strategic and creative passion to lifestyle and home.
She has close to 15 years of experience in creative writing and online content strategy for housekeeping and cleaning,home decorations as well as other efforts.
She loves her job and has the privilege of working with an extraordinary team. She lives with her husband, two sons, and daughter in Petersburg. When she’s not busy working she spent time with her family.