

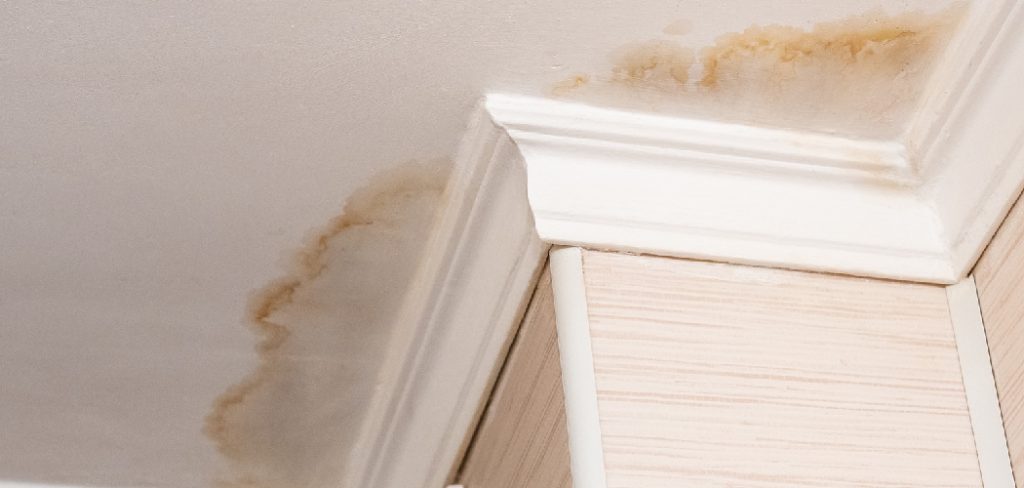
Dealing with a wet ceiling can be a daunting task, especially if the cause is unknown or if significant damage has occurred. Whether it’s due to a leaky roof, burst pipes, or severe weather conditions, addressing the problem promptly is crucial to prevent mold growth and structural damage. This guide will walk you through how to dry wet ceiling, ensuring the safety and integrity of your home. By following these methods, you can minimize damage and restore your space to its original condition quickly and efficiently.
Importance of Addressing a Wet Ceiling Promptly
Tackling a wet ceiling without delay is vital for several reasons. Firstly, moisture can quickly lead to mold and mildew growth, which poses health risks such as respiratory issues and allergies. Additionally, prolonged exposure to water can weaken the structural integrity of your ceiling, leading to potential sagging or collapse. This not only compromises the safety of your home but can also result in costly repairs if left untreated. By addressing the issue promptly, you can prevent further deterioration, maintain a healthy living environment, and avoid more significant expenses in the long run.
Identifying the Cause of the Wet Ceiling
Determining the source of the moisture is the first step in effectively addressing a wet ceiling. Begin by inspecting the area for visible signs of water intrusion, such as discoloration or damp spots. If the wet area is located near pipes or plumbing fixtures, it could indicate a leak in the plumbing system. Check for any drips or water stains around these areas. If the wetness is concentrated after a rainstorm, the issue may be related to a leaky roof.
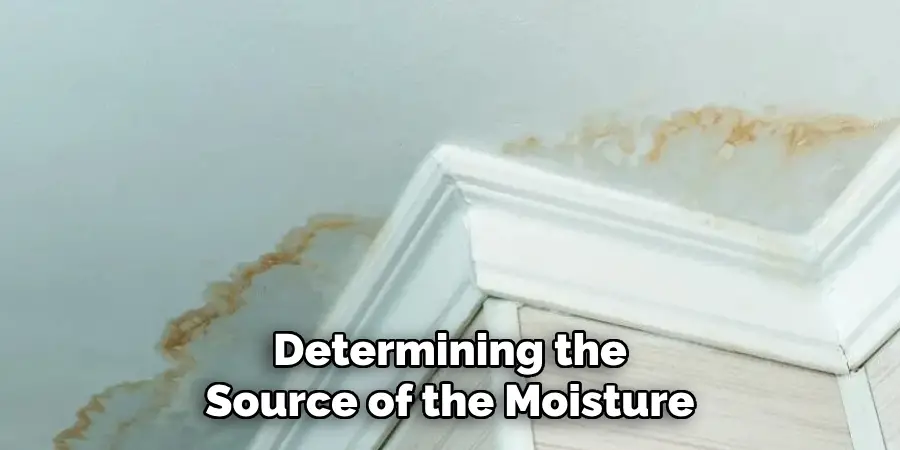
Examine the roof for missing shingles or other damage that could allow water to seep through. Additionally, if the ceiling is below an attic space, poor insulation or ventilation could contribute to condensation buildup. Accurately identifying the root cause is crucial, as it dictates the most effective method for fixing the problem and preventing future occurrences.
10 Methods How to Dry Wet Ceiling
1. Identify the Source of the Water
Before you begin drying your wet ceiling, it’s crucial to first identify and fix the source of the water. This could be from a leaky roof, a broken pipe, or condensation issues in your home. If the source of water is not addressed, drying the ceiling will only provide a temporary solution, as the moisture will return and potentially cause further damage. Conduct a thorough inspection of the affected area, checking for roof leaks, plumbing issues, or even HVAC system problems that might be contributing to the moisture buildup. Once the source is identified, fix the issue before proceeding with the drying process.
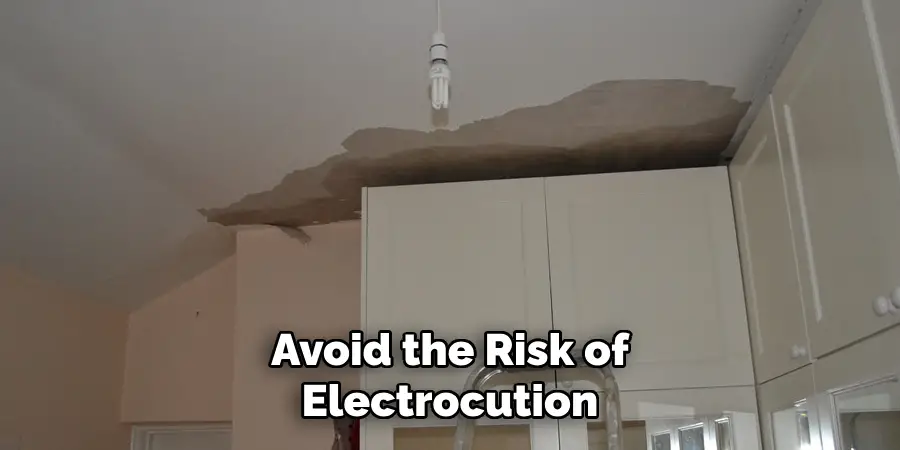
2. Turn Off the Power Supply
Water and electricity are a dangerous combination, so safety should be your top priority. If the wet ceiling is near any electrical outlets, light fixtures, or wiring, immediately turn off the power supply to that part of your home to avoid the risk of electrocution or electrical fires. It’s advisable to use the circuit breaker to cut off power to the affected area completely. Once you’re sure that there is no electrical danger, you can begin addressing the moisture problem. However, if you’re unsure about handling the electrical situation, it’s best to consult a professional electrician before proceeding.
3. Remove Wet Insulation
If water has seeped through your ceiling, there’s a high chance that the insulation above the ceiling has also gotten wet. Wet insulation loses its effectiveness and can contribute to mold growth if not properly dried or replaced. Carefully remove any wet insulation material in the ceiling cavity, wearing protective gloves and a mask to avoid exposure to harmful mold spores. Once removed, allow the insulation to dry completely before reinstalling it or, if necessary, replace it with new, dry insulation. Proper insulation is key to maintaining energy efficiency in your home, so don’t skip this step.
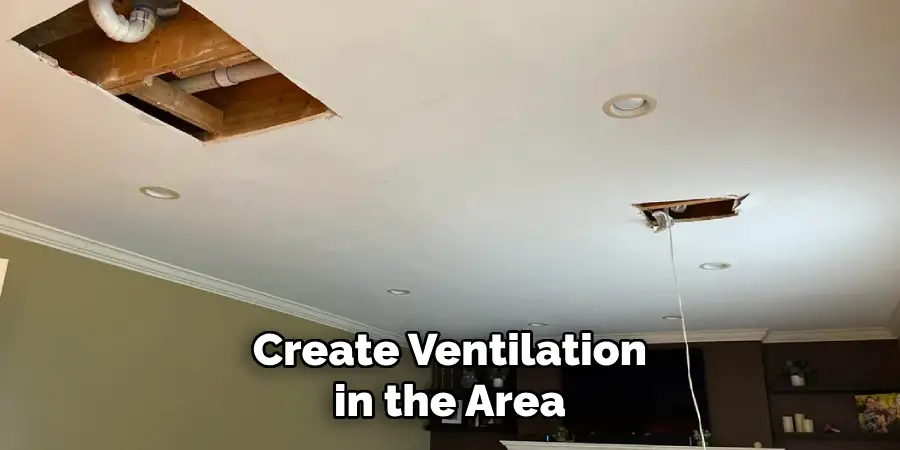
4. Create Ventilation in the Area
Proper ventilation is essential for drying out a wet ceiling. Open windows and doors in the affected room to allow fresh air to circulate and help evaporate moisture from the ceiling surface. If possible, create cross-ventilation by opening windows on opposite sides of the room, which will increase airflow. For rooms with limited ventilation, you can also use box fans or standing fans to help move air around the space. Good air circulation will speed up the drying process and reduce the chances of mold growth, which thrives in humid, stagnant conditions.
5. Use Fans and Dehumidifiers
In addition to improving ventilation, using fans and dehumidifiers is an effective method for drying out a wet ceiling. Position box fans or oscillating fans so they are blowing air directly onto the wet areas of the ceiling. The constant air movement will help evaporate the moisture more quickly. To complement the fans, place a dehumidifier in the room to extract excess moisture from the air. Dehumidifiers are particularly useful in preventing mold and mildew from forming, as they help keep humidity levels in check.
6. Apply Towels or Absorbent Materials
For immediate water removal, especially if there is still water pooling on the ceiling surface or dripping down, use towels or absorbent materials to blot the wet areas. Place towels on the ceiling or gently press them against the surface to absorb as much water as possible. In cases of dripping water, place buckets or containers underneath to catch the water and prevent it from damaging your floors or furniture. Be sure to replace wet towels with dry ones regularly to maximize their absorbency.
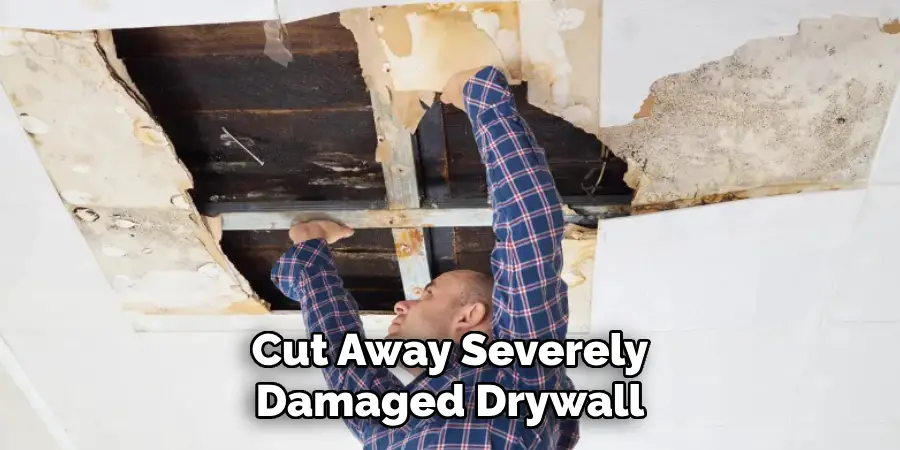
7. Cut Away Severely Damaged Drywall
If the water damage to your ceiling is severe, the drywall may be beyond repair. In such cases, it’s important to cut away the damaged portion of the ceiling to prevent mold growth and further structural damage. Use a utility knife to carefully remove the waterlogged sections of drywall, being mindful not to cut into any electrical wires or pipes. Once the damaged drywall is removed, allow the ceiling cavity to air out and dry completely before patching it with new drywall.
8. Use a Heat Source for Faster Drying
If natural air circulation and fans aren’t drying your ceiling quickly enough, you can introduce a heat source to speed up the process. Space heaters, heat lamps, or even a blow dryer can be used to apply heat directly to the wet areas of the ceiling. The warmth will help accelerate evaporation, allowing the ceiling to dry more efficiently. However, be cautious when using heat sources—keep them at a safe distance from flammable materials and never leave them unattended.
9. Monitor for Signs of Mold
Even after you’ve dried the ceiling, it’s important to keep an eye out for any signs of mold or mildew growth in the affected area. Mold can develop in as little as 24 to 48 hours in moist conditions, so frequent inspections are necessary in the days following the drying process. Look for visible mold spots or discoloration on the ceiling, as well as musty odors that could indicate hidden mold. If you notice any signs of mold, address the issue immediately with mold-killing solutions, or consult a professional mold remediation service to ensure the safety of your home.
10. Consider Repainting or Refinishing
Once the ceiling has completely dried and any necessary repairs have been made, you may need to repaint or refinish the ceiling to restore its appearance. Water damage can leave behind unsightly stains and discoloration, so applying a stain-blocking primer before repainting is recommended. Choose a paint that is moisture-resistant, especially in areas prone to humidity or water exposure, such as bathrooms or kitchens. This final step will not only improve the aesthetic of your ceiling but also help protect it from future water damage.
Things to Consider When Hiring a Professional
When addressing severe water damage or persistent issues, hiring a professional may be necessary. Here are some factors to consider when selecting a contractor or service provider:
- Experience and Expertise: Check for relevant experience and expertise in handling water damage repairs. A reputable contractor should have a proven track record and be knowledgeable about effective drying techniques, mold prevention, and restoration.
- Licensing and Certification: Ensure that the professional is properly licensed and certified. This is essential in verifying their credibility and ensures compliance with industry standards.
- Insurance Coverage: Confirm that the contractor has liability insurance. This protects you from potential damages or accidents that could occur during the repair process.
- References and Reviews: Look for customer reviews and request references. Feedback from past clients can provide insight into the quality of service and reliability of the contractor.
- Estimates and Pricing: Obtain detailed estimates and compare prices from multiple contractors. Clarify what services are included and ensure there are no hidden charges.
Conclusion
Drying a wet ceiling requires a methodical approach to ensure that the damage is properly addressed and the area is fully restored. By identifying and fixing the source of the water, using ventilation, fans, dehumidifiers, and heat sources, and monitoring for mold, you can effectively dry out your ceiling and prevent further damage. Whether you need to replace drywall or simply dry out minor moisture, these methods will guide you through the process and help protect your home from the potential dangers of water damage.
About
Angela is the chief editor of Indoorense. She began her career as an interior designer before applying her strategic and creative passion to lifestyle and home.
She has close to 15 years of experience in creative writing and online content strategy for housekeeping and cleaning,home decorations as well as other efforts.
She loves her job and has the privilege of working with an extraordinary team. She lives with her husband, two sons, and daughter in Petersburg. When she’s not busy working she spent time with her family.