

Wooden boxes possess a timeless charm and remarkable versatility, making them perfect for holiday decorations.
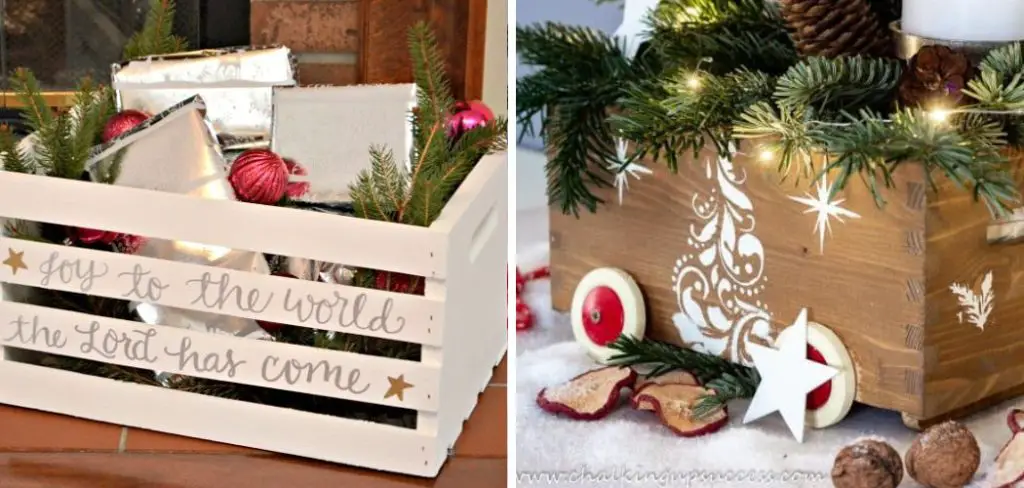
These sturdy and elegant containers can be transformed into beautiful centerpieces, unique gift boxes, or storage solutions for festive items. Embracing the art of DIY decorating allows you to infuse personal touches into your projects, making each decorated box unique.
Moreover, crafting your own decorations is a cost-effective way to add festive cheer to your home without breaking the bank.
This article aims to provide a detailed guide on how to decorate a wooden box for Christmas, ensuring that both beginners and experienced crafters can create stunning holiday-themed masterpieces. By following the steps outlined here, you will learn techniques and gather inspiration to turn a simple wooden box into a festive delight that embodies the spirit of Christmas.
Choosing the Right Wooden Box
Selecting the perfect wooden box is the first crucial step in decorating for Christmas. The size and type of box should align with its intended use.
For instance, smaller boxes are ideal for gift-giving, while larger ones can serve as striking centerpieces or practical storage solutions for holiday items. A medium-sized box could be versatile and useful for a variety of decorative purposes. When selecting a box, consider its structural integrity and ensure it is robust enough to hold its contents.
Wooden boxes can be sourced from several places. Local craft stores often carry a range of sizes and styles, allowing customers to examine the box’s quality firsthand. Online retailers also offer a wide selection, often at competitive prices. Repurposing an old wooden box can also be an eco-friendly and economical option.
Preparing it for decoration is essential once you have chosen the perfect box. Start by sanding any rough edges to achieve a smooth surface, which will help the paint and decorations adhere better. Cleaning the box thoroughly to remove any dust or debris is also crucial for a pristine finish. By ensuring your wooden box is well-prepared, you set the foundation for a beautifully decorated piece that will enhance your Christmas festivities.
Gathering Materials and Tools
Gathering the right materials and tools is vital to successfully decorate a wooden box for Christmas. Here’s a comprehensive list to get you started:
Materials:
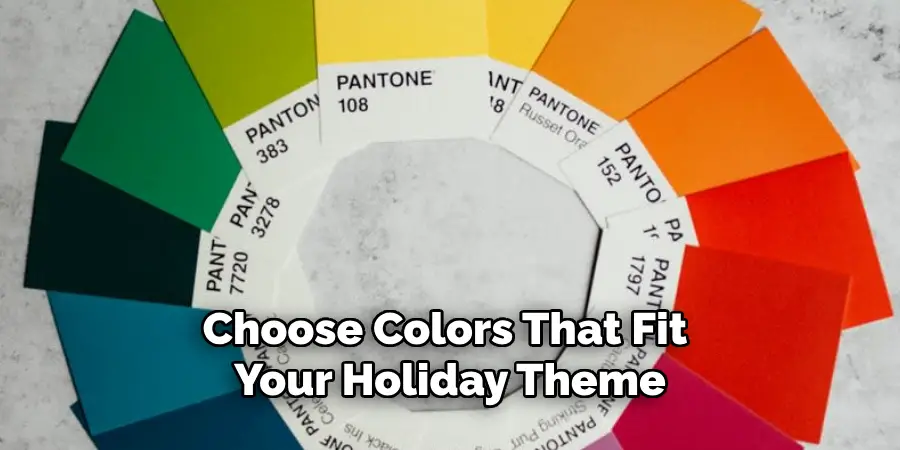
- Paint (acrylic or chalk): Choose colors that fit your holiday theme.
- Paintbrushes: Essential for applying paint smoothly and accurately.
- Sandpaper: Used to smoothen the surface of the wooden box before painting.
- Varnish or Sealant: Protects the painted surface and gives a polished finish.
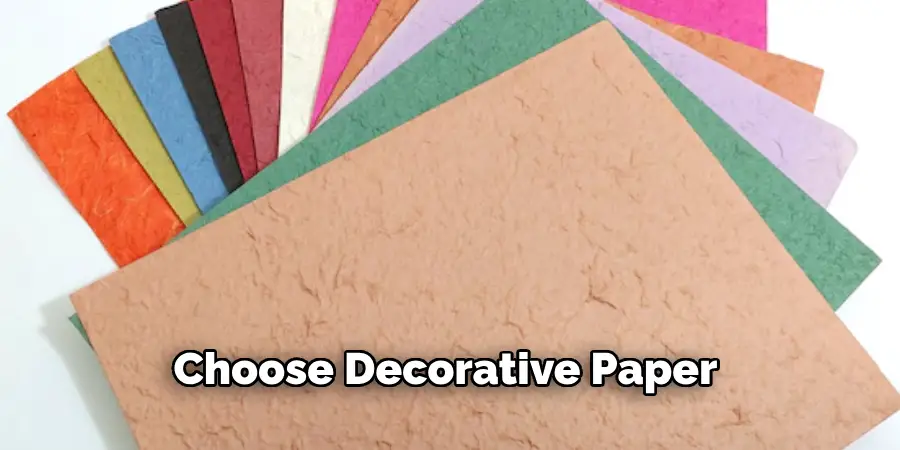
- Decorative Paper: Ideal for decoupage and adding intricate designs.
- Fabric: Adds texture and a cozy feel to your decorations.
- Ribbons: Perfect for wrapping and adding festive touches.
- Embellishments: Small decorative items like buttons, beads, and sequins enhance the box’s appearance.
- Stencils and Stamps: Help create uniform patterns and designs.
- Decoupage Medium: An adhesive for applying decorative paper to the box.
Tools:
- Scissors: Essential for cutting paper, fabric, and ribbons accurately.
- Glue Gun and Glue Sticks: Provides a strong adhesive for attaching decorations.
- Ruler: Ensures precise measurements.
- Pencil: For marking measurements and designs.
- Craft Knife: Useful for cutting intricate shapes and patterns.
By having all these materials and tools prepared, you’ll be well-equipped to transform a simple wooden box into a festive masterpiece, ready to enhance your holiday decor or serve as a charming gift box.
Painting the Wooden Box
01.Choosing a Color Scheme
Selecting an appropriate color scheme sets the tone for your decorated wooden box. Traditional Christmas colors like red, green, and gold evoke a classic holiday feel, while a modern palette of silver, white, and blue offers a sleek, contemporary look. Consider the overall theme of your holiday decor to ensure your box complements other decorations.
02.Applying the Base Coat
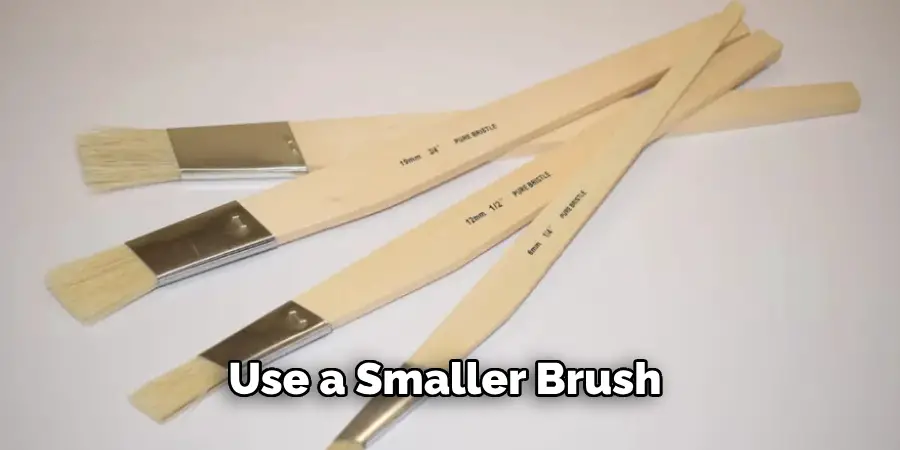
Begin by choosing high-quality acrylic or chalk paint, as these provide good coverage and adherence. Start with a base coat using a broad, flat paintbrush to cover the entire surface of the wooden box uniformly.
Use a smaller brush to reach these areas if your box has corners or intricate details. Apply the paint in thin, even layers, allowing each layer to dry completely before adding another. This helps avoid streaks and ensures a smooth, professional finish. Typically, two to three coats provide the best coverage and durability.
03.Adding Decorative Touches
Once the base coat is dry, it’s time to add decorative elements that bring your box to life. Using stencils or stamps can help you create uniform patterns and holiday-themed designs such as snowflakes, stars, or Christmas trees.
Position the stencil securely and apply paint using a sponge or stencil brush to avoid bleeding. Alternatively, stamps dipped in contrasting paint colors can add whimsical touches. Be creative and experiment with different designs to add personal flair.
04.Sealing the Paint
To protect your painted box and enhance its finish, apply a coat of varnish or sealant. Clear, water-based varnishes work well with both acrylic and chalk paints. Use a clean, soft brush to apply a thin layer of varnish, covering the entire painted surface. Allow it to dry thoroughly, then add a second coat if necessary. This final step ensures your decorations remain pristine and vibrant, ready to become a cherished part of your holiday decor.
How to Decorate a Wooden Box for Christmas: Decoupage and Fabric Decorating Techniques
Using Decorative Paper or Napkins
Decoupage is a versatile and creative technique that allows you to personalize your wooden box with intricate designs. Choose decorative paper or Christmas-themed napkins featuring motifs like holly, ornaments, or Santa Claus. Carefully cut out these motifs using sharp scissors to ensure clean edges. Apply a thin layer of decoupage medium—such as Mod Podge—to the box area where you want to place the motif.
Position the paper or napkin cut-out and gently press it onto the box, smoothing out any wrinkles or bubbles with a soft brush. Once the entire design is in place, seal it with another layer of decoupage medium, ensuring it dries clear and provides a protective finish.
Adding Fabric Accents
Incorporating fabric into your box decoration adds warmth and texture, creating a cozy, festive appearance. Begin by measuring the areas of the box where you want to add fabric accents, such as the lid or sides. Cut the fabric pieces to size, ensuring they fit well without overlapping.
Apply a thin layer of fabric glue or decoupage medium to the box surface and press the fabric firmly in place. Smooth out any wrinkles and allow it to dry completely. Ribbons, lace, or burlap can also be used to create elegant borders or intricate designs, further enhancing the box’s visual appeal.
Layering and Texturing
Consider layering different materials on your wooden box for a more dynamic and dimensional look. Start with a base layer of paint or decoupage, and then add fabric and embellishments. Overlapping elements like fabric and paper can create interesting textures and visual depth.
Attach small decorations such as buttons, beads, or sequins using a hot glue gun, adding festive sparkle and charm. By experimenting with various layers and textures, you’ll craft a unique, richly decorated wooden box that stands out during the holiday season.
Adding Ribbons, Bows, and Other Embellishments
Attaching Ribbons and Bows
Adding ribbons and bows is a simple yet effective way to enhance the festive appeal of your decorated wooden box. Begin by selecting ribbons in colors and patterns that complement your overall theme. Measure and cut the ribbon to fit around the box, allowing enough extra length to create a bow if desired.
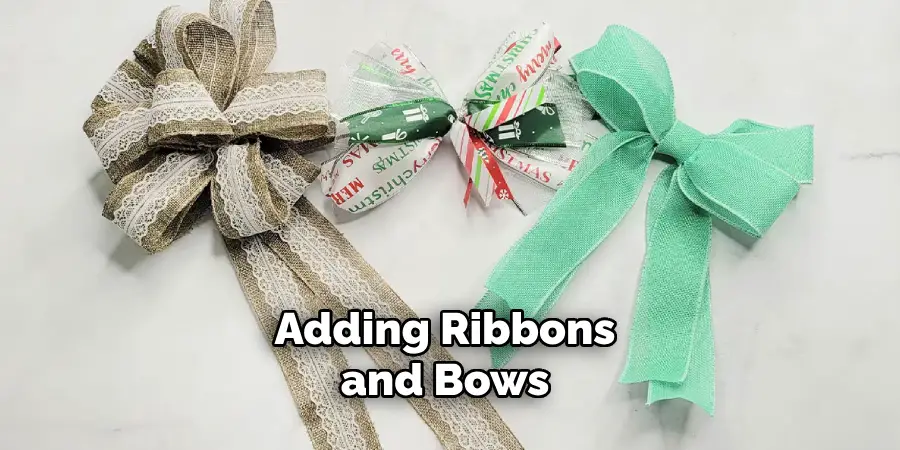
Wrap the ribbon around the box, ensuring it’s taut and positioned evenly. Secure the ribbon with a dab of hot glue at the back or bottom of the box to keep it in place. To add elegance, create a bow by tying a separate piece of ribbon and attaching it to the top or front of the box using hot glue. Experiment with different bow styles, such as a simple loop bow or a more elaborate multi-loop bow, to achieve the desired look.
Using Embellishments
Embellishments such as buttons, beads, and small decorative items can add a unique touch to your wooden box. Choose embellishments that match your color scheme and overall design. Use a hot glue gun to attach these items securely to the box, placing them strategically to enhance the visual appeal. Consider using buttons to create patterns or adding beads for a touch of sparkle. Embellishments can be clustered together for a more dramatic effect or spaced out for a subtle enhancement.
Creating a Focal Point
Designing a central decorative feature can make your wooden box stand out. Consider creating a large bow or adding a holiday figurine as a focal point. Position this feature prominently on the box, such as on the lid or at the center of one side.
Use hot glue to attach the focal element securely, ensuring it remains firmly in place. This central decoration should draw the eye and serve as the highlight of your design, making your wooden box a memorable and cherished piece of holiday decor.
Personalizing the Box
Adding Names or Messages
Personalizing your wooden box with names or messages adds a special touch, making it a unique and cherished item. One effective technique is to use paint along with stencils or freehand lettering. Choose a contrasting paint color to make the text stand out. Position your stencil on the box and use a small, firm brush or sponge to apply the paint in light, even strokes.
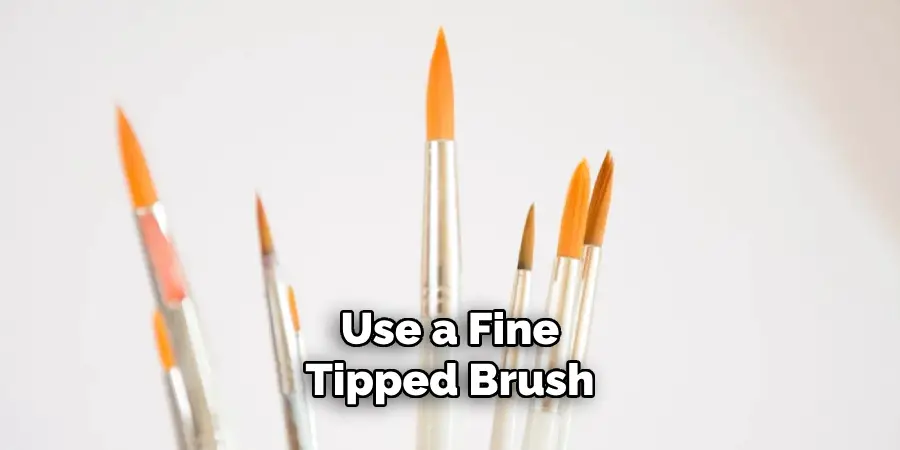
Alternatively, if you are comfortable with freehand painting, use a fine-tipped brush to carefully script your message. Letter stickers are another easy option; simply peel and stick the letters to spell out names or messages, ensuring they are evenly spaced and aligned. Seal the stickers with a clear varnish to prevent peeling.
Including Photos or Keepsakes
Incorporating personal touches like family photos or small mementos into your wooden box adds sentimental value. Start by selecting photos that fit the theme or occasion. Print the photos in the appropriate size and cut them to fit the desired area on the box. Use a thin layer of decoupage medium to adhere the photos, smoothing out any wrinkles or air bubbles.
Apply another layer of decoupage medium over the photos for added protection and a polished finish. You can also attach small keepsakes like charms or fabric swatches using a hot glue gun, ensuring they are securely fastened. These personal additions make the box not only decorative but also meaningful.
Using Tags and Labels
Creating custom tags for your wooden box adds a functional and decorative element. Tags can be used for gift-giving or for labeling storage boxes. Cut tags from cardstock or use pre-made tags that fit your theme. Personalize the tags with names, dates, or festive messages using pens, stamps, or letter stickers.
Punch a hole in the tag, thread a ribbon, twine through it, and then tie it around the box. Labels can also be directly adhered to the box using double-sided tape or glue. These tags and labels enhance the visual appeal and add a personalized touch to your project.
Practical Uses for Your Decorated Box
Gift-Giving
Your beautifully decorated wooden box makes an exceptional and reusable gift box, adding a personal touch to holiday presents. Instead of conventional wrapping, place your gift inside the box, cushioned with festive tissue paper or fabric.
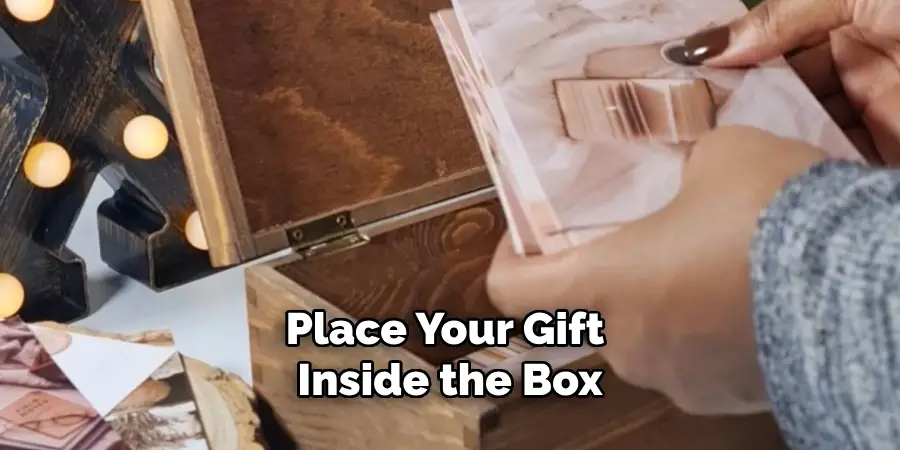
The recipient will appreciate the extra thought and care, and the box itself can be reused for future gifts or as a keepsake. Consider using the box for homemade treats, small trinkets, or a collection of mini gifts, turning it into a treasure trove of joy.
Home Decor
A decorated wooden box can also serve as a charming element in your home decor. Place the box as part of a holiday centerpiece, filled with seasonal ornaments, pine cones, or fairy lights, to create a warm and inviting display.
Alternatively, use it on your mantel, perhaps accented with sprigs of evergreen and shiny baubles, to bring a festive flair to your living space. The box’s versatility allows it to complement any holiday theme, from rustic to sophisticated.
Storage
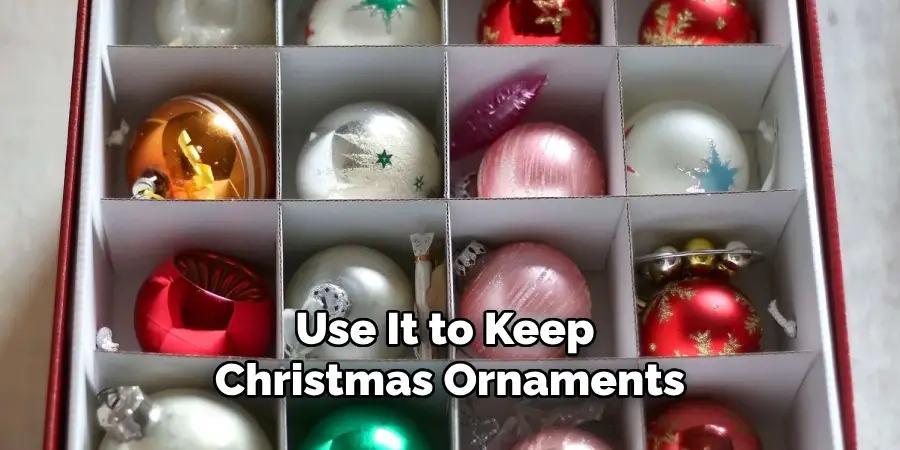
Lastly, your decorated box is perfect for storing holiday items. Use it to keep Christmas ornaments, holiday cards, or festive ribbons neatly organized and protected for future seasons. The secure lid ensures everything stays dust-free and well-preserved until the next holiday, making it both a beautiful and functional addition to your festive preparations.
Conclusion
Throughout this guide, we have explored the various steps on how to decorate a wooden box for Christmas, from choosing materials and painting techniques to adding ribbons, embellishments, and personal touches like names or photos.
By following these steps, you’ve learned to create a unique, aesthetically pleasing, and functional holiday piece. Remember to let your creativity shine and personalize each element to reflect your style and theme.
The joy of DIY holiday crafting lies in the special effort you put into each creation, transforming simple items into cherished keepsakes.
A beautifully decorated wooden box serves as a lovely gift and adds a personalized touch to your holiday decor and storage solutions. With these skills, you can continue to craft memorable and meaningful holiday pieces each year. Enjoy the process, and happy decorating!
About
Angela is the chief editor of Indoorense. She began her career as an interior designer before applying her strategic and creative passion to lifestyle and home.
She has close to 15 years of experience in creative writing and online content strategy for housekeeping and cleaning,home decorations as well as other efforts.
She loves her job and has the privilege of working with an extraordinary team. She lives with her husband, two sons, and daughter in Petersburg. When she’s not busy working she spent time with her family.