
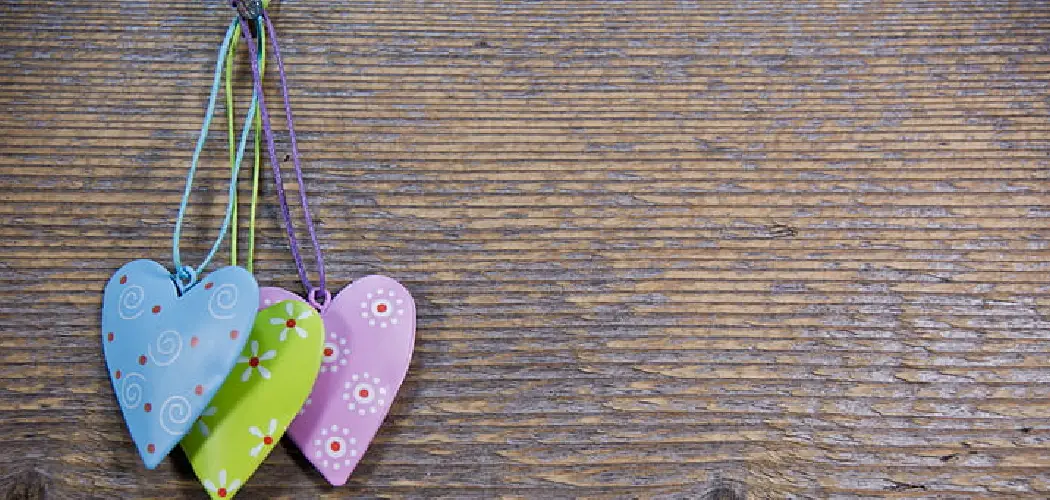
Are you looking for a way to add extra love and creativity to your Valentine’s Day or anniversary? Look no further!
Decorating a paper heart is a delightful and creative activity for people of all ages. Whether you’re crafting a heartfelt gift for a loved one or simply indulging in a fun, artistic endeavor, choosing the suitable materials and designs can make your paper heart genuinely unique and meaningful.
In this guide on how to decorate a paper heart, we’ll explore a variety of decoration techniques ranging from simple coloring and drawing to more elaborate embellishments such as glitter, stickers, and fabric. With a few basic supplies and a bit of imagination, you can transform an ordinary paper heart into a beautiful masterpiece that speaks from the heart.
What Will You Need?
Before starting your paper heart decorations, gather the necessary supplies first. Here are some essential items to have on hand:
- Paper heart template or pre-cut paper hearts
- Colored and patterned papers
- Markers, crayons, or colored pencils
- Glue or double-sided tape
- Scissors
- Embellishments such as glitter, stickers, beads, ribbons, etc.
10 Easy Steps on How to Decorate a Paper Heart
Step 1: Choose Your Design
Start by imagining the overall style and theme you want your paper’s heart to have. Consider the occasion—are you crafting a sweet and straightforward heart for a child, or are you aiming for a sophisticated design for someone special? Look for inspiration in nature, fashion, or other art forms, as these can provide a rich source of ideas for colors, patterns, and motifs. Once you have a clear vision, sketch out a few quick ideas or list elements you want to include.
This planning phase will serve as your blueprint, ensuring a cohesive and well-thought-out design as you begin to bring your paper’s heart to life.
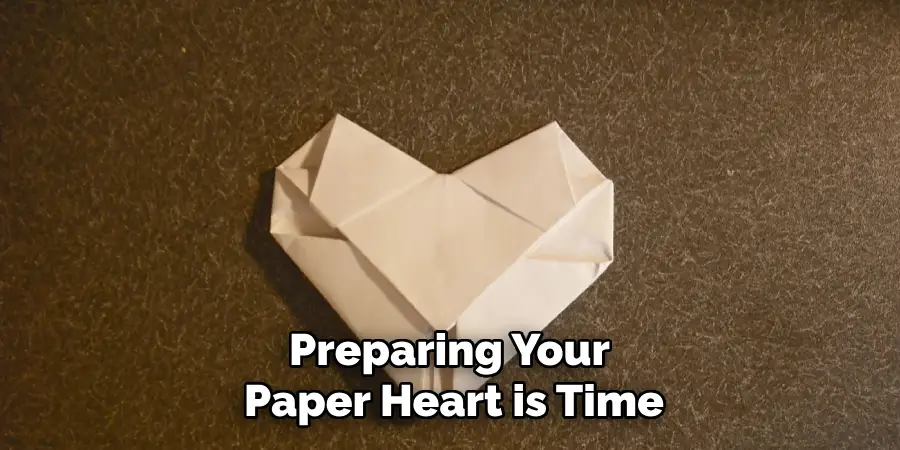
Step 2: Prepare Your Paper Heart
With your design in mind, preparing your paper heart is time. If you’re using a template, cut out the heart shape carefully with scissors. Those using pre-cut paper hearts can start decorating right away. Ensure your surface is clean and organized, with all your materials within easy reach. This preparation will help you focus on the creative process without any distractions. If you plan to layer multiple colors or patterns, consider tracing the heart shape onto different papers and cutting them out, creating a stack of hearts ready for embellishment.
Step 3: Add a Base Color
Begin by adding a base color to your paper heart. Use your chosen colored paper as the foundation, or apply a wash of color using markers, crayons, or colored pencils. If you’re feeling adventurous, try blending colors to create a gradient effect or apply a bold pattern like stripes or polka dots. The base color or pattern will set the tone for your design and should complement the embellishments you plan to use. Allow any wet materials like paints or markers to dry completely before proceeding to the next step, ensuring a smooth surface for further decoration.
Step 4: Incorporate Textures
Incorporating textures can add depth and interest to your paper’s heart, making it stand out. Start by considering the types of materials that could add a tactile element to your design. You could use textured papers, such as embossed or handmade varieties, that add a unique feel and visual component. Layer these papers carefully onto your base, experimenting with different shapes and placements. Another option is fabric scraps, such as lace or burlap, which can be glued onto the heart to create an intriguing contrast with the paper’s smooth surface.
Additionally, consider using items like ribbons or twine. These can be woven or tied into bows, adding texture and a sense of movement to your design. Attach lightweight embellishments like tiny beads or buttons, which can be glued strategically onto the heart for a more three-dimensional appearance. Experimenting with textures enhances the aesthetic appeal of your paper heart and creates a more engaging sensory experience.
As you integrate these elements, keep in mind the balance and harmony of your overall design, ensuring that textures complement rather than overwhelm it.
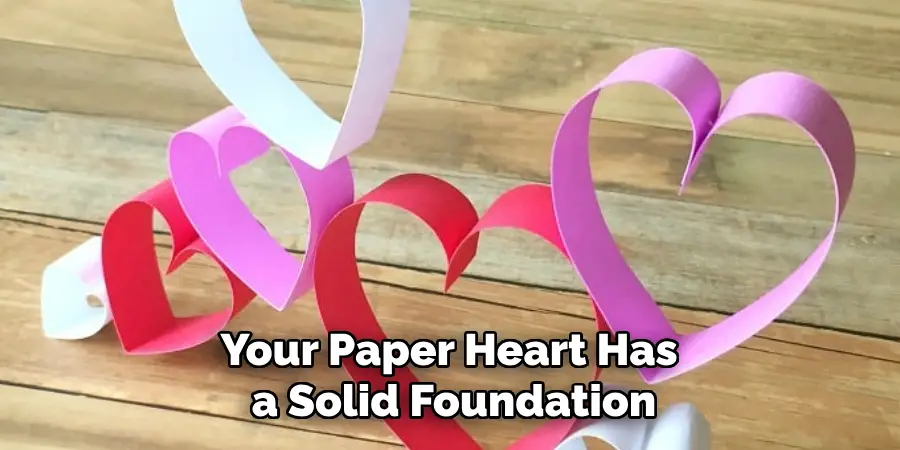
Step 5: Apply Embellishments
Now that your paper heart has a solid foundation and engaging textures, it’s time to apply embellishments to bring your design to life. Start by selecting a variety of embellishments such as glitter, stickers, sequins, or small paper cutouts that align with your chosen theme. Carefully arrange these items on your heart, playing with the composition until you find a pleasing layout. Use glue or double-sided tape to secure them in place, ensuring they are firmly attached.
For a touch of sparkle, lightly dust the edges or specific areas of the heart with glitter, allowing any excess to fall away for a clean look. If using stickers, position them thoughtfully to enhance rather than overshadow your existing design elements. The embellishments you choose will add personality and vibrancy, transforming your paper heart into a truly eye-catching piece. Be mindful not to overcrowd any one area, maintaining a balanced and harmonious arrangement throughout your decoration process.
Step 6: Add Personal Touches
Personalizing your paper heart adds a meaningful layer to the decoration, making it truly unique and special. Consider incorporating small details that reflect the personality or preferences of the recipient if the heart is a gift. You could include handwritten notes or messages using colorful pens or calligraphy markers for an elegant touch. Another idea is to attach tiny, meaningful charms or tokens that hold significance, representing something unique to the recipient or the occasion.
Remember, personal touches transform an artistic project into a heartfelt gesture, so take the time to think about what would bring joy and convey your sentiments effectively.
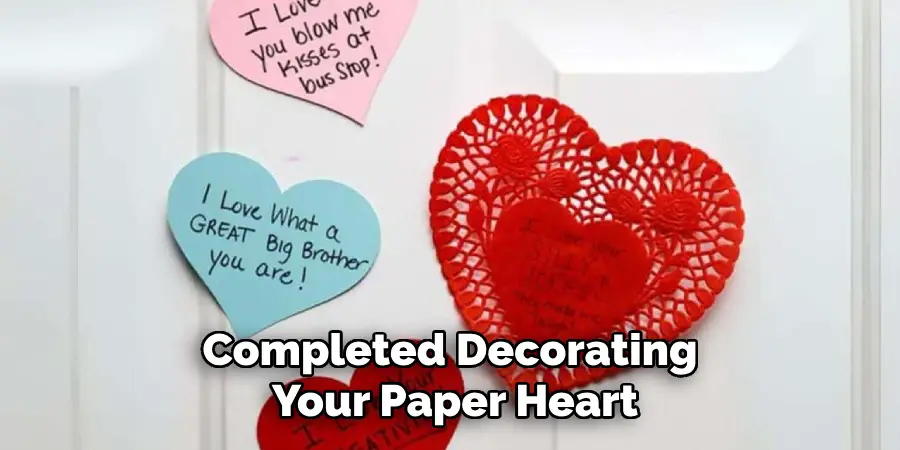
Step 7: Create a Hangable Piece
Once you have completed decorating your paper heart with textures and embellishments, consider making it hangable to display your artwork proudly. To do this, attach a small loop of ribbon or twine to the top of the heart. You can use a punch to create a small hole and thread the ribbon through it, tying a knot or making a bow to secure it. If you prefer, glue the ends of the ribbon to the back of the heart for a seamless look.
This simple addition will allow you to hang the heart on a wall, door, or window, showcasing your creativity and the effort you put into crafting a personalized piece of art.
Step 8: Preserve Your Creation
To ensure that your decorated paper heart remains beautiful and intact over time, consider taking measures to preserve it. Start by applying a clear sealant or varnish over the entire surface. This will protect the materials from dust, moisture, and fading, mainly if you use ink or paints that might smudge or wear with handling. Ensure that the sealant is appropriate for all materials, checking that it won’t discolor or damage the textures or embellishments.
Allow the adhesive to dry completely in a dust-free environment. If you’ve created a particularly delicate piece, consider framing it with a shadow box to provide an additional layer of protection. Whether hanging on a wall or gifting to a loved one, preserving your creation will allow the joy it brings to last for years, serving as a timeless reminder of your creative expression.
Step 9: Share Your Art
Consider sharing your artwork with others once your paper heart is completed and preserved. Sharing your creation can be rewarding, whether you’re gifting it to a friend, displaying it at home, or showcasing it in an art class or community event. If you’d like to reach a broader audience, take photographs of your paper heart and share them on social media platforms or dedicated art forums. This allows others to appreciate your creativity and may inspire fellow artists.
Be sure to capture the details you’ve added, highlighting textures, embellishments, and any personal touches. Engage with your audience by explaining your inspiration and the process you followed, inviting them to connect with your work on an individual level. Sharing your art not only spreads joy but also encourages the continual exchange of ideas and creativity within the artistic community.
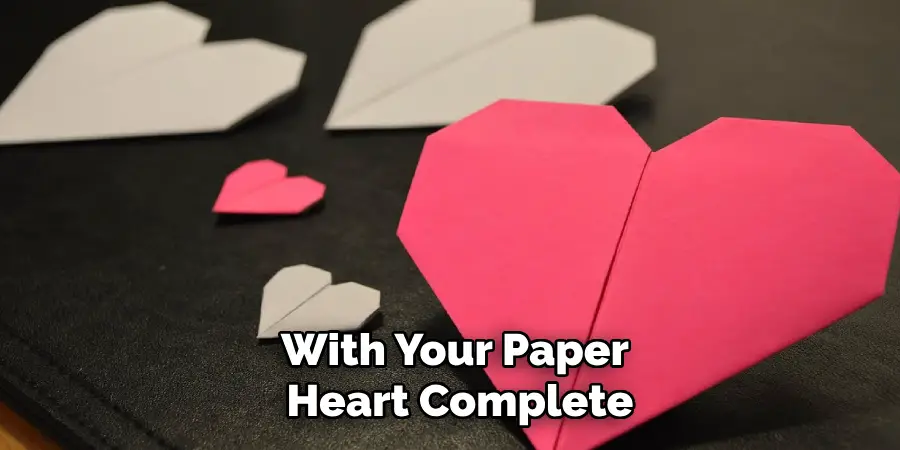
Step 10: Reflect and Inspire
With your paper heart complete, take a moment to reflect on the journey of your artistic process. Think about the skills you’ve honed, the creativity you’ve cultivated, and the challenges you’ve overcome in bringing your vision to life. Documenting this reflection in a journal or art diary can be an enriching activity, offering insights into your growth as an artist. Furthermore, use your experience to inspire others by hosting a workshop or crafting session where you can share your techniques and passion for creative arts.
By teaching others, you help them develop their artistic skills and contribute to a supportive community that values artistic expression and innovation. Remember, every piece of art has the power to inspire, and your paper heart can be a source of motivation and creativity for many.
By following these ten steps, you can create a beautifully crafted paper heart that is visually appealing and conveys your sentiments and creativity.
Conclusion
How to decorate a paper heart is an artful and expressive way to convey feelings of love, creativity, and individuality.
Through the step-by-step process outlined, you have learned how to transform a simple paper heart into a personalized, meaningful piece of art. Each stage allows you to infuse your personality and intentions into the design, from selecting suitable materials and colors to adding embellishments and personal touches. Decorating not only produces a tangible piece of beauty but also offers an opportunity for reflection, inspiration, and connection.
Whether creating a heartfelt gift or decorating for personal satisfaction, the techniques and creativity involved serve as an enriching experience that celebrates artistic expression and the joy of crafting.
About
Angela is the chief editor of Indoorense. She began her career as an interior designer before applying her strategic and creative passion to lifestyle and home.
She has close to 15 years of experience in creative writing and online content strategy for housekeeping and cleaning,home decorations as well as other efforts.
She loves her job and has the privilege of working with an extraordinary team. She lives with her husband, two sons, and daughter in Petersburg. When she’s not busy working she spent time with her family.