
Fireplace tiles can be a captivating centerpiece in any room, adding both style and warmth. However, as decor trends evolve, those once-trending tiles might begin to look dated or clash with new design aesthetics. Common reasons for covering fireplace tiles include the desire to update the decor, protect the tiles from potential damage, or simply change the style to better reflect personal taste.
This article aims to guide you through the process of how to cover fireplace tile, offering detailed, step-by-step instructions on various methods such as painting, using peel-and-stick tile overlays, or installing brand-new materials. Whether you’re looking to refresh your living space or enhance the functionality of your fireplace area, these methods provide flexible and practical solutions for reimagining your fireplace tiles.
Gather Your Tools and Materials
1. Required Tools and Materials
When preparing to cover your fireplace tiles, selecting the appropriate tools and materials is essential based on the chosen method. Here’s a comprehensive list to guide you:
- For painting:
- Tile paint or high-heat paint
- Primer (if necessary)
- Paintbrushes and rollers
- For overlays:
- Peel-and-stick tiles or tile sheets
- Utility knife
- Measuring tape
- Level
- For new materials (e.g., wood or stone):
- Wood or stone panels
- Construction adhesive or mortar
- Trowel
- Grout (if applicable)
Regardless of the method, ensure you have safety goggles and gloves to protect yourself during the DIY project.

2. Safety Gear
Using the correct safety gear is paramount when embarking on a project to cover fireplace tiles. Safety goggles are crucial to shield your eyes from dust, debris, or any chemical splashes, especially when painting or cutting materials. Gloves are equally significant to prevent cuts and abrasions and to shield your hands from potential irritants found in adhesives or stains. It is also important to keep your workspace clear of any unnecessary clutter to prevent accidents and ensure that tools and materials are readily accessible and organized, fostering a safer and more efficient work environment.
Prepare the Area
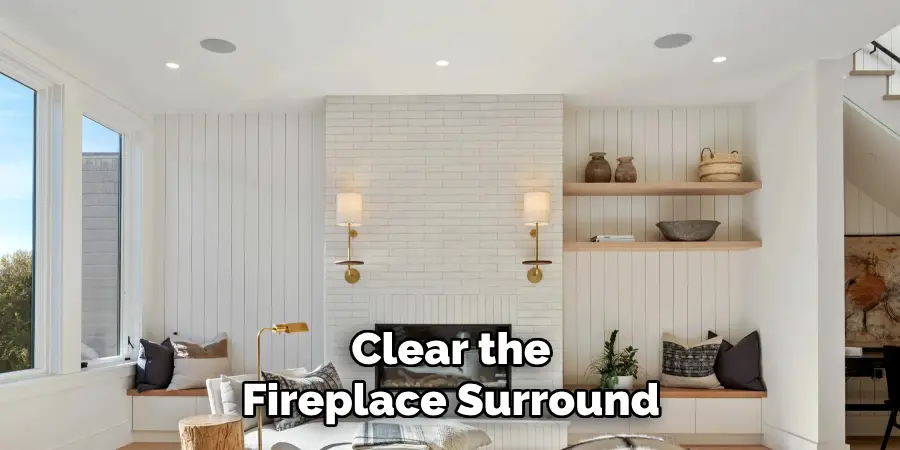
1. Clear the Fireplace Surround
Begin by removing all items from the fireplace mantel and the surrounding area. This ensures a safe and unobstructed workspace, reducing the risk of accidental damage to personal belongings. Carefully set aside decorative items, photos, or any fragile objects. Next, cover the floor with a drop cloth to catch any debris, paint splatters, or spills that may occur during the project. This protective measure will prevent damage to your flooring and facilitate easy cleanup once the work is completed.
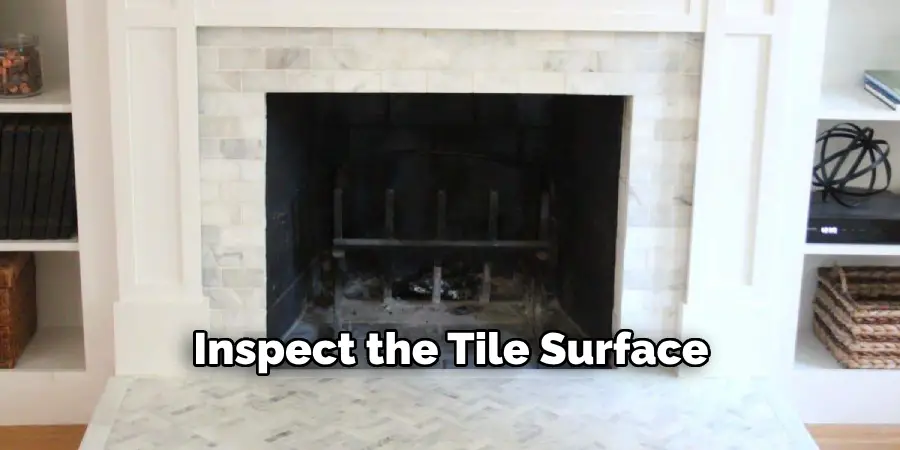
2. Inspect the Tile Surface
Before starting the covering process, it’s crucial to thoroughly inspect the existing tile surface. Look for any cracks, loose tiles, or signs of damage that might impact the result. Address any issues by securing loose tiles with adhesive or filling cracks with suitable repair compounds. Ensuring a smooth, even surface will enhance the overall finish and adhesion of the new layer, providing durability and longevity to your project.
3. Clean the Tiles
To achieve optimal adhesion, clean the tile surface meticulously. Begin by removing dust, grease, and grime using a suitable cleaner, such as a pH-balanced tile cleaner or a mixture of vinegar and water. Use a soft brush or sponge to scrub the tiles gently, paying special attention to the grout lines. Once clean, rinse the area with water and allow the tiles to dry completely. Ensuring the tiles are clean and dry is essential to prevent trapping moisture under the new covering, which could cause future adhesion issues or damage.
How to Cover Fireplace Tile: Painting the Tiles
1. Choose the Right Paint
When choosing paint for your fireplace tiles, prioritize heat-resistant and durable options to ensure long-lasting results. Look for tile paint or high-heat paint specifically designed for the elevated temperatures fireplaces can reach. Brands like Rust-Oleum and Krylon offer excellent selections that can withstand heat while providing a smooth finish. Make sure to select a color that enhances your room’s aesthetics and complements your decor style.
2. Apply Primer (if necessary)
Applying a primer can significantly improve paint adhesion, especially on tiles with a glossy finish. Choose a high-quality primer suitable for tiles and fireplaces, and apply it evenly using a brush or roller. Ensure the entire tile surface is covered, focusing on grout lines and any intricate areas. Allow the primer to dry completely, following the manufacturer’s drying time recommendations, before proceeding with the paint application. This step is crucial for a smooth, lasting finish.
3. Paint the Tiles
Begin by stirring your chosen paint thoroughly to ensure an even color and consistency. Start painting with a detail brush around edges and grout lines, ensuring that each nook and cranny is covered. For larger surfaces, use a roller to achieve a uniform application. Applying multiple thin coats rather than a single thick coat is advisable to prevent drips and achieve a more professional finish. Allow sufficient drying time between each coat, as specified on the paint label, to ensure the best adhesion and durability.
4. Finishing Touches
For added protection, consider applying a clear sealant over the painted tiles. This top coat will help preserve the color and provide additional resistance to heat and wear. Be sure to apply a heat-resistant sealant following the manufacturer’s instructions. Keep in mind that while painted tiles can enhance your fireplace’s appearance, it’s advisable to avoid direct flame contact with painted surfaces to maintain their finish and durability over time.
How to Cover Fireplace Tile: Using Peel-and-Stick Tile Overlays
1. Select Peel-and-Stick Tiles
When selecting peel-and-stick tiles for your fireplace, it is vital to opt for tiles that are specifically designed to withstand high temperatures. Look for high-quality materials that offer durability and resistance to the heat emanating from your fireplace. Brands specializing in kitchen backsplash and bathroom tiles, such as Smart Tiles or Art3d, often provide heat-resistant products suitable for such use. In terms of design, consider tiles that complement your existing decor. Whether you prefer a sleek modern look or a rustic charm, there are numerous color and pattern options available to enhance your room’s aesthetic.
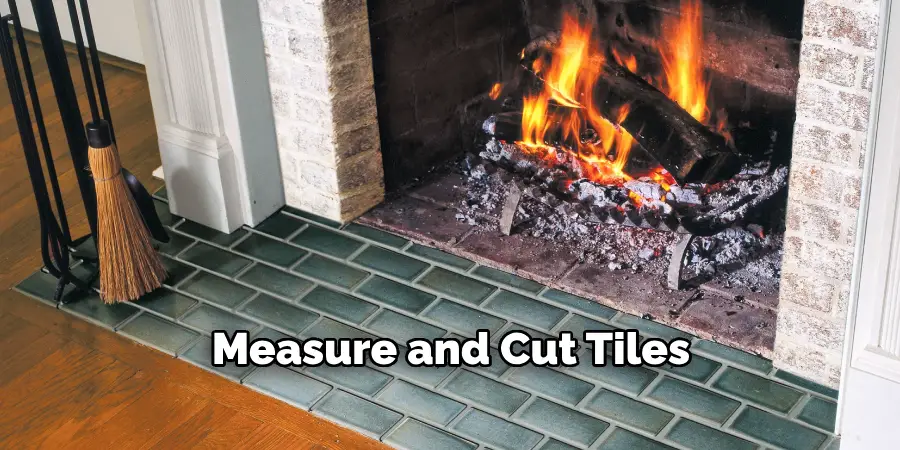
2. Measure and Cut Tiles
To ensure a seamless fit, begin by accurately measuring the entire surface of the fireplace tiles you wish to cover. Use a measuring tape to determine the dimensions, paying special attention to any irregularities such as corners or edges. Mark these measurements on your peel-and-stick tiles, and carefully cut them using a utility knife. For precision, ensure your cuts are clean and straight, allowing the tiles to fit snugly around the edges and any cornering of the fireplace.
3. Apply the Tiles
Start the application process by positioning the first tile at the center of your fireplace. Ensuring you have aligned it correctly, peel off the backing and press the tile firmly in place. Continue to add tiles, working your way outward from the center, which will help maintain symmetry. Press each tile firmly to the surface for maximum adhesion, ensuring no air bubbles form beneath them. Utilize a level to guide you in keeping your lines straight and even, resulting in a professional-looking finish.
4. Finishing Edges
Once all tiles are in place, examine the edges for any excess material that might spill over. Trim away any excess tiles using your utility knife, ensuring a clean finish. For further refinement, consider applying caulk around the edges of the tiles to blend seams and enhance the aesthetic appearance. In areas where moisture might be a concern, such as near open-air fireplaces, sealing the edges can prevent infiltration that might compromise tile adhesion or integrity over time.
Installing New Materials
1. Choose a New Covering Material
When installing new materials over your fireplace tiles, popular options include wood paneling, stone veneer, and metal sheets. Each choice offers unique aesthetic appeal and functional benefits. Wood paneling can provide a warm, rustic charm, while stone veneer gives a natural, elegant appearance. On the other hand, metal sheets offer a sleek, modern finish, often suitable for contemporary interiors. In selecting a material, consider factors like heat resistance, durability, and how well it matches your room’s decor. Ensure the material can withstand the fireplace’s thermal output to maintain its integrity and look over time.
2. Prepare the Surface
The existing tile surface must be properly prepared to ensure the successful application of new materials. Clean the tiles thoroughly to remove any dirt, grease, or residue. A clean, smooth surface is crucial for good adhesion. Use a pH-balanced cleaner or a mixture of vinegar and water for an effective clean. If necessary, lightly sand the surface to smooth out any rough areas or glossy finishes that might hinder adhesion. This step will help the new material adhere more effectively, ensuring a long-lasting installation.
3. Attach New Material
After preparing the surface, it’s time to attach the new materials. Apply a generous, evenly distributed layer of construction adhesive on the back of the covering material. If using stone veneer, mortar may be an alternative to adhesive. Carefully position the material on the tile, aligning it as needed, and press firmly to ensure a secure bond. Use a spirit level to make sure the placement is even. Allow the adhesive to cure according to the manufacturer’s instructions, as proper curing is essential for the durability of your new fireplace facade.
4. Grouting and Finishing
Once the new materials are affixed, grouting may be required, especially if using stone or tile overlays. Apply grout between any gaps, using a grout float to ensure even application. Make sure to work the grout deeply into seams for a sturdy finish. After applying grout, remove any excess or residue from surfaces with a damp sponge, taking care to leave clean, smooth lines. Consider applying caulk for a seamless transition if gaps remain around the edges or corners. This finishing touch enhances the appearance and helps protect against moisture penetration.
Safety and Cleanup
1. Inspect the Finished Work
After completing your fireplace makeover, take the time to thoroughly inspect the finished work. Ensure that all materials are securely adhered to and that there are no unevenness or gaps. If your project involves adhesives or paint, it is crucial to allow ample curing time as the manufacturer recommends. This will not only ensure the durability of your work but also maintain the safety of the fireplace area.
2. Clean Up Tools and Workspace
Proper cleanup is essential to maintain both your tools and workspace. Begin by gently removing any drop cloths and folding them inward to contain debris. Clean your tools immediately after use to prevent any materials from hardening on them, which could affect their performance in future projects. Dispose of waste materials responsibly, following local guidelines for recycling or hazardous waste. Sweep or vacuum any dust or debris left behind to keep the area tidy and safe.
3. Restore the Fireplace Area
Once you have verified that all surfaces are adequately cured, you can restore your fireplace area. Replace any decorative items that were moved during the renovation, such as vases or photo frames. Give attention to the mantel and its surroundings, ensuring everything is clean and positioned carefully. Remember, newly installed or painted surfaces should be fully cured before any use to prevent damage. This final step will complete your transformation, leaving you with a beautifully refreshed fireplace.

Conclusion
This guide on “how to cover fireplace tile” has explored multiple methods, offering flexibility for anyone looking to revamp their fireplace. We’ve discussed repainting tiles for a fresh look, applying peel-and-stick tiles for ease, and installing new materials like wood or stone for a transformative appearance. Each approach highlights the importance of selecting suitable materials based on personal style, room decor, and safety requirements. Embarking on a DIY fireplace project allows for a personalized touch, enhancing both aesthetics and functionality. With the right guidance and a bit of creativity, you can confidently rejuvenate your living space.
About
Angela is the chief editor of Indoorense. She began her career as an interior designer before applying her strategic and creative passion to lifestyle and home.
She has close to 15 years of experience in creative writing and online content strategy for housekeeping and cleaning,home decorations as well as other efforts.
She loves her job and has the privilege of working with an extraordinary team. She lives with her husband, two sons, and daughter in Petersburg. When she’s not busy working she spent time with her family.