
Keeping your printer clean is important to ensure it functions properly, especially its drum. This part is responsible for transferring the toner particles onto the paper. The drum can become dirty and affect the quality of your printed documents and images. In this blog, we will guide you on how to clean printer drum.
Can You Clean the Printer Drum?
When keeping our printers in top-notch condition, we often solely focus on changing ink cartridges and clearing paper jams. However, one important part of the printer that is oftentimes overlooked is the printer drum.
This necessary printer component transfers the toner from the cartridge to the paper. Over time, the drum can become dirty and affect the quality of your prints. But don’t panic, there is a solution! With a few simple steps and materials, you can clean the printer drum and restore your printer’s efficiency. Keep your printer happy and healthy by giving it some much-needed attention.
Why Should You Clean the Printer Drum?
A printer is an essential device in our daily lives that helps us print documents, images, and other important information. However, with time, the printer drum tends to gather dust, debris, and other particles that cause blurry and undefined prints. Neglecting the cleaning process of the printer drum can lead to the deterioration of the print quality, which can be costly in terms of ink and paper expenses.
Cleaning the printer drum regularly ensures that your printer is functioning correctly, prolonging the lifespan of the device, and producing high-quality prints. Besides, it’s an easy task that can be achieved by following the manufacturer’s instructions or seeking professional assistance. Therefore, cleaning the printer drum is a crucial task that every printer owner should prioritize.

7 Steps to How to Clean Printer Drum
Step 1: Turn Off Your Printer.
It is important that you turn off your printer and unplug it from the electrical outlet before you start cleaning. This will prevent any accidents from happening and will also ensure your safety.
Step 2: Open the Printer.
Locate your printer drum and remove it from your printer. Most printers have a button or lever you can push or pull to release the drum. Check your printer manual if you are unsure how to remove the drum.
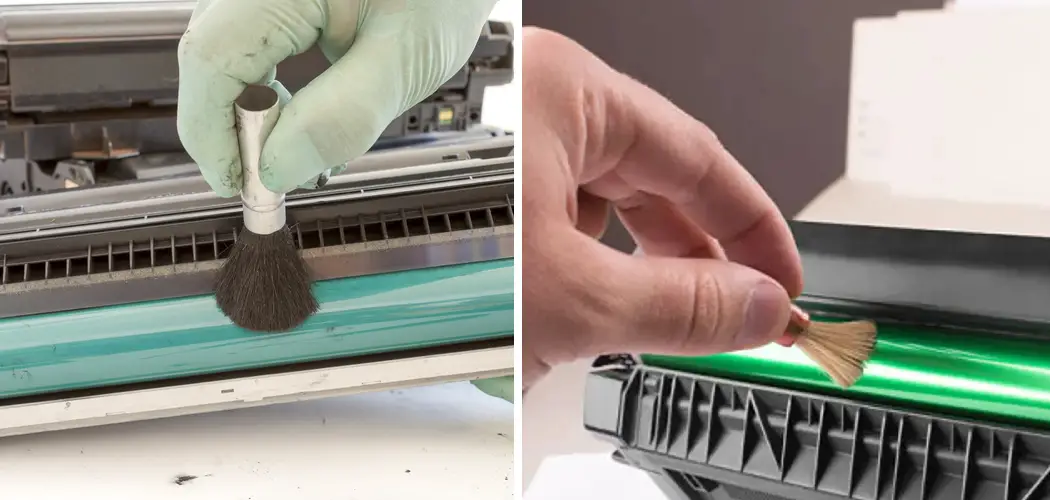
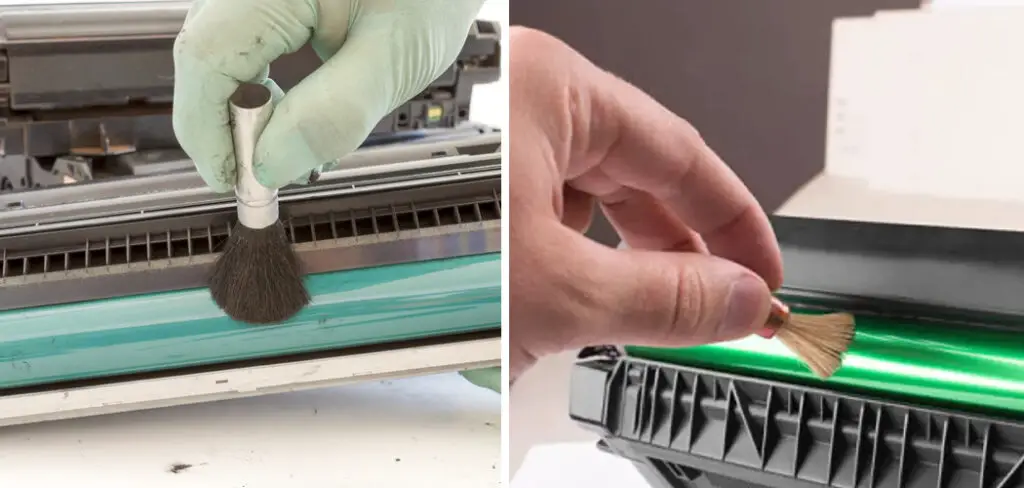
Step 3: Clean the Drum.
Using a soft, lint-free cloth that has been soaked in alcohol, gently wipe down the drum. Avoid touching the drum with your fingers, as the oil from your skin can cause damage. It is important to be gentle to avoid scratching the surface of the drum.
Step 4: Dry the Drum.
Once you have wiped down the drum with alcohol, use a clean, dry cloth to dry it off thoroughly. This will help ensure that no moisture remains on the surface of the drum which can cause damage.
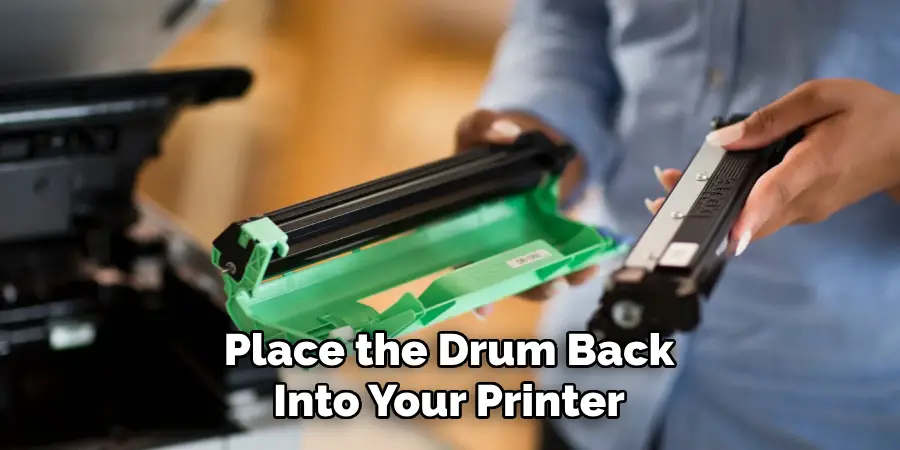
Step 5: Reinstall the Drum.
Gently place the drum back into your printer and secure it in place. Make sure that it is securely fastened before continuing with the next step.
Step 6: Clean the Printer.
Using a soft, lint-free cloth soaked in alcohol, gently wipe down the outside of your printer to remove any dust or dirt that may have accumulated on its surface. Be sure to avoid getting any liquid onto any of the electrical components of the printer.
Step 7: Turn on The Printer and Print a Test Document.
Once you have finished cleaning the drum and your printer, turn it back on and print a test document to ensure everything is working correctly. This will also help you to determine if any damage has occurred during the cleaning process. If all looks good, you can continue printing as usual.
Congratulations! You have just learned how to clean printer drum. Following these steps will help ensure your printer works correctly and produces quality prints for years. With some maintenance, you can keep your printer running at its best!
5 Considerations Things When You Need to Clean Printer Drum
1. Check the Printer Manual
The first thing you need to do when cleaning a printer drum is to check the printer manual. The manual will have specific instructions on how to clean the drum and what type of cleaner to use.
2. Remove the Drum from The Printer
Once you have located the instructions in the manual, the next step is to remove the drum from the printer. This is usually a simple process, but it is important to follow the instructions in the manual carefully to avoid damaging the drum.
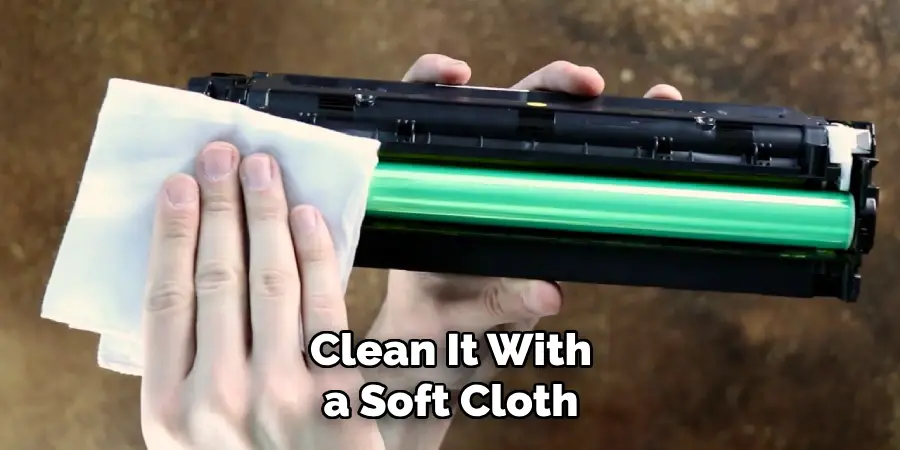
3. Clean the Drum With A Soft Cloth
Once the drum is removed from the printer, you can clean it with a soft cloth. It is important to avoid using any harsh cleaners or abrasives, as these can damage the drum. Instead, focus on gently removing any dirt or debris on the drum’s surface.
4. Replace the Drum in The Printer
Once you have finished cleaning the drum, you must replace it in the printer. Again, it is important to follow the instructions in the manual carefully to avoid damaging the drum or causing any other problems.
5. Run a Test Print
After replacing the drum in the printer, you should run a test print to ensure everything is working properly. If there are any problems with your print quality, you may need to repeat some of these steps or contact a professional for help.
By following these simple steps, you can keep your printer’s drum clean and ensure it lasts for a long time. Cleaning the printer drum regularly is an important part of keeping your printers running smoothly and producing high-quality prints.
Benefits of Clean Printer Drum
Regular cleaning of your printer drum can lead to many benefits that ultimately improve the quality of your printed documents. For starters, a clean drum ensures that your printer’s toner cartridges work efficiently, leading to sharper and more vibrant prints that pop.
It also ensures no buildup of excess toner on the drum, which can lead to smudging and smearing of your documents. And let’s not forget the cost benefits – by extending the lifespan of your printer drum, you avoid the need for costly repairs or replacements down the line. So, take a few minutes to regularly clean your printer drum and enjoy clear, crisp prints.
5 Common Mistakes People Make When Trying to Clean Printer Drum
1. Not Wearing Gloves
One of the most common mistakes people make when trying to clean a printer drum is not wearing gloves. Gloves protect your hands from the chemicals that are used to clean the drum, and they also help to keep the drum clean.
2. Not Using the Right Cleaner
Another common mistake is not using the right cleaner. A variety of cleaners can be used to clean a printer drum, but not all of them are equally effective. Be sure to use a cleaner specifically designed for cleaning printer drums.
3. Not Cleaning the Drum Regularly
Another mistake people make is not cleaning the drum regularly. The drum should be cleaned every time you change the toner cartridge. Failure to regularly clean the drum can lead to build-up, eventually damaging the drum.
4. Not Following the Instructions
Another common mistake is not following the instructions that come with the cleaner. Please read the instructions carefully before using any cleaner, and follow them exactly as directed.
5. Using Too Much Cleaner
One final mistake people make is using too much cleaner. You only need a small amount of cleaner when cleaning a printer drum. Using too much cleaner can damage the drum.
Is It Safe to Use Rubbing Alcohol on A Printer Drum?
For anyone who has ever dealt with a printer running low on ink, you know the desperation that sets in when you’re in a crunch and need to print something important. But before you begin rummaging through your cleaning supplies for rubbing alcohol to replenish the printer’s ink supply, you should know a few things.
While rubbing, alcohol can effectively remove ink residue and help to clean the drum inside your printer, using it to replace ink is not recommended. Doing so can damage your printer’s drum and other internal components. So, while rubbing alcohol can be a useful tool in your cleaning arsenal, it’s best to avoid using it to refill your printer’s ink supply.
Can I Use a Vacuum Cleaner to Get Rid of Dust in The Printer’s Drums?
Have you ever wondered if your trusty vacuum cleaner could aid in your battle against printer dust? While it may seem logical, the answer is more complicated than a simple yes or no. While certain vacuums might seem to do the trick, using them improperly can cause far more harm than good.
For instance, the vacuum’s suction could damage sensitive parts in the printer’s drums, causing irreparable harm. Instead of taking a chance with your expensive printer, it’s better to contact a professional or research safer and more effective methods of getting rid of printer dust.
Conclusion
Cleaning your printer drum should be done regularly to maintain the quality of your printed documents and images. With these easy steps, you can have a cleaner printer drum, ensuring your printer works efficiently. Always clean your printer carefully and gently, and avoid using harsh chemicals to prevent further damage. Thanks for reading our post about how to clean printer drum.
About
Angela is the chief editor of Indoorense. She began her career as an interior designer before applying her strategic and creative passion to lifestyle and home.
She has close to 15 years of experience in creative writing and online content strategy for housekeeping and cleaning,home decorations as well as other efforts.
She loves her job and has the privilege of working with an extraordinary team. She lives with her husband, two sons, and daughter in Petersburg. When she’s not busy working she spent time with her family.