
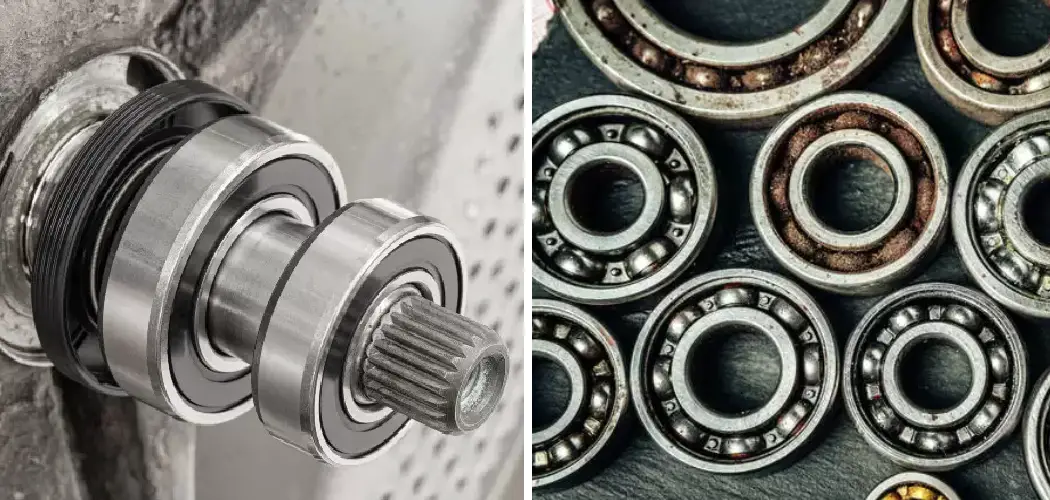
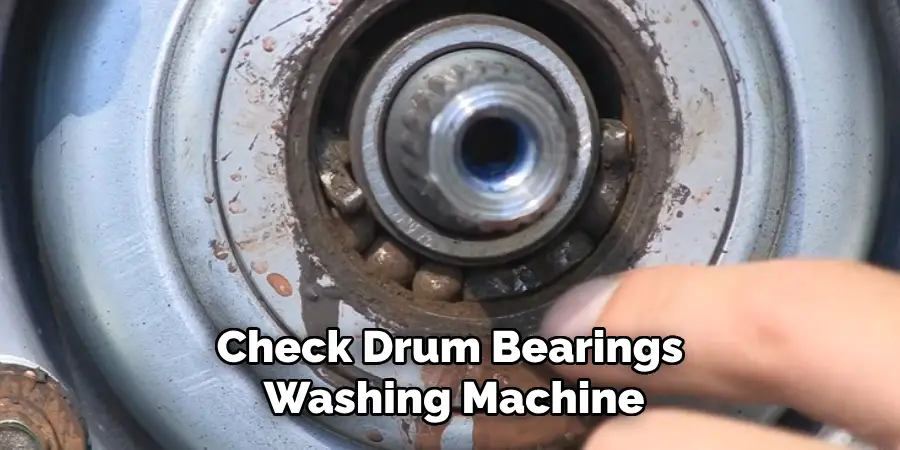
When your washing machine begins to make unusual noises or vibrations during the spin cycle, it might be a sign that the drum bearings are worn out. Drum bearings are crucial components that support the drum’s rotation, ensuring smooth and quiet operation. Over time, these bearings can wear out due to regular use or exposure to water and detergent.
Checking the condition of your washing machine’s drum bearings can help prevent further damage to the appliance and extend its lifespan. This guide on how to check drum bearings washing machine will walk you through the process of diagnosing and checking the drum bearings in your washing machine, providing you with the necessary steps and tools you’ll need to complete the task safely and efficiently.
Why Check Drum Bearings?
Before we dive into the steps of checking drum bearings, it’s essential to understand why this task is necessary. As mentioned earlier, worn-out drum bearings can cause unusual noises and vibrations during the spin cycle, which not only disrupts the washing machine’s operation but also puts strain on other components. This strain can lead to further damage and potentially costly repairs in the future.
Furthermore, if left unchecked, damaged drum bearings can cause leaks or even completely seize up, rendering your washing machine unusable. By regularly checking the condition of your drum bearings, you can catch any issues early on and address them before they escalate.
Tools and Materials You’ll Need
To check your washing machine’s drum bearings, you will need the following tools and materials:
- Screwdriver (Flathead or Phillips, Depending on Your Washing Machine)
- Wrench or Pliers
- Towels
- Lubricant (if Needed)
8 Step-by-step Guides on How to Check Drum Bearings Washing Machine
Step 1: Unplug
Before starting any maintenance work on your washing machine, it’s crucial to prioritize safety by disconnecting it from the power source. Locate the power cord at the back of the appliance and gently unplug it from the wall outlet.
This action helps prevent any electrical accidents, ensuring you can conduct your inspection safely. Additionally, moving the machine slightly away from the wall will give you better access to its components as you proceed with the next steps.
Step 2: Access the Bearings
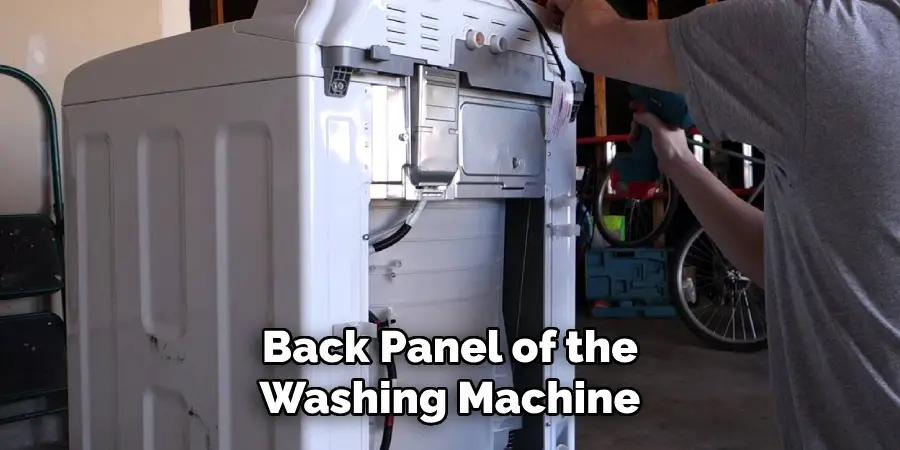
Once the washing machine is safely unplugged, the next step is to access the drum bearings. Begin by carefully removing the top panel or back panel of the washing machine, depending on its design. This usually involves loosening screws with a screwdriver and gently detaching the panel. Keep track of any screws you remove, as you will need these to reassemble the machine later.
With the panel removed, locate the drum on which the bearings are mounted. The bearings are typically housed at the rear of the drum on most models. Be cautious during this step to ensure no other components are damaged, and maintain a clean workspace for reassembly.
Step 3: Check for Signs of Damage
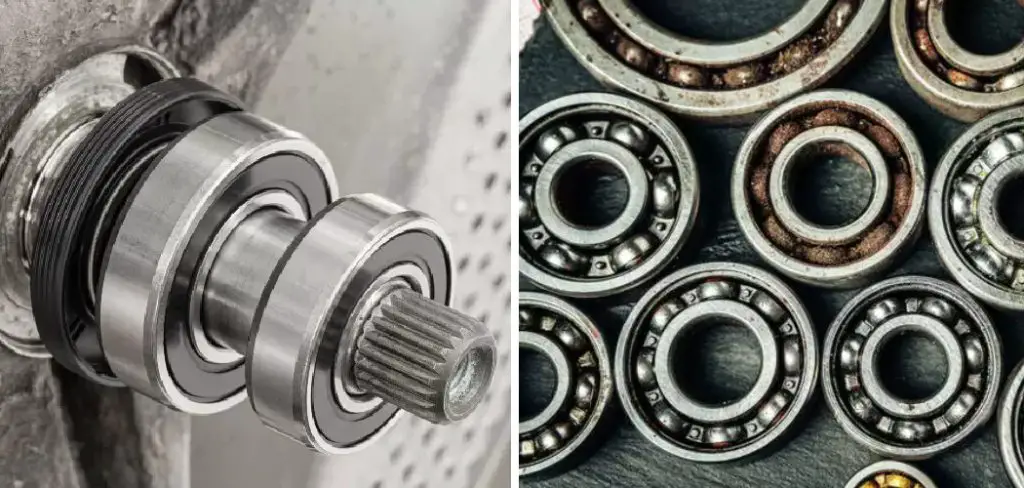
With the bearings now exposed, it’s time to inspect them for any signs of wear and tear. You can do this by manually rotating the drum with your hand while feeling around the bearings. If there are any rough spots or unusual noises, it could be an indication that the bearings are damaged and need replacing.
Additionally, visually check for any rust or visible damage on the bearings. If you notice any of these signs, then it’s likely time to replace the bearings before they cause further issues.
Step 4: Clean Any Build-up
If you don’t find any noticeable damage to the bearings but still experience unusual noises or vibrations during the spin cycle, it’s possible that build-up has accumulated on them. In this case, use a towel or cloth to clean off any debris or detergent residue from the bearings and surrounding areas. This can help improve their performance and prolong their lifespan.
It’s also a good idea to check the drum’s inner walls for any build-up, as this can also contribute to the noise and vibrations.
Step 5: Lubricate (If Necessary)
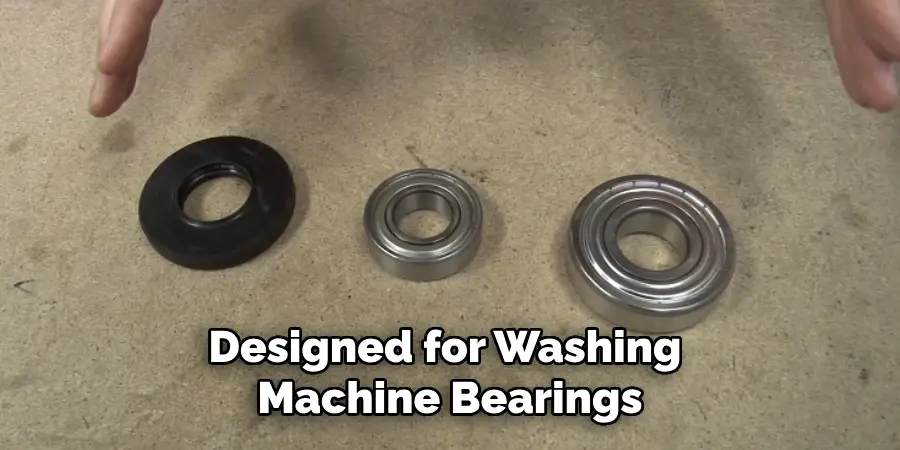
In some cases, bearings may need lubrication if they are dry or starting to rust. If you notice signs of wear and tear on the bearings but no damage, try applying a small amount of lubricant to see if it helps reduce the noise and smooth out their operation. Be sure to use a lubricant specifically designed for washing machine bearings.
You can apply the lubricant using your finger or a cloth, ensuring it is evenly spread around the bearings.
Step 6: Check for Loose Connections
Once you’ve inspected and, if necessary, lubricated the bearings, the next step is to check for any loose connections around the drum area. It’s not uncommon for screws or bolts to become loose over time due to the constant vibrations of the machine.
Carefully examine all visible connections, paying particular attention to the bolts and screws holding the drum and bearings in place. Tighten any loose screws or bolts using a wrench or pliers, ensuring everything is securely fastened. This simple step can help prevent excess noise and potential damage, contributing to the smooth operation of your washing machine.
Step 7: Reassemble
After completing all the necessary steps and ensuring everything is clean and secure, it’s time to reassemble your washing machine. Carefully replace the top or back panel and use the screwdriver to tighten any screws you removed in step 2. Double-check that all connections are securely fastened before moving on to the final step.
Step 8: Test
Once you’ve reassembled the washing machine, plug it back into the power outlet and run a test wash cycle to see if there are any noticeable improvements in noise or vibration. If not, further inspection or replacement of the bearings may be required.
Following these steps on how to check drum bearings washing machine regularly can help you maintain the condition of your washing machine’s drum bearings and prevent any potential issues. By taking a proactive approach, you can save yourself from costly repairs or replacements in the future and keep your washing machine running smoothly.
Remember to prioritize safety at all times and consult a professional if needed for complex repairs or replacements. Happy washing!
Frequently Asked Questions
Q: Can I Check My Washing Machine’s Drum Bearings Myself?
A: Yes, with the right tools and precautions, you can safely check your washing machine’s drum bearings yourself. The process may vary slightly depending on your machine’s design, but the general steps remain the same.
Q: How Often Should I Check My Washing Machine’s Drum Bearings?
A: It’s recommended to check your washing machine’s drum bearings at least once a year or whenever you notice unusual noises or vibrations during use. Regular maintenance can help prolong the lifespan of your machine and prevent any potential issues from arising.
Q: Do I Need to Replace the Bearings if They are Damaged?
A: Yes, damaged bearings should be replaced as soon as possible to avoid further damage to your washing machine. Neglecting damaged bearings can lead to more significant issues, resulting in costly repairs or replacements.
Q: Can I Use Any Lubricant on the Bearings?
A: No, it’s essential to use a lubricant specifically designed for washing machine bearings. Using the wrong type of lubricant can cause damage and potentially lead to further issues. It’s best to consult the manufacturer or a professional for recommendations.
Conclusion
Maintaining the drum bearings of your washing machine is essential for ensuring its efficient operation and prolonging its lifespan. By following these step-by-step guides on how to check drum bearings washing machine, you can easily inspect and address potential issues before they turn into costly repairs. Regularly checking your machine’s bearings not only prevents unexpected breakdowns but also contributes to a quieter and smoother laundry experience.
Remember, safety is paramount; always disconnect the power source before performing any maintenance tasks. If you’re uncertain about any step or discover significant damage, it’s wise to consult a professional technician for assistance. Prioritizing routine maintenance and addressing minor issues promptly can help uphold the functionality of your washing machine for years to come.
About
Angela is the chief editor of Indoorense. She began her career as an interior designer before applying her strategic and creative passion to lifestyle and home.
She has close to 15 years of experience in creative writing and online content strategy for housekeeping and cleaning,home decorations as well as other efforts.
She loves her job and has the privilege of working with an extraordinary team. She lives with her husband, two sons, and daughter in Petersburg. When she’s not busy working she spent time with her family.