
Are you looking for a creative and practical solution to add seating and storage to your home?
How to build a seating bench with storage is a practical and rewarding DIY project that combines functionality with style. Whether you need extra seating for your living room, a cozy nook by the window, or an efficient way to organize outdoor essentials, a storage bench offers a versatile solution. This guide will walk you through constructing a durable and attractive bench to enhance any space while providing convenient storage.

Even if you have basic carpentry skills, following these instructions will empower you to craft a personalized piece that meets your needs and complements your décor. Prepare to embark on a journey of creativity and craftsmanship as you design and build your seating bench with storage capability.
What Will You Need?
Before you begin, gather the necessary tools and materials to complete the project. Here is a list of items that you will need:
- Power drill with various drill bits
- Jigsaw
- Circular saw
- Tape measure
- Pencil or marker
- Clamps
- Wood glue
- Screws and nails
- Plywood sheets (3/4 inch thick)
- 2×4 lumber boards (8 ft long)
- Hinges and hardware for lid support
You can customize your bench by choosing different types of wood, finishes, and cushioning materials. Once you have all your supplies, it’s time to get started!
10 Easy Steps on How to Build a Seating Bench With Storage
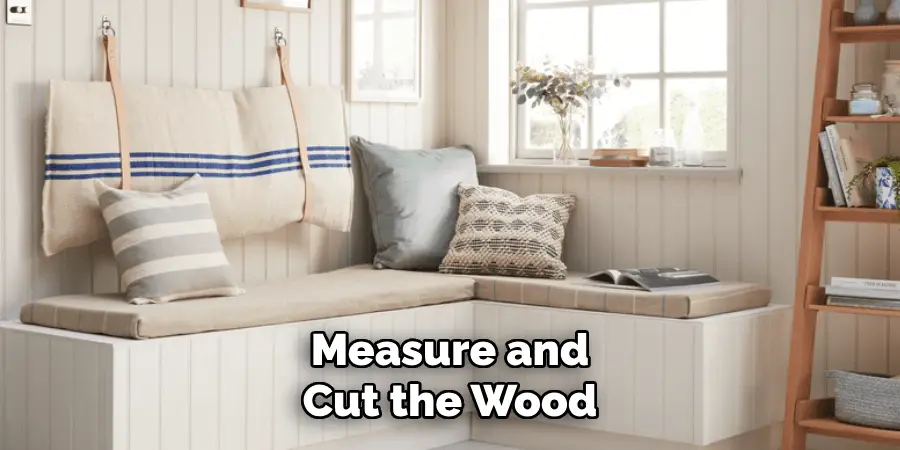
Step 1. Measure and Cut the Wood:
Begin by measuring the space where you intend to place the bench to determine its dimensions. Mark and cut the plywood sheets and 2×4 lumber boards accordingly using these measurements. For the bench frame, cut the 2×4 boards to create the front, back, and side panels. Use the tape measure for accuracy, and the circular saw for clean cuts. Always double-check your measurements before cutting to ensure precision.
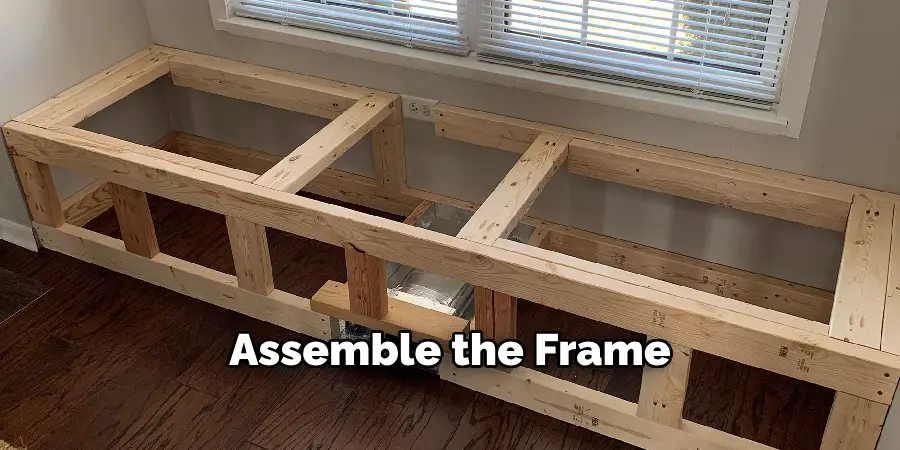
Step 2. Assemble the Frame:
Lay out the cut 2×4 boards to form the rectangular shape of the bench frame. Begin by attaching the front and back panels to the side panels using wood glue and screws. Reinforce the corners with additional screws for stability. Use clamps to hold the pieces securely in place while the glue dries. Ensure the frame is square by measuring diagonals; adjust for precision. This sturdy frame will serve as the foundation for your bench, so take the time to ensure it is well-constructed.
Step 3. Attach the Bottom Panel:
Once the frame is securely assembled, attaching the bottom panel supporting the bench seat and storage area is time. Cut a plywood sheet to fit snugly inside the frame, ensuring it covers the entire bottom. Lay the plywood over the frame and secure it in place using screws, driving them through the plywood into the 2×4 lumber from above. Space the screws evenly along the edges to provide consistent support, making sure not to over-tighten, which could split the wood. This step ensures the storage area is completely enclosed and ready for use.
Step 4. Build the Backrest
To provide comfort and support, it’s time to build the backrest. Using the remaining 2×4 lumber and plywood, cut pieces that will form the desired height and width of the backrest. Once measured and cut, attach the 2×4 pieces vertically to the back of the bench frame using screws and wood glue for added stability. Ensure the backrest is appropriately aligned before fastening. Next, cover the framework with a plywood sheet that will serve as the back panel, securing it with screws. This backrest enhances the comfort of your seating bench and adds an appealing vertical element to the design.
Step 5. Install the Storage Lid
To create accessible storage, you’ll need to install a hinged lid on top of the bench. Cut a piece of plywood that matches the top dimensions of your bench. This will serve as the lid. Attach hinges along one edge of the lid and secure the other side to the backrest or the top back edge of the frame, ensuring that the lid can lift smoothly. Consider installing a lid support mechanism to hold the lid open safely when accessing the storage space. Ensure the hinges are sturdy enough to support the lid’s weight and handle frequent use. Test the lid to ensure it opens and closes easily without binding.
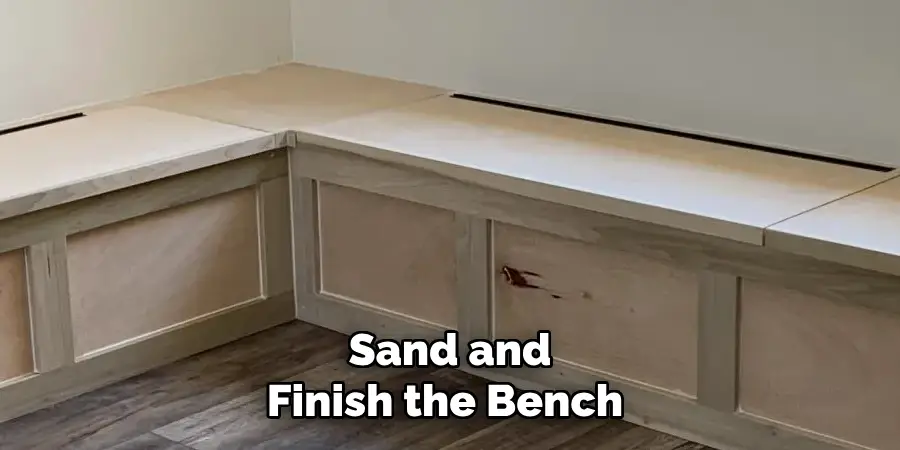
Step 6. Sand and Finish the Bench
Once the construction is complete, sanding the entire bench is essential to create a smooth finish. Begin with coarse-grit sandpaper to eliminate rough edges or splinters, and gradually move to finer grits for a polished surface. Pay particular attention to corners and edges where hands will frequently touch. After sanding, wipe the bench with a damp cloth to remove the dust. Now, apply a wood finish to protect and enhance the wood’s appearance. You can choose a stain to enhance the wood grain or paint to match your décor. Allow the finish to dry completely according to the manufacturer’s instructions before proceeding to the next step. This finishing touch improves the bench’s aesthetics and extends its durability.
Step 7. Add the Seat Cushioning
To ensure comfort, add a cushioned seat to your storage bench. First, measure the top of the bench to determine the cushion size needed. Purchase a foam cushion and fabric that matches your decor preferences. Cut the foam to fit the bench’s top, then cover it with the selected fabric. For a professional finish, use a staple gun to secure the fabric to the underside of the plywood lid, pulling the fabric taut as you work to avoid wrinkles. Add ties or Velcro at the corners to keep the cushion in place if desired. This step enhances the bench’s functionality and adds a personal touch of style and comfort.
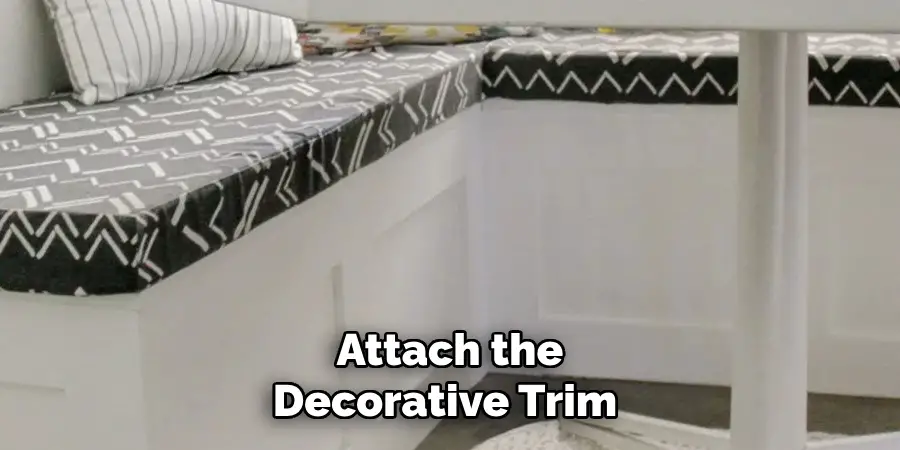
Step 8. Attach the Decorative Trim
Attach decorative trim to the edges to give your bench a polished and completed look. Select a trim that complements the style of your bench and measure it to fit along the top edges and bottom perimeter. Carefully cut the trim pieces using a jigsaw or miter saw for precise angles. Attach the trim using wood glue and small finishing nails, ensuring it’s securely placed and flush with the surface. Trim enhances the aesthetic appeal, giving the bench a refined appearance and covering any visible screw heads or plywood edges. This attention to detail will make your bench a standout piece in any room.
Step 9. Inspect and Enjoy Your Bench
With your bench fully constructed, it’s time to conduct a final inspection. Carefully examine all components to ensure they are securely attached, and check for any rough edges or unfinished areas that might need additional sanding or touch-ups. Test the storage lid to confirm it operates smoothly and check that the cushion is securely fastened to the bench. Once satisfied with the quality and functionality of your newly built bench, place it in your desired location. Whether it’s used for extra seating, storage, or as a decorative piece, take a moment to appreciate the craftsmanship and effort that went into creating this functional and stylish addition to your home.
Step 10. Maintain Your Bench
Regular maintenance is crucial to ensure your bench remains in top condition. Periodically inspect the bench for any signs of wear or damage, paying attention to the joints and hinges. Tighten any loose screws and apply a fresh coat of wood finish if the surface starts to look dull or worn. Clean the cushion cover according to the fabric’s care instructions, and consider rotating or fluffing the cushions to keep them soft and comfortable. By maintaining your bench, you extend its lifespan and keep it looking new, ready to serve your needs for years to come.
With these steps, you can quickly build a functional and stylish storage bench that will enhance your home’s comfort and organization.
5 Things You Should Avoid
- Skipping Proper Measurements: Failing to measure your space or materials accurately can result in a bench that doesn’t fit your designated area or one that’s awkwardly proportioned.
- Using Inferior Quality Lumber: Selecting cheap or low-quality wood can compromise the strength and longevity of your bench. Ensure you use sturdy, high-grade lumber to withstand wear and tear and provide a more durable finish.
- Neglecting Secure Joints and Fastenings: Loose screws or poorly fastened components can weaken the overall structure of the bench. It’s crucial to use appropriate screws, nails, and wood glue to create a stable and secure construction.
- Overlooking the Importance of Sanding: Leaving sharp edges or rough surfaces can lead to injuries or damage to the fabric and clothing. Properly sand all surfaces, paying attention to edges and corners for a smooth finish before applying any wood finish.
- Ignoring Aesthetic Details: While function is essential, the visual appeal should be addressed. Overlooking elements like decorative trim, paint, or stains can result in a bench that doesn’t match or enhance your home’s interior decor.
Conclusion
How to build a seating bench with storage is a rewarding project that combines practicality with a stylish enhancement to any room.
By following the detailed steps outlined, you can create a custom piece that provides seating and storage solutions and aligns with your personal style and home décor. From selecting high-quality materials to ensuring precise measurements and finishes, each aspect is crucial for achieving a finished product that is both functional and durable. Avoid common pitfalls such as neglecting measurements or skimping material quality, and ensure your bench is beautifully constructed with attention to all aesthetic details.
With proper maintenance, your seating bench will remain a centerpiece in your home for years to come, reflecting your craftsmanship and design sense.
About
Angela is the chief editor of Indoorense. She began her career as an interior designer before applying her strategic and creative passion to lifestyle and home.
She has close to 15 years of experience in creative writing and online content strategy for housekeeping and cleaning,home decorations as well as other efforts.
She loves her job and has the privilege of working with an extraordinary team. She lives with her husband, two sons, and daughter in Petersburg. When she’s not busy working she spent time with her family.