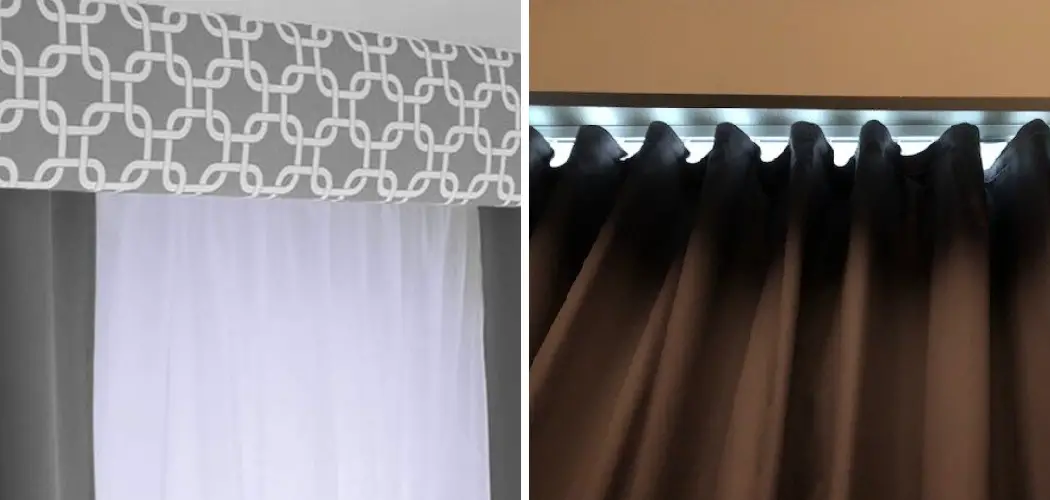
Light seeping through the top of curtains is a common problem many homeowners face. This issue arises due to gaps between the curtain rod and the wall or because curtains are not adequately designed to block all light. Addressing this problem is essential for several reasons: it can significantly improve sleep quality by creating a darker room environment, enhance privacy by preventing outside visibility, and contribute to an overall better ambiance in the living space.
The purpose of this article is to provide a comprehensive guide on how to block light from top of curtains. By exploring various methods and solutions, readers will learn effective ways to eliminate unwanted light seepage, ranging from simple adjustments to detailed installations. Whether you’re seeking a DIY approach or a more permanent fix, this guide aims to help you achieve the perfect light-blocking setup in your home.
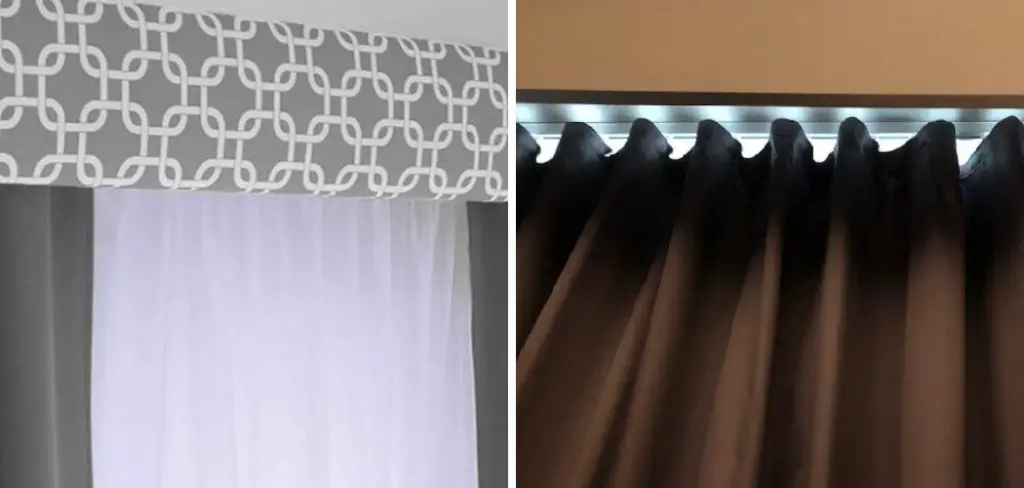
Installing a Cornice or Valance
What is a Cornice or Valance:
A cornice is a decorative wooden box mounted above windows and doors. It is designed to cover the curtain rod and any gaps where light might seep through. Not only does it provide a classic and sophisticated look, but it also effectively blocks unwanted light. Similarly, a valance is a fabric covering that drapes over the top portion of the curtains. While primarily decorative, it serves the functional purpose of masking gaps and light entry.
DIY Cornice Installation:
Materials Needed:
- Wood (plywood or other sturdy wood)
- Fabric of your choice
- Batting (optional, for a softer look)
- Nails or wood screws
- Brackets and wall anchors
- Measuring tape
- Saw and hammer or power drill
- Staple gun
Step-by-Step Instructions:
- Measure and Cut the Wood: Measure the width of your window, ensuring the cornice will extend slightly beyond the window frame on both sides. Cut the wood to your desired length and depth (typically 4-6 inches deep).
- Assemble the Cornice Box: Use nails or wood screws to attach the pieces of wood together, creating a hollow box. Ensure the joints are secure and the box is sturdy.
- Attach the Batting and Fabric: If using batting, staple it around the outside of the cornice box for added thickness. Then, drape the fabric over the batting, pull it tight, and use a staple gun to secure the fabric to the wood.
- Install the Brackets: Attach brackets to the wall above your window, using wall anchors if necessary for added support. Position the brackets so that they align with the edges of the cornice.
- Mount the Cornice: Lift the cornice box and slide it onto the brackets, ensuring it fits snugly and securely.

Using a Valance:
A valance is a simpler, fabric-based solution for covering gaps at the top of curtains. It can be easily hung over the curtain rod, providing both a decorative and functional benefit.
Installation Tips:
- Standard Valance: Choose a valance long enough to cover the entire width of your window and curtain rod. Slide it onto the curtain rod, positioning it neatly over the curtains.
- Box Pleat Valance: For a more tailored look, use a box pleat valance with structured folds. Attach it to the curtain rod with hooks or a rod pocket.
- Swag Valance: A swag valance, with its elegant drape, can be installed by looping the fabric over pegs or hooks on either side of the window, allowing it to hang gracefully in the middle.
Regardless of the type, valances are an effective and stylish solution to block light and add a decorative touch to your window treatments.
How to Block Light from Top of Curtains: Adding a Curtain Liner
Types of Curtain Liners:
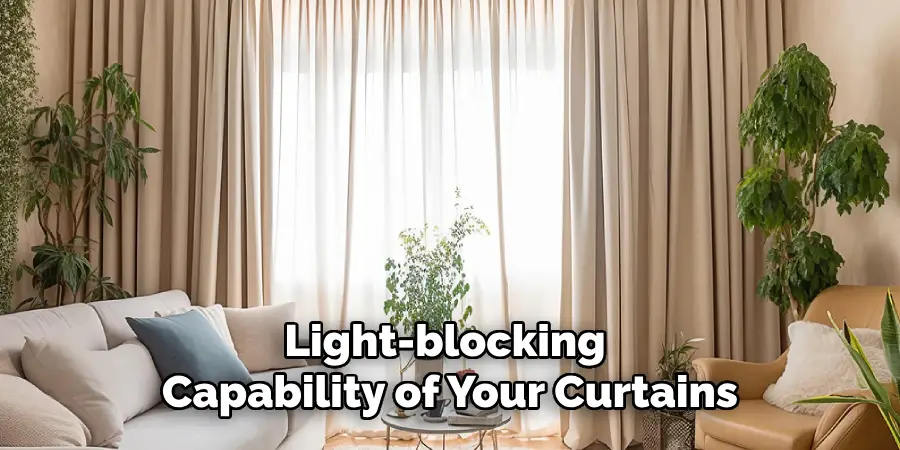
When looking to improve the light-blocking capabilities of your curtains, adding a liner is a highly effective solution. There are two common curtain liners to consider: blackout and thermal liners. Blackout liners are specially designed to block out as much light as possible, making them ideal for bedrooms or any room where darkness is desired. Thermal liners, while also offering light-blocking benefits, are primarily focused on providing added insulation. These liners help regulate the temperature in your room, keeping it warmer in the winter and cooler in the summer, thus improving energy efficiency.
Attaching Liners:
There are several methods to attach liners to your existing curtains. One option is to sew the liner directly onto the back of the curtain. This can be done by stitching the liner along the top seam and the sides, leaving it firmly in place. Alternatively, you can use Velcro strips, which offer a removable solution. Attach one side of the Velcro to the top edge of the liner and the corresponding piece to the top of the curtain, allowing you to easily remove and reattach the liner as needed. Another method is to use curtain hooks, which can be threaded through the liner and the curtain itself, providing a secure and adjustable fit.
Benefits of Using Liners:
Adding a curtain liner has multiple benefits. First, it significantly improves the light-blocking capability of your curtains, reducing unwanted light seepage and enhancing your comfort and privacy. Second, liners, particularly thermal ones, provide added insulation, helping to maintain your room’s temperature and reducing heating and cooling costs. Overall, curtain liners are a practical addition that enhances the functionality and energy efficiency of your window treatments.
How to Block Light from Top of Curtains: Using Light Blocking Strips
What are Light Blocking Strips:
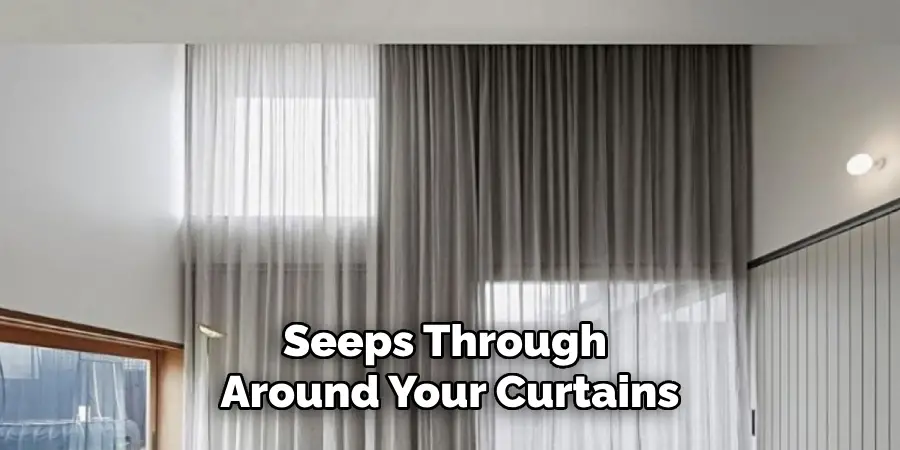
Light-blocking strips are tools designed to seal gaps where light seeps through around your curtains. They can be made of foam or magnetic materials, providing versatile options for different needs. Foam strips are typically adhesive-backed, making them simple to attach and remove without damaging surfaces. Magnetic strips, on the other hand, offer a reusable and more durable solution, especially for metal window frames or curtain rods.
Installation Process:
Materials Needed:
- Light-blocking strips (foam or magnetic)
- Measuring tape
- Scissors or a utility knife
- Cleaning supplies (if needed)
Step-by-Step Instructions:
- Measure the Gap: Using a measuring tape, determine the length and width of the gaps you wish to block. This includes the spaces along the top, sides, and center (if using split curtains) of your window.
- Cut the Strips: Based on your measurements, use scissors or a utility knife to cut the light-blocking strips to the required lengths.
- Prepare the Surface: Ensure that the surfaces where you plan to attach the strips are clean and dry. Use cleaning supplies to remove any dust or residue that might inhibit the adhesion of foam strips or the effectiveness of magnetic strips.
- Attach the Strips:
- For foam strips: Peel off the adhesive backing and carefully press the strips onto the surface, making sure they adhere firmly.
- For magnetic strips: Position one part of the magnetic strip on the curtain rod or window frame and the corresponding part on the curtain, ensuring that they align and hold together when closed.
Pros and Cons:
Pros:
- Effectiveness: Light blocking strips are highly effective at sealing gaps and preventing unwanted light from entering a room.
- Ease of Use: Both foam and magnetic strips are relatively easy to install and can be done without professional assistance.
- Flexibility: These versatile strips can be used with various types of windows and curtain setups.
Cons:
- Aesthetic Considerations: While functional, foam strips may not blend seamlessly with all décor, and magnetic strips can appear bulky if not properly aligned.
- Durability: Foam strips may lose their adhesive strength over time, especially in areas with high humidity or temperature fluctuations, requiring periodic replacement.
Overall, light blocking strips are a straightforward and effective solution for enhancing the light-blocking capabilities of your curtains. However, aesthetic considerations and long-term durability should be taken into account.
Adjusting Curtain Placement
Raising the Curtain Rod:
Mounting the curtain rod closer to the ceiling offers several benefits, including making the room appear taller and allowing the curtains to fully cover the window, further enhancing privacy and light-blocking capabilities. To achieve this, measure the desired height from the top of the window frame to the ceiling and mark the spots where you want to install the brackets. Ensure the marks are level and evenly spaced. Drill pilot holes at the marked spots and secure the brackets with screws. Once the brackets are installed, place the curtain rod on them and hang your curtains.
Extending Curtain Width:
Using wider curtains or additional panels ensures complete window coverage, preventing light leaks around the edges. To extend the width of your curtains, measure the window’s width and add extra inches on both sides to determine the required curtain width. Wider curtains can be purchased, or additional panels can be combined using curtain rings or hooks for a seamless look. Ensure that the rod is wide enough to accommodate the extended width and that the curtain fabric hangs evenly.
This method can effectively block out light, improve insulation, and add a luxurious touch to your room’s décor.
Sealing Gaps with Additional Fabrics
Adding Fabric Strips:
Fabric strips can be an effective solution for sealing light gaps at the top of the curtains. To sew or attach fabric strips, first select a material that matches or complements your existing curtains. Measure the width of your curtain rod to determine the length of the fabric strip. Cut the strip, allowing extra inches for hemming. Fold and hem the edges to prevent fraying. To attach the strip, you can sew it directly onto the top edge of the curtain or use fabric glue for a non-permanent solution.
For a no-sew option, consider using iron-on adhesive tape, which can be applied by simply pressing it with a hot iron.
Using a Pelmet:
A pelmet is a decorative framework installed above the window to conceal the curtain fixtures and block any light seepage at the top. To install a pelmet, measure the width of your window and the desired height of the pelmet. Cut a piece of board (wood or MDF) to these dimensions. Cover the board with fabric matching or matching your curtains, securing it with a staple gun. Mount the pelmet above the window frame using L-brackets or directly onto the wall, ensuring it covers the top of the curtains completely.
DIY Solutions:
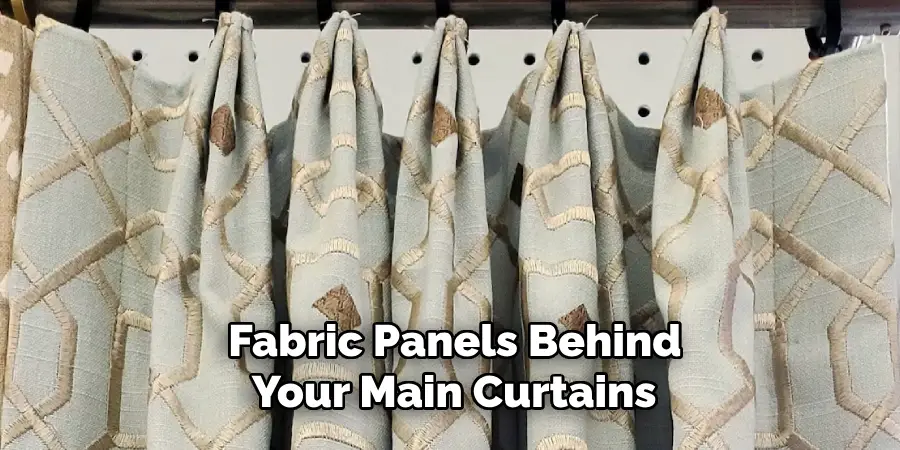
Creative DIY solutions can also be employed to block light gaps. Repurpose materials such as old bed sheets, tablecloths, or fabric remnants by cutting them into strips and attaching them to the top of the curtains. Velcro strips or curtain hooks can be used for easy attachment and removal. Another idea is to use tension rods to hang additional fabric panels behind your main curtains, providing an additional layer of light blockage. These DIY solutions are cost-effective and can be customized to fit your specific needs and aesthetic preferences.
Conclusion
Blocking light from the top of curtains can significantly enhance the comfort and privacy of your living space. We’ve explored various methods, including using light-blocking strips, adjusting curtain placement, and adding additional fabrics or pelmets. Each solution offers unique advantages, from the straightforward installation of foam and magnetic strips to the aesthetic appeal of wider curtains and decorative pelmets.
When considering how to block light from top of curtains, evaluating what fits your needs, style, and budget is essential. Effective light-blocking can transform your room into a sanctuary, providing better sleep, improved insulation, and a stylish finish, whether you choose DIY fabric strips or professionally installed pelmets. Remember, the right choice will not only solve your light seepage problem but also contribute to your space’s overall ambiance and functionality.
About
Angela is the chief editor of Indoorense. She began her career as an interior designer before applying her strategic and creative passion to lifestyle and home.
She has close to 15 years of experience in creative writing and online content strategy for housekeeping and cleaning,home decorations as well as other efforts.
She loves her job and has the privilege of working with an extraordinary team. She lives with her husband, two sons, and daughter in Petersburg. When she’s not busy working she spent time with her family.

