

Are you looking for a fun and creative way to add sparkle to your outfit? Attach fairy lights to your clothing!
How to attach fairy lights to clothing can transform an ordinary outfit into a luminous piece of wearable art, perfect for festivals, parties, or any evening event where you want to shine. Attaching fairy lights creatively combines fashion with functionality, requiring careful planning and implementation. It’s essential to consider factors such as the type of fabric, the positioning of the lights, and the source of power to ensure safety and comfort.

With the right materials and techniques, you can illuminate your clothing in a way that is delightful and eye-catching while ensuring that your creations are durable and reusable.
What Will You Need?
Before you begin, ensure you have all the necessary materials. Here’s a list of what you will need to attach fairy lights to your clothing successfully:
- Fairy lights (battery-powered or plug-in)
- Clothing item(s) of choice
- Tape measure
- Fabric glue or needle and thread
- Safety pins or clips
- Batteries or power source (if using battery-operated lights)
Once you have gathered all the materials, you can start planning and creating your illuminated outfit.
10 Easy Steps on How to Attach Fairy Lights to Clothing
Step 1. Choose Your Clothing Item:
Select a clothing item that complements the theme or occasion you’re aiming for. Common choices include jackets, dresses, and hats, which offer ample surface area for lighting effects while allowing plenty of creative freedom. Consider the material of the clothing; lightweight fabrics such as cotton or polyester work well because they are easy to maneuver and can hold the weight of the lights without sagging.
Additionally, think about the color of the fabric. Darker colors may enhance the brightness of the lights, making them stand out more, while lighter colors can offer a softer, more subtle glow. It’s also essential to ensure that the clothing item is comfortable to wear, even after lights are attached.
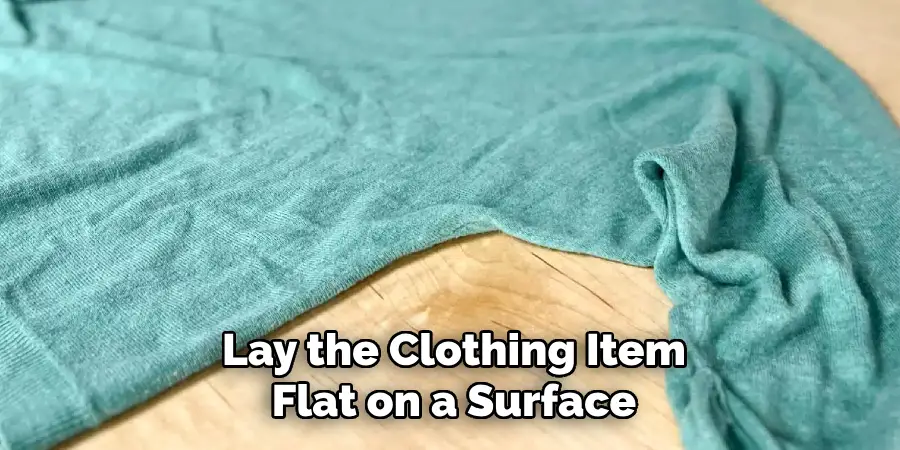
Step 2. Plan the Layout of the Lights:
Before you start attaching the fairy lights, it’s essential to plan how you want them arranged on your clothing. Lay the clothing item flat on a surface and use a tape measure to determine how much light you’ll need for your design. Consider drawing a rough sketch or using tailor’s chalk to mark where each section of lights will go. Think about the overall aesthetic you want to achieve—do you prefer a random scattering of lights or a more structured pattern?
Additionally, consider the location of the battery pack or power source, ensuring it will be easily accessible and won’t disrupt the overall look of your outfit. Planning will help ensure that the final result is both functional and visually appealing.
Step 3. Secure the Battery Pack or Power Source:
Once you have determined the layout for your lights, it’s time to secure the battery pack or power source. Make sure to place it in a discreet location that won’t cause discomfort or imbalance while wearing the clothing. If the clothing has pockets, it can be an ideal spot for holding the battery pack. Alternatively, you can sew a small fabric pouch inside the garment to house the power source. Use safety pins, fabric glue, or clips to firmly attach it, ensuring that the weight is evenly distributed to prevent the clothing from sagging. Make sure to route the wires from the battery pack to the start of your light pattern, leaving enough slack for movement and comfort.
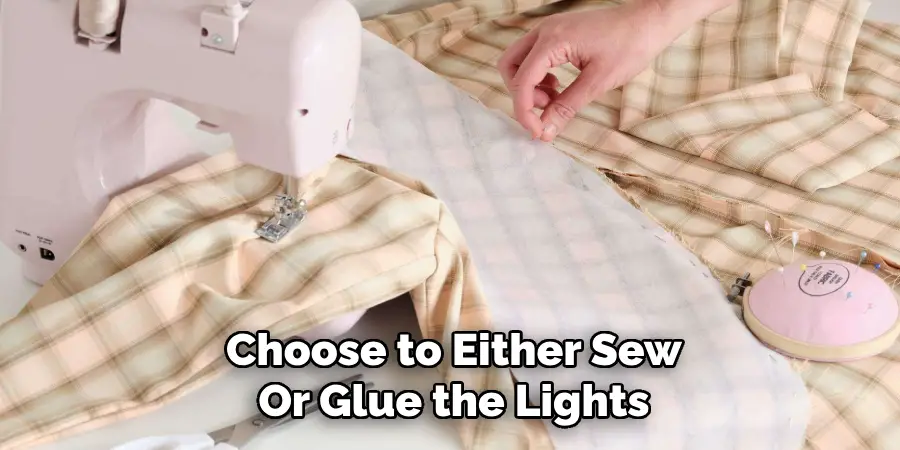
Step 4. Attach the Lights to the Clothing:
Now that your battery pack is secured, you can attach the fairy lights to your clothing. Depending on your design and the fabric of your dress, you can choose to either sew or glue the lights into place. If sewing, use a needle and thread to make tiny stitches over the wire at regular intervals, ensuring they are secure but not too tight to allow some flexibility for movement. For fabric glue, apply small dots along the path where the lights will go and press the wire down gently, holding it in place until the glue sets. Use safety pins or clips temporarily if needed.
Be mindful of spacing the lights evenly, maintaining consistency with your planned layout to achieve the desired look. Ensure no wires are exposed to prevent any tangling or discomfort while wearing the clothing.
Step 5. Test the Lights
Before completing the attachment process, test the lights to ensure they work correctly. Insert the batteries or connect the power source and turn the lights on. This step is crucial to verify that all the lights illuminate and are in the correct positions according to your design plan. If any lights are not functioning, check for loose connections or swap out the defective bulbs if possible. Testing the lights at this stage allows you to make any necessary adjustments before finishing the attachment, saving time and effort later.
Step 6. Reinforce Attachments
After confirming that the lights function as desired, it’s crucial to reinforce your attachments to ensure durability, especially if you plan to wear the clothing multiple times. Go over each point where the lights are secured, whether through stitching or glue and reinforce any areas that seem loose or insecure. For sewn attachments, add a few additional stitches at key points to strengthen the hold. If you used glue, consider applying a second layer if the initial attachment weakens. Safety pins can also be used for extra security, strategically placed to hold areas that may experience more movement or strain.
By reinforcing these attachments, you increase the longevity of your light-up clothing and ensure that the lights will stay in place as you move, dance, or celebrate at your next event.
Step 7. Conceal Wires for a Neat Finish
To achieve a polished and professional look with your illuminated clothing, concealing the wires running between lights is essential. Carefully tuck the wires under hems, seams, or folds of fabric, ensuring they stay hidden while allowing enough slack for natural movement. If necessary, use tiny stitches or fabric glue to secure any protruding sections, not restricting the wiring unduly. The goal is to integrate the lights seamlessly into the garment so it appears as if they were a natural part of its design. With well-concealed wires, your clothing will look sleek and stylish, allowing the lights to take center stage without distractions.
Step 8. Final Touches and Customizations
With your illuminated clothing nearly complete, the final step involves adding any additional touches or customizations to enhance its visual appeal further. Consider incorporating embellishments like sequins, beads, or fabric paint that complement the lights and add another layer of depth to your design. These can be strategically placed around the lights to enhance their sparkle or to create themed patterns.
Alternatively, you might want to adjust the brightness or color of the lights if your fairy lights support such features, allowing you to tailor the effects to suit different occasions or moods. These personalized elements can transform your light-up garment into a unique piece that reflects your style and creativity, ensuring it makes the desired impact at any event or gathering.
Step 9. Care and Maintenance
Once your light-up clothing is complete, proper care and maintenance will ensure its longevity and functionality for future events. When cleaning the garment, avoid soaking it in water or using harsh detergents as these could damage the electronics. Instead, opt for gentle spot cleaning with a damp cloth, avoiding contact with the battery pack and wiring. Store the item in a cool, dry place when not in use, ideally laying it flat or hanging it to avoid tangling the wires. Consider removing the battery pack during prolonged storage to prevent leaks or corrosion.
Step 10. Safety Precautions
As you enjoy your newly crafted light-up clothing, keeping safety at the forefront is essential. Be cautious when wearing your illuminated garment around water or in wet conditions, as exposure to moisture can damage the electronics or pose a risk of electric shock. Ensure the battery pack is secure and not exposed to direct impact that might cause it to break or malfunction. Stay mindful of surrounding objects that could snag or damage the wires, mainly if you are in crowded environments. Lastly, always turn off the lights when the garment is not in use to preserve the battery life and prevent overheating.

By following these steps, you can create dazzling light-up clothing that will make you stand out at any event or gathering.
Conclusion
Crafting a light-up garment with fairy lights is a creative and rewarding endeavor. It allows you to express individuality and style while illuminating your presence in any setting.
This process, from planning the layout to the careful attachment and reinforcement of the lights, ensures a beautifully finished product that is both functional and attractive. Remember to conduct thorough testing and adjustments to perfect the illumination while prioritizing safety and maintenance to keep your creation in optimal condition. Through attention to detail and a touch of creativity, you can transform ordinary clothing into a captivating, glowing work of art that draws admiration and enhances any celebration.
Hopefully, the article on how to attach fairy lights to clothing has provided you with the necessary guidance and inspiration to embark on your own light-up clothing project. Happy crafting!
About
Angela is the chief editor of Indoorense. She began her career as an interior designer before applying her strategic and creative passion to lifestyle and home.
She has close to 15 years of experience in creative writing and online content strategy for housekeeping and cleaning,home decorations as well as other efforts.
She loves her job and has the privilege of working with an extraordinary team. She lives with her husband, two sons, and daughter in Petersburg. When she’s not busy working she spent time with her family.