

Adding legs to a cube storage unit can elevate its functionality and aesthetic appeal, transforming it from a simple, low-to-the-ground organizer into a more sophisticated piece of furniture. Whether you’re looking to create extra floor space, achieve a mid-century modern look, or simply make it more accessible, this guide will walk you through how to add legs to cube storage. With a few tools and materials, you can customize your storage to better fit your needs and style, making it a perfect addition to any room.
Benefits of Adding Legs to Cube Storage
Adding legs to cube storage offers several advantages that go beyond just aesthetics. Elevating the storage unit creates a cleaner look by lifting it off the floor, which can give the illusion of a larger space and make cleaning the area underneath much easier. It also provides a more ergonomic height for accessing items, reducing the need to bend down frequently. Furthermore, by raising the unit, you can achieve a modern, personalized style that better matches other furniture pieces in your home. This simple modification can turn a utilitarian organizer into a statement piece, enhancing both the practicality and appearance of your interiors.
Tools and Materials Needed
To successfully add legs to your cube storage unit, you will need the following tools and materials:
Tools:
- Drill: Essential for making precise holes when attaching the legs.
- Screwdriver: Needed for screwing in the legs securely.
- Measuring Tape: To ensure the legs are evenly spaced.
- Level: To make sure the storage unit remains balanced and even.
- Pencil: For marking locations where the legs will be attached.
Materials:
- Legs: Choose legs that match your style preference, such as wooden, metal, or hairpin legs.
- Mounting Plates: These are required to provide stability and a secure connection between the legs and the cube storage.
- Wood Screws: Appropriately sized screws for attaching the mounting plates and legs.
- Sandpaper (optional): For smoothing any rough edges or surfaces before installation.
- Paint or Finish (optional): To customize the look of the legs to match your décor.
Gathering these tools and materials before starting will help streamline the process and ensure your project proceeds smoothly.
10 Methods How to Add Legs to Cube Storage
1. Using Pre-Made Furniture Legs with Mounting Plates
One of the easiest methods for adding legs to cube storage units is using pre-made furniture legs that come with mounting plates. These legs are available in a variety of styles and materials, such as wood, metal, or plastic, allowing you to choose a look that matches your décor. To attach the legs, start by flipping the cube storage unit upside down. Position the mounting plates at the corners of the bottom panel and screw them securely into place. Once the plates are secured, simply screw the legs into the plates. This method is quick and straightforward, and the mounting plates ensure the legs are sturdy and stable.
2. Using Hairpin Legs
Hairpin legs are a stylish and modern option that can add a sleek, minimalist look to your cube storage unit. These legs are typically made of metal and come in various heights, allowing you to choose the right size for your needs. To install hairpin legs, flip the cube storage unit upside down and mark where the legs will go at each corner. Using screws, attach each hairpin leg securely to the base of the unit. Hairpin legs provide a strong and stable base, while their open design gives a light and airy feel to the storage piece.
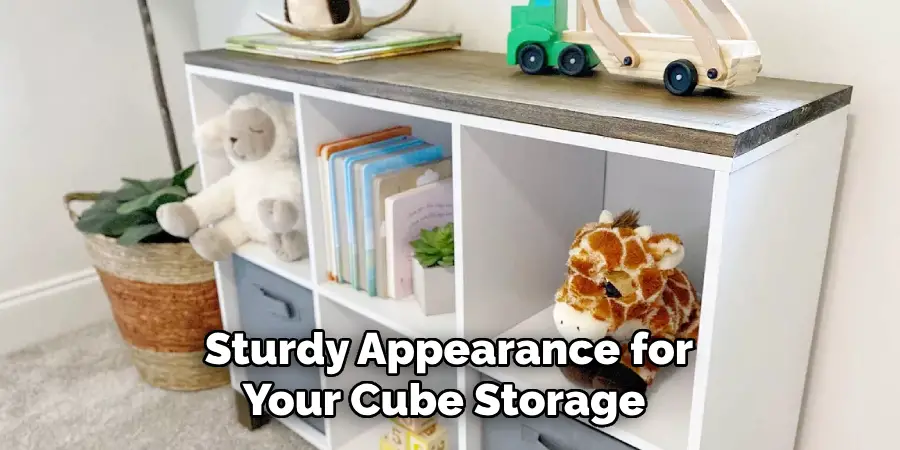
3. Attaching Wooden Dowel Legs
For a more traditional look, you can attach wooden dowel legs to your cube storage unit. Wooden dowel legs are cylindrical and typically come in unfinished wood, allowing you to stain or paint them to match your furniture. To install them, use furniture leg brackets that match the diameter of the dowels. First, attach the brackets to the bottom of the cube storage unit with screws. Then, insert the dowel legs into the brackets and tighten them in place. This method is ideal if you want a classic, sturdy appearance for your cube storage.
4. Using Tapered Furniture Legs
Tapered legs are a stylish option that can give your cube storage unit a mid-century modern vibe. These legs are wider at the top and narrow at the bottom, creating a sleek and elegant look. To attach tapered legs, you will need angled leg plates, which are specifically designed to accommodate the slant of the legs. Begin by attaching the angled plates to the underside of the storage unit at the corners. Then, screw the tapered legs into the plates. This method provides both stability and a unique, retro aesthetic.
5. Installing Adjustable Metal Legs
If you’re looking for flexibility, adjustable metal legs may be the best option. These legs can be raised or lowered to different heights, making them ideal for cube storage units that need to be moved or adjusted regularly. Adjustable metal legs often come with pre-drilled mounting plates, which can be screwed into the bottom of the storage unit. Once the plates are in place, attach the legs and adjust them to your desired height. This method is perfect for anyone looking to create custom-height storage solutions.

6. Using Casters for Mobility
If you want to make your cube storage unit mobile, adding casters (wheels) is a practical solution. Casters allow you to move the storage unit around easily, which is particularly useful in offices, workshops, or multipurpose rooms. To attach casters, first decide whether you want fixed or swivel casters, depending on your mobility needs. Position the casters at each corner of the cube storage’s base and screw them securely into place. Make sure to choose casters with a locking mechanism to prevent the unit from rolling when you want it stationary.
7. Creating a Platform Base with Legs
For a more elevated and substantial look, consider creating a platform base with legs for your cube storage unit. This involves building a small wooden platform that the cube storage will sit on. Start by cutting a piece of plywood to match the dimensions of the storage unit’s base. Attach furniture legs of your choice to the corners of the platform, then place the cube storage on top. You can secure the storage unit to the platform with screws or adhesive for extra stability. This method allows you to raise the unit off the ground while adding a bold, custom look.
8. Using Brackets for Extra Stability
If your cube storage unit is particularly large or heavy, you may want to add extra support by using brackets when attaching the legs. Metal L-brackets or corner braces can be used to reinforce the connection between the legs and the storage unit. After attaching the legs to the bottom of the unit using a standard method (like mounting plates), screw the brackets into the legs and the base of the storage unit. This method adds additional stability, ensuring the legs can support the weight of the unit and any items stored inside.
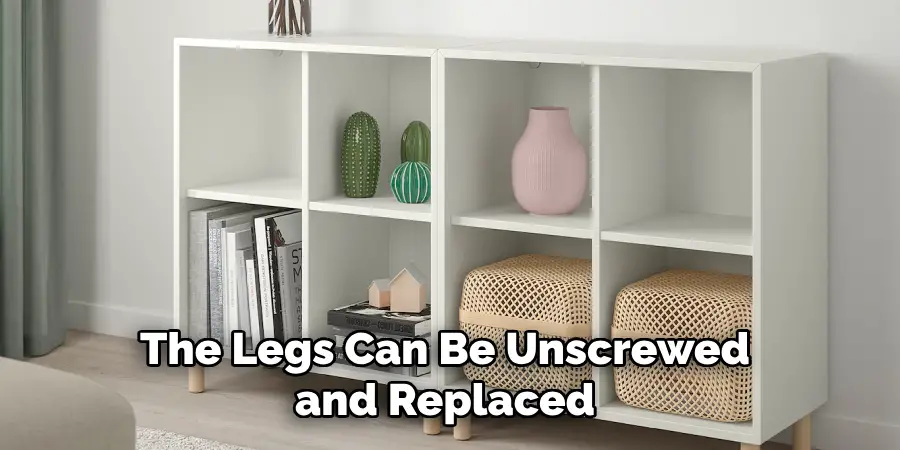
9. Attaching Screw-In Furniture Legs
Another simple method for adding legs to cube storage is using screw-in furniture legs. These legs come with pre-installed screws at the top, making installation quick and easy. Start by drilling small pilot holes in the bottom of the cube storage unit where you want to attach the legs. Then, screw the legs directly into the holes. This method is especially convenient because it doesn’t require any additional hardware, and the legs can be unscrewed and replaced if necessary.
10. Adding Metal Brackets for Industrial Style Legs
For an industrial or modern look, consider adding metal legs using metal brackets. This method is ideal for cube storage units made of heavy-duty materials or for those who want a bold, industrial look. Start by choosing sturdy metal legs, such as steel or iron, and position them at the corners of the storage unit. Use metal brackets to secure the legs to the base of the unit, making sure the brackets are tightly screwed into both the legs and the storage unit. This method not only provides a strong, industrial aesthetic but also ensures long-lasting durability.
Conclusion
Adding legs to cube storage units is a creative way to enhance their appearance and functionality. Whether you prefer sleek hairpin legs, classic wooden dowels, or industrial metal brackets, there are numerous methods to suit your style and practical needs. From pre-made furniture legs to custom-built platforms, these ten methods offer versatile solutions that elevate your cube storage units, turning them into more stylish, practical, and personalized pieces. With the right tools and techniques, you can easily transform basic cube storage into a custom piece that complements your home’s décor while providing much-needed organization and storage. Thanks for reading, and we hope this has given you some inspiration on how to add legs to cube storage!
About
Angela is the chief editor of Indoorense. She began her career as an interior designer before applying her strategic and creative passion to lifestyle and home.
She has close to 15 years of experience in creative writing and online content strategy for housekeeping and cleaning,home decorations as well as other efforts.
She loves her job and has the privilege of working with an extraordinary team. She lives with her husband, two sons, and daughter in Petersburg. When she’s not busy working she spent time with her family.