
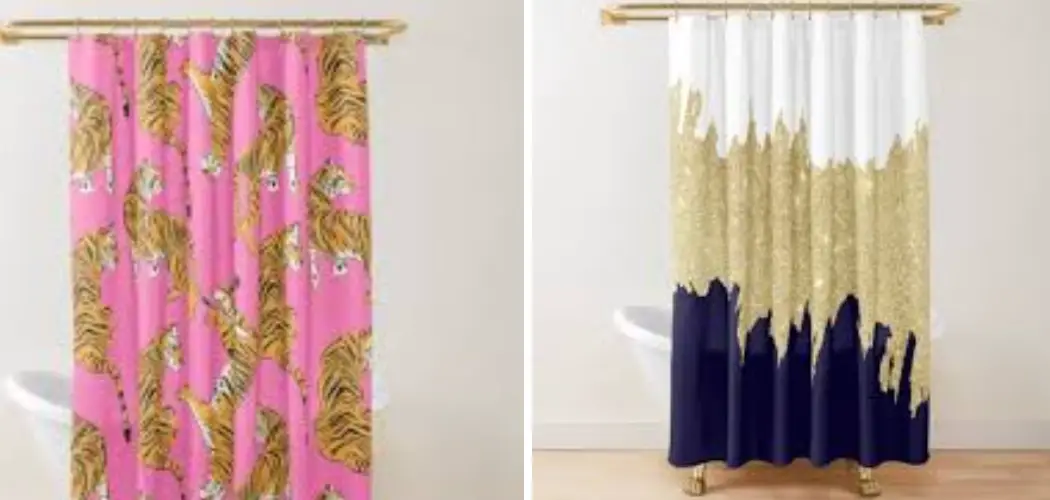
Upgrading your curtains with a band of fabric is an easy and innovative way to enhance their visual appeal. This technique allows you to add a splash of color or an interesting pattern or even increase the length of your curtains without the need for a complete replacement. Whether you are aiming to create a cohesive color scheme or simply wish to refresh the room’s aesthetic, adding a fabric band is a versatile and customizable project that delivers significant impact with minimal investment.
In terms of functionality, a well-chosen band enhances decorative appeal and can make short curtains suitable for larger windows, providing a solution to meet both design and practical needs. This comprehensive guide will walk you through every step—selecting the right fabric, measuring and cutting, sewing, and finally, how to add a band of fabric to curtains, ensuring a refined and professional finish for your home décor project.

Choosing the Right Fabric
The selection of fabric when adding a band of fabric to your curtains is crucial for achieving a cohesive and stylish look.
- Matching or Contrasting Fabric: Decide if you want the added band to match the existing curtain fabric or serve as a contrasting accent. Selecting complementary colors or patterns can greatly enhance the room’s aesthetic. If you aim for a subtle upgrade, choose a band that blends with the curtains; for boldness, opt for vibrant and eye-catching hues.
- Fabric Type: Selecting a fabric that matches the weight and texture of the original curtain is essential. This ensures proper hanging and seamless blending. For instance, if your curtains are made of cotton or linen, selecting a cotton or linen band is wise to retain consistency in appearance and texture.
- Pre-Washing Fabric: It’s advisable to wash the new fabric before cutting and sewing. Pre-washing pre-shrinks the material, preventing distortion after it’s attached to the curtains, which ensures a continual neat appearance post-wash.
- How Much Fabric to Buy: Measure each curtain panel’s width and determine the band’s desired width. Multiply by the number of panels to calculate the fabric needed. Adding a few extra inches caters to hems and ensures ample material for precise customization.
Measuring and Cutting the Fabric
Step 1: Measure the Curtain Panels:
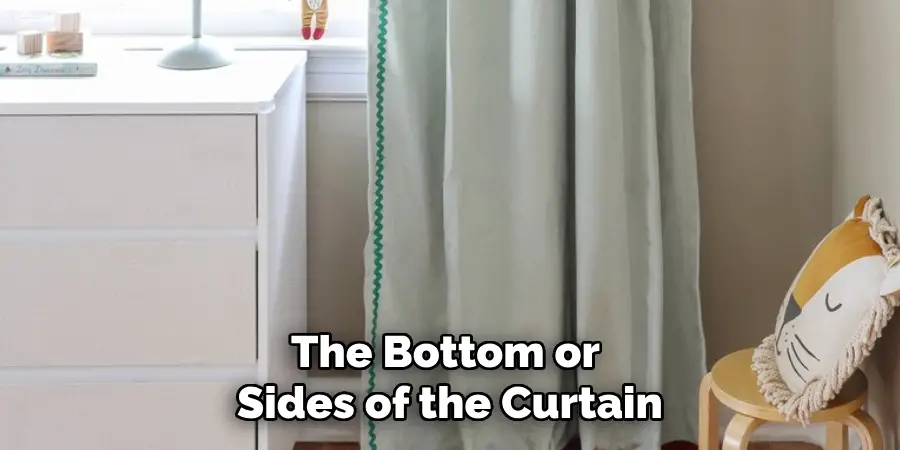
Lay the curtain panels flat on a clean surface and measure the width across the bottom or the sides, depending on where you plan to place the band. Take into account any seams or pleats that may affect the width. Accurate measurement is key to ensuring that the fabric band fits perfectly across all panels.
Step 2: Mark the Fabric:
Using fabric measuring tape, mark the dimensions on the new fabric based on your desired bandwidth. Add an extra inch on all sides for the seam allowance, typically ½ inch per side. This extra fabric will be necessary for sewing the band securely to the curtains without reducing the desired display width of the band.
Step 3: Cut the Fabric Strips:
Use fabric scissors to cut the strips carefully along the marked lines. Ensure that each strip is cut evenly to maintain consistency when attaching the band to the curtains. Precise cutting is essential to avoid any discrepancies that can affect the overall look once the band is sewn.
Step 4: Consider Pattern Alignment:
If your fabric has a pattern, make sure that the design aligns properly across each strip to create a cohesive look. This step is especially important if the band is going to wrap around multiple panels. Proper pattern alignment enhances visual harmony and adds a professional touch to the finished product.
Preparing the Fabric for Sewing
Proper fabric preparation ensures a professional finish when attaching the band to the curtains.
Step 1: Hemming the Band Edges: To begin, fold the edges of each fabric strip inward by ½ inch, and then fold them again to create a neat hem. Utilize an iron to firmly press the folds, easing the subsequent sewing process. Temporarily hold the edges in place by pinning them securely. This step prevents fraying and gives the band a clean, finished look once sewn.
Step 2: Creating Mitered Corners (Optional): Mitered corners offer a refined, polished finish if you’re attaching the band to the curtain’s bottom or sides. Fold the fabric diagonally at each corner to achieve mitered corners, then press the folds to maintain their shape. Carefully sew the folded edges together, ensuring the corners remain even and neat for seamless integration with the curtain’s design.
Step 3: Pin the Band to the Curtain: Decide where you want to place the band on the curtain—this could be at the top, bottom, or somewhere in the middle. Ensure the fabric is evenly aligned for a uniform appearance. Use sewing pins generously to secure the band in place, facilitating precise and stable attachment when you begin sewing.
How to Add a Band of Fabric to Curtains: Attaching the Band to the Curtains
Step 1: Sewing by Hand or Machine
You can sew the band onto the curtain using a sewing machine or by hand with a needle and thread. A sewing machine provides stronger, more consistent stitches, making it ideal for heavier fabrics or when applying the band to multiple panels. However, hand-sewing can work well if you only add a small decorative band or want more control over intricate details. Regardless of the method, ensure that your stitches are secure to prevent any loosening over time.
Step 2: Use a Straight Stitch
If using a machine, set it to a straight stitch. Start sewing along the top edge of the band, moving slowly to maintain control and ensuring the fabric stays flat, free from any bunching or puckering. Steadily guide the fabric to ensure even stitching, enhancing the professional appearance of the finished piece.
Step 3: Reinforce the Corners
If your band is positioned at the bottom or sides of the curtain, take care to reinforce the corners with extra stitching. This reinforcement helps secure the band further, preventing it from pulling away from the curtain under stress or over time. Focus on neat, tight stitches in the corner areas for optimal strength.
Step 4: Sew Both Edges of the Band
Once the top edge is secure, sew along the bottom edge of the band, maintaining the same seam allowance pressed earlier. If the band wraps around the sides, continue sewing all around, regularly checking for consistent stitching and alignment.
Step 5: Remove Pins
As you proceed with sewing, remove the pins to avoid any potential damage to the sewing machine needle or fabric. Continuously check that the band remains even and aligned across the curtain to prevent a skewed appearance. This attention to detail will ensure a neat and smooth finish.
Finishing Touches
Step 1: Iron the Seams
Once the band is securely sewn to the curtain, the next step is to iron the seams. This step gives the seams a crisp, professional look and helps the fabric lie completely flat. By smoothing out the seams, you ensure that the band has a neat and finished appearance. Use the appropriate heat setting for your fabric type to avoid any damage.
Step 2: Check for Consistency
Examine each curtain to ensure the band is evenly attached across all panels. Note any areas where the band might not be aligned or is uneven. If any discrepancies are found, make small adjustments, either by hand or using a machine, to correct the alignment. Consistency across all panels will enhance the overall aesthetic and ensure the curtains look uniform.
Step 3: Trim Loose Threads
After confirming the band’s placement, trim any loose threads for a cleaner finish. This step is important to ensure all seams are secure and there are no gaps where the band attaches to the curtain. A tidy finish accentuates the overall quality and craftsmanship.
Step 4: Re-Hang the Curtains
Finally, re-hang your newly embellished curtains and take a step back to admire your updated decor. Assess whether the fabric band successfully adds the intended aesthetic effect, whether through added color, pattern, or length. Consider the curtains’ impact on the room’s ambiance and enjoy the refreshed look.
Alternative Methods for Adding a Band
Using Fabric Glue or Hem Tape: If you don’t want to sew, fabric glue or iron-on hem tape can be used to attach the band. While these methods aren’t as durable as sewing, they work well for lightweight fabrics and decorative bands that don’t require strong reinforcement. Start by evenly applying the fabric glue along the backside of the band, or position the hem tape according to the manufacturer’s instructions. Align the band with the curtain, then press firmly to ensure a strong bond. Allow sufficient time for the glue to dry or the hem tape to cool before handling the curtains further.
Creating a No-Sew Band: For a quick, no-sew option, you can attach the band using self-adhesive fabric strips or fabric tape. Measure the desired length of the band, then cut the adhesive strip to fit. Carefully peel off the backing and place the adhesive side on the curtain. Press firmly and evenly across the band to ensure it adheres properly. This method is particularly useful for temporary solutions or for those less experienced with sewing.
Adding Trim or Ribbon Instead of Fabric: If you prefer a thinner or more decorative band, consider using ribbon or trim instead of a full fabric strip. Simply measure and pin the ribbon or trim in place, then either sew or use fabric glue to secure it to the curtain. Ribbons and trims are available in various colors and patterns, allowing you to customize your curtains easily and creatively. Ensure the ends are securely fastened to prevent fraying and maintain a polished appearance.
Conclusion
Adding a band of fabric to curtains is an easy, budget-friendly way to refresh their look and extend their length. By understanding how to add a band of fabric to curtains, you can create a stylish and custom touch to your home décor. Whether you choose to sew the band yourself or use alternative no-sew methods like fabric glue or hem tape, the process allows for a high degree of personalization. Selecting complementary fabrics is essential, as it ensures that the added band blends seamlessly with the existing curtain design.
Take precise measurements and dedicate time to sewing or applying the band carefully; these details are crucial in achieving a polished, professional finish. Upgrading plain curtains or lengthening too-short panels through this DIY project is a satisfying experience and a cost-effective way to personalize your space without investing heavily in new curtains.
About
Angela is the chief editor of Indoorense. She began her career as an interior designer before applying her strategic and creative passion to lifestyle and home.
She has close to 15 years of experience in creative writing and online content strategy for housekeeping and cleaning,home decorations as well as other efforts.
She loves her job and has the privilege of working with an extraordinary team. She lives with her husband, two sons, and daughter in Petersburg. When she’s not busy working she spent time with her family.