
When it comes to cooking, having a well-stocked kitchen is one of the best things you can do for yourself. From roasting pans to sauté skillets, having just the right set of pots and pans is essential when making an exquisite meal. But what happens once you’ve finished up with your cooking and don’t have any space on the counter or in one of your drawers? Today we’re going to show you how to wrap a frying pan so that not only will it be easy to store but also still be close at hand when needed!
Whether it’s stowed away on a shelf or tucked inside another pan, wrapping your fryer is a great way to organize all those extra kitchen items that don’t seem to fit anywhere else.
Is It Ok to Cover a Frying Pan?
Covering a frying pan is perfectly fine and can help keep the pan clean and free of dust or other contaminants. There are a few ways to cover your pan, depending on what works best for you. Many people like to use foil or plastic wrap to cover their pans. This method is quick and easy but may not provide the most secure coverage.
Alternatively, you can buy a cover specifically designed to fit your frying pan. This type of cover generally fits snugly and may provide better protection for your pan against dust or other contaminants.
It’s important to remember that when you are covering a frying pan, it should always be completely cool before applying any kind of cover. If the pan is even slightly warm, it can cause the cover to melt and ruin your pan. That’s why it’s important to let the pan cool completely before you cover it up.
Covering your frying pans can help keep them clean and free of dust or other contaminants, so go ahead and give it a try. Just remember to always cover your pans when they are completely cool for the best results.
10 Methods How to Wrap a Frying Pan
1. Use Paper Towels:
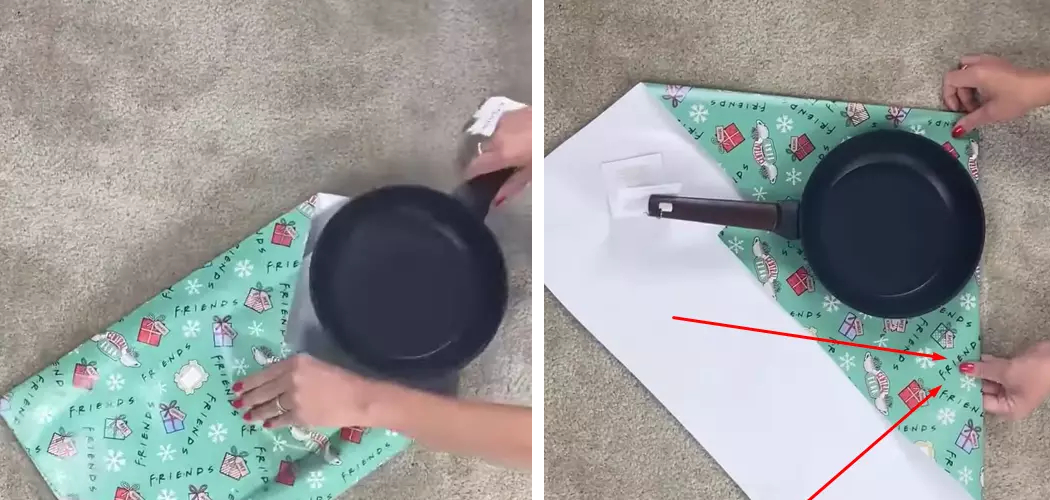
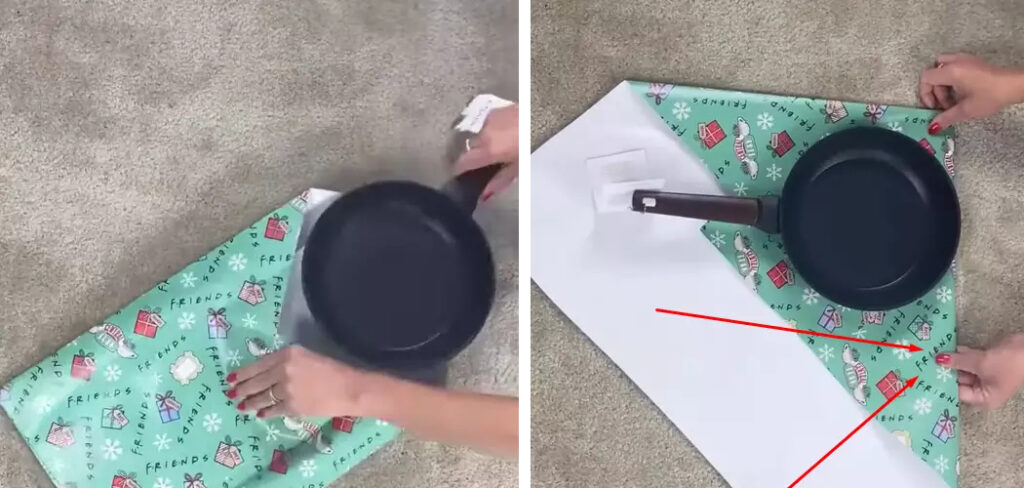
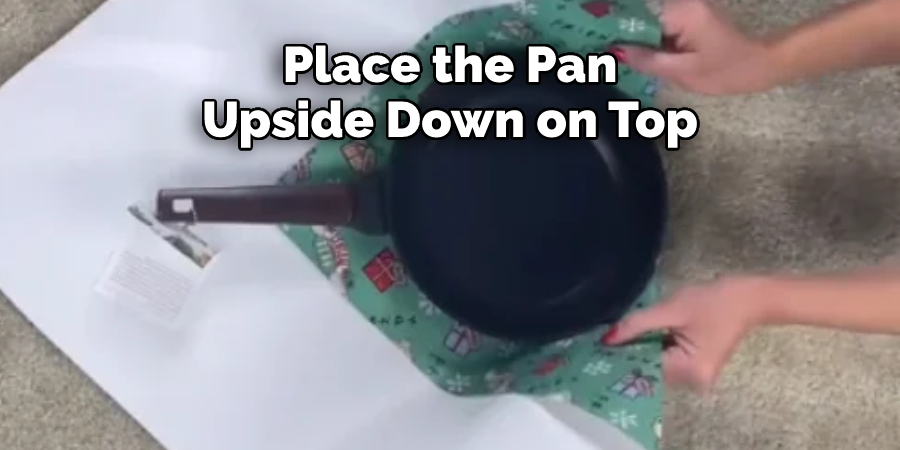
Place a sheet of paper towels on your countertop or another flat surface. Place the pan upside down on top of the paper towel so that it is centered. Pull aside excess paper towels around the edges and use them to start ‘wrapping’ the frying pan by pulling it over the bottom side of the pan and then up around the sides. Secure the paper towel by tucking it underneath the lip of the pan.
2. Use a Soft Cloth:
Place a soft, clean cloth on the countertop or other flat surfaces. Place the pan upside down on top of the cloth and pull aside excess fabric around the edges to start ‘wrapping’ the frying pan by pulling it over the bottom side of the pan and then up around the sides. Gently shape the fabric around the sides of the pan and edges.
Continue to pull and wrap until all sides of the frying pan are covered with cloth. Secure the wrap by tucking the sides and ends of the cloth underneath. If desired, you can add a ribbon or tie for added flair.
3. Use Plastic Wrap:
Lay out two large sheets of plastic wrap in an overlapping pattern on your countertop or another flat surface. Place your frying pan upside down at one end and fold each sheet of plastic wrap up towards you, using both hands to keep them even as you go.
Start wrapping from the bottom side of the pan and work your way up around all four sides until fully covered. Once the wrap is securely in place, press down lightly on the top and sides of the pan to make sure that it’s tightly bound.
4. Use Aluminum Foil:
Lay out two sheets of aluminum foil in an overlapping pattern on your countertop or another flat surface. Place the pan upside down at one end and fold each sheet of aluminum foil up towards you, using both hands to keep them even as you go. Start wrapping from the bottom side of the pan and work your way up around all four sides until fully covered.
Fold the excess foil under the bottom of the pan and press down to ensure a secure fit. Finally, tuck in any extra folds or edges so that the foil is flush with the sides of the pan. Your frying pan is now securely wrapped and ready for storage!
5. Line a Bowl with Aluminum Foil:
Create a bowl-like shape out of two large pieces of aluminum foil on your countertop or another flat surface. Place the pan inside, upside down, so that it fits snugly into the center, and then bring each side up over the edges of the pan and press to seal. This will create a fully-enclosed and protected package for your pan.
6. Fill a Large Plastic Bag with Crumpled Newspaper:
Place the pan upside down on top of a large sheet of crumpled newspaper inside a large plastic bag. Pull the edges of the bag over the sides and press lightly to seal it shut. This will provide additional cushioning and protection for the pan. If the panhandle is sticking out, add a layer of newspaper around the handle before sealing it. Although using newspaper is a common choice, you can also use bubble wrap or packing peanuts for added cushioning.
7. Line a Box with Bubble Wrap:
Place your frying pan upside down in the center of a box lined with bubble wrap or other soft packaging material, such as foam peanuts or shredded paper. Seal the box tightly so that no air can get in to damage your pan while it is being stored. Make sure that you do not use too much padding, as it can cause the box to become too heavy and difficult to carry.
8. Use an Old Towel:
Spread out an old towel on your countertop or other flat surface and place your frying pan upside down in the center. Fold the sides of the towel up and over the edges of the pan until it is completely covered. Secure the cloth underneath with a rubber band or some tape. When you’re ready to use your skillet again, simply undo the towel and discard it. This is an easy way to wrap your frying pan and protect it from dust or pest infestation when not being used.
It also provides a good cushion if you’re storing the pan in a cabinet or on a shelf. This technique is also great for protecting your frying pan from scratches and dents if you’re storing it away for a long period of time. Just make sure to use an old towel that won’t leave lint or fibers behind on the pan.
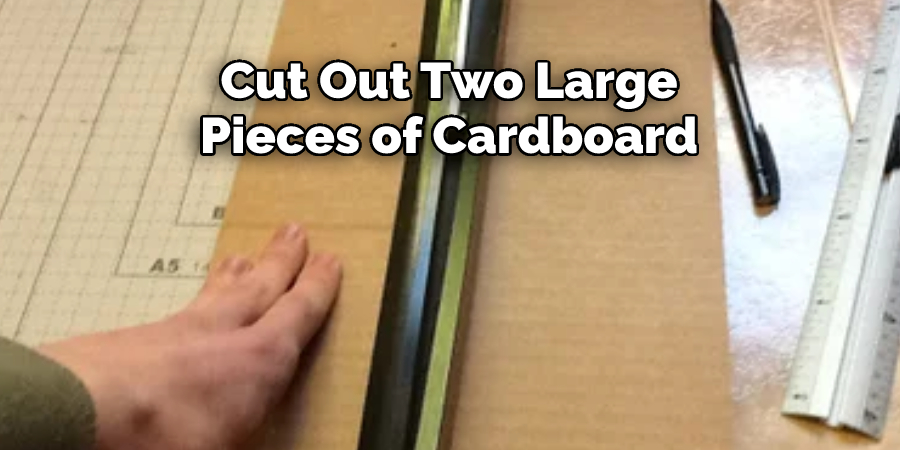
9. Make a Cover Out of Cardboard:
Cut out two large pieces of cardboard that are slightly larger than your pan in length and width. Place one piece at each end, overlapping them in the middle, and tape them together to create a single cover. Place this over your frying pan upside down and tuck in any excess material around the sides before securing it with more tape or elastic bands if necessary. If you don’t have any cardboard, a paper plate or stiff piece of card can be used as an alternative.
10. Store Inside a Cabinet:
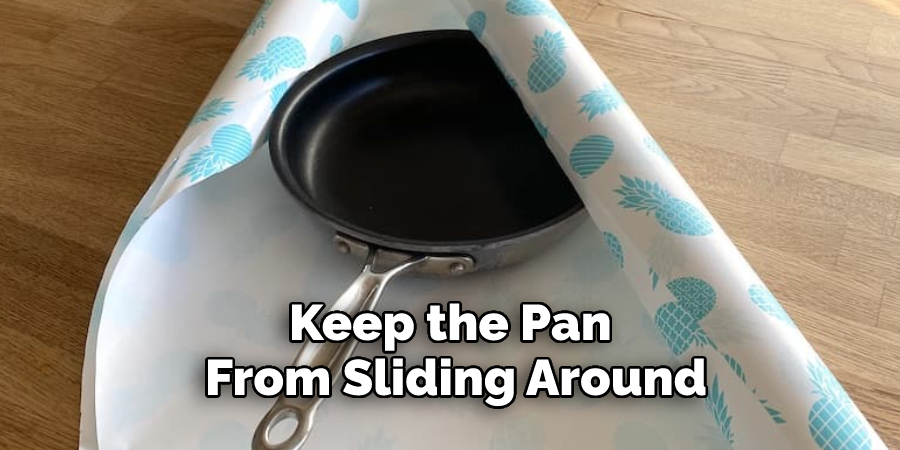
If you have room inside a cabinet or cupboard, place your frying pan inside upside down so that no dust or dirt can collect on the surface while not in use. This is also a great way to store large pans which may not fit in boxes or bags.
Make sure to line the shelf with a cloth or towel first so that the pan will not get scratched. To keep the pan from sliding around, you can place a few paper towels or waxed paper underneath. This will ensure that your pan is safe and secure until you are ready to use it again!
These are ten of the most effective ways to wrap and store your frying pan, protecting it from potential damage while not in use. Be sure to choose a method that is suitable for your specific type of pan, and make sure that whatever you use to wrap it does not put too much pressure on the sides, as this can cause warping. Take care of your frying pan by wrapping it correctly before storage, and you’ll be able to enjoy flawless cooking results for years to come.
Conclusion
While it may seem like a lot of steps, if you follow the steps on how to wrap a frying pan carefully, wrapping your frying pan will be a breeze, and even if you make a mistake, don’t worry; you can always fix it. With a little bit of practice, you’ll be an expert in no time. So the next time you need to store your frying pan, or any other kitchen item for that matter, remember these simple tips and tricks.
You Can Check it Out to Fix a Sticky Cast Iron Skillet
